


TRUST PHOTO VIEWER
5
U K
6.3 OSD
menu
Press the MENU button on the remote control to call up the OSD (On Screen
Display) menu.
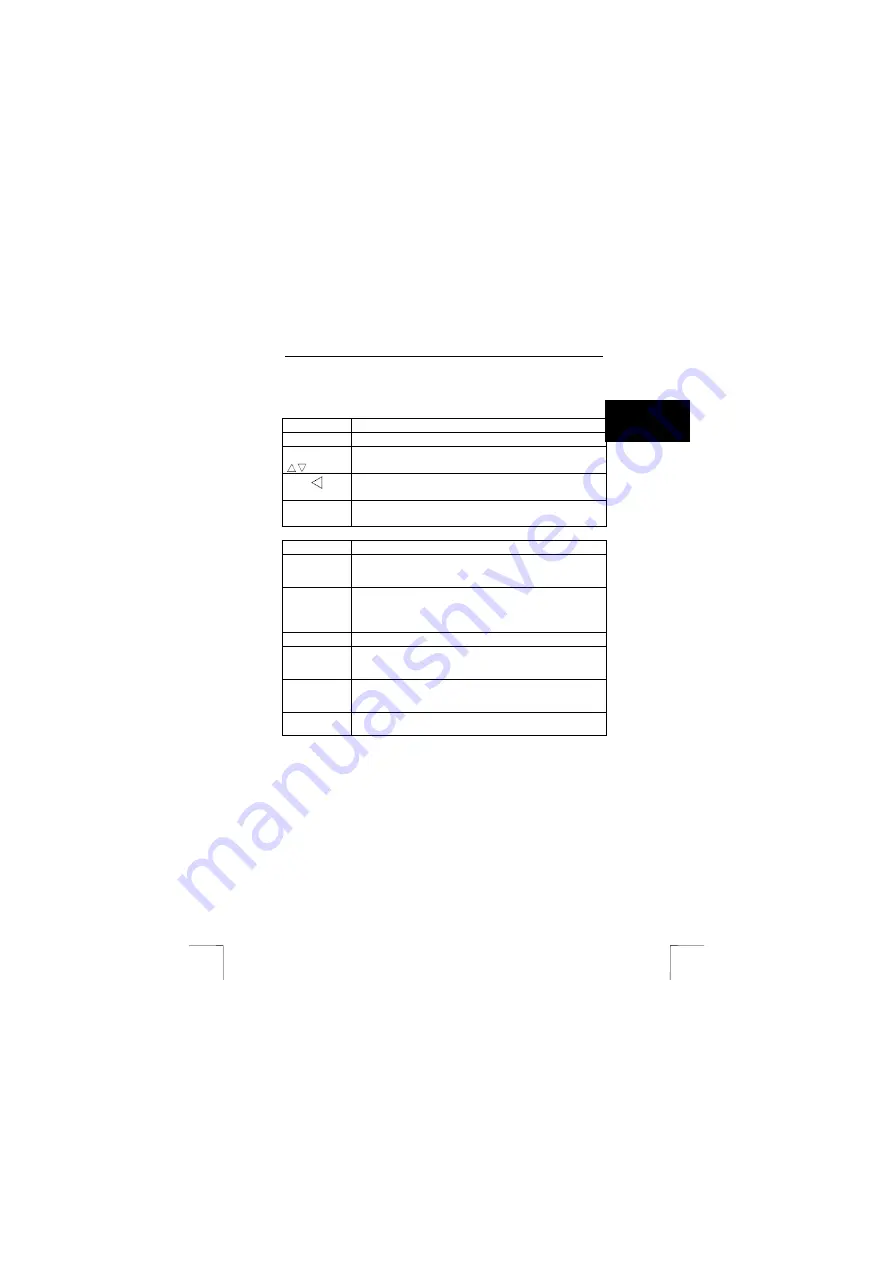
Function
Description
Menu
Calls up or closes the OSD menu.
Up/Down
-
Selects a menu item by moving the cursor.
-
Alters the setting or value of the chosen menu item.
Left
-
Exits the displayed menu item.
-
Exits the settings window. The settings will not be saved.
Enter
Opens the selected settings window.
Saves the settings and exits the settings window.
Function
Description
Card Source
If a number of cards have been inserted into the Photo Viewer,
you can select the memory card on which the photographs you
wish to view have been saved.
Photo
Information
Select ‘ON’ to display information about the photograph at the
bottom of the screen, such as frame number, date, time, image
size and resolution.
Select ‘OFF’ to remove the information from the screen.
Slide Delay
Select a time delay (0 – 60 sec).
Display Mode
Select ‘Full Screen’ to show the photograph covering the entire
screen, or ‘True Image’ to display the photograph in its actual
size.
Transition
Mode
You can select the way in which the photograph is displayed. The
options are: at once, vertical scroll, scroll from outside to inside or
scroll from inside to outside.
Language
Select the language you wish to use for the OSD menu. You can
choose from: English, French, German, Spanish and Italian.
Note:
The above functions have been shown in English. They may
appear differently if another OSD language has been selected.


