6
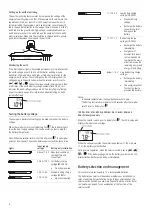
Setting up for earth monitoring
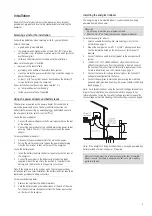
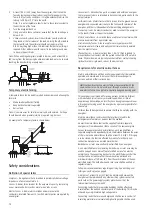
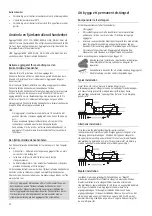
The earth monitoring feature works by comparing the voltage of the
energizer’s earth system with that of a separate earth rod. Ensure the
separate earth rod is at least 10 m (33’) away from any other earth
system including the energizer’s main earth system. Locate the earth
rod in the opposite direction to the lead out wire. Drive one 2 m (6’6”)
earth rod into the ground. Use high-voltage, insulated cable and an
earth clamp to connect the earth rod and the energizer’s Fence earth
monitor terminal. Make sure the insulation is stripped back to ensure
good contact between the wire and the earth rod.
Monitoring the earth
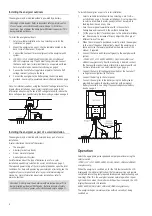
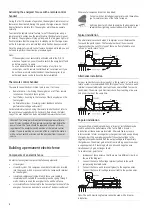
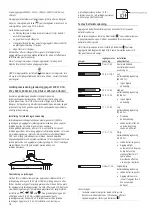
If the first Indicator light is illuminated permanently, this indicates that
the earth voltage is over 0.8 kV and that better earthing may be
beneficial. Either add more earth rods or find a better location for the
energizer earth system. The small digits on the LCD display show the
voltage going to the earth system when the selector switch is set to
,
,
or
. The earth voltage should remain below 0.8 kV
at all times. If the earth monitor voltage numbers flash 3.0 kV, this
indicates the earth voltage is above 3.0 kV. See
Installing and testing
an earth system
on page 9 for information about installing an earth
system effectively.
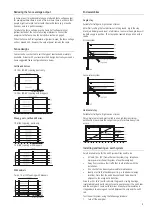
Testing the battery voltage
The energizer’s Battery Test setting can be used to monitor the battery
voltage.
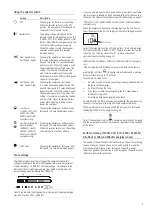
When the selector switch is set to Battery Test
, the Indicator lights
show the input supply voltage. This can be useful in order to monitor
the battery charge level.
Note:
When the selector switch is set to Battery Test
, the energizer
pulses at slow speed (2.5 seconds between pulses) and the fence is live.
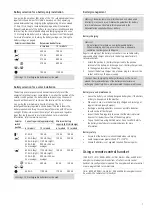
Lights
Input supply
voltage
Battery-only installation
Above 17.0 V Abnormal conditions,
check battery and
connections.
12.6 V-17.0 V Full battery charge
voltage (80-100%):
•
No action required.
or
12.3-12.6 V
12.0-12.3 V
Medium battery charge
voltage (50-80%):
•
No action required.
11.7-12.0 V
Low battery charge
voltage (20-50%):
•
Monitor battery
voltage.
•
Recharge the battery
to avoid long-term
damage to the
battery.
11.2-11.7 V
Bad battery charge
voltage (10-20%):
•
Recharge the battery
immediately.
•
Energizer will
automatically revert
to Slow Speed and
Low Output Power in
order to preserve the
remaining power and
energy in the battery.
Below 11.2 V Very bad battery charge
voltage:
•
Recharge the battery
immediately
•
The energizer will not
function in order to
preserve the battery.
Notes:
-
In extreme temperatures, these guidelines may not apply.
-
The battery test results will display for 30 seconds after the selector
switch is set to Battery Test
.
12000i, X12i, 412i, 6000i, 6000i-EU, X6i, X6i-EU, 406i and
406i-EU energizers only
When the selector switch is set to Battery Test
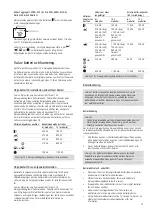
, the LCD display also
displays the input supply voltage.
When the voltage is outside the normal range (below 11.8 V or above
17 V), the battery symbol flashes.
During normal operation, when the selector switch is set to
,
,
or
, if the battery voltage is bad, the battery symbol on the LCD
display flashes. Recharge the battery immediately.
Battery selection and management
This section refers exclusively to 12 V rechargeable batteries.
The batteries you select will depend on whether your installation is a
solar or a battery-only installation. For both types of installation, the
selector switch position you use most frequently will be a factor. Refer
to
Operation
on page 4 for an explanation of the function of the
selector switch.


