Operating manual – Infrared camera
B -
16
1. Start with Step 1 of the menu item to reach the
desired area.
2. Press the
▲
UP /
DOWN
▼
arrow on
the omni-selector to
move the selected
profi le
Deleting the Profi le Analysis
1. Start with Step 1 of the menu item to select the
desired area.
2. Press “C” to delete the Profile Analysis.
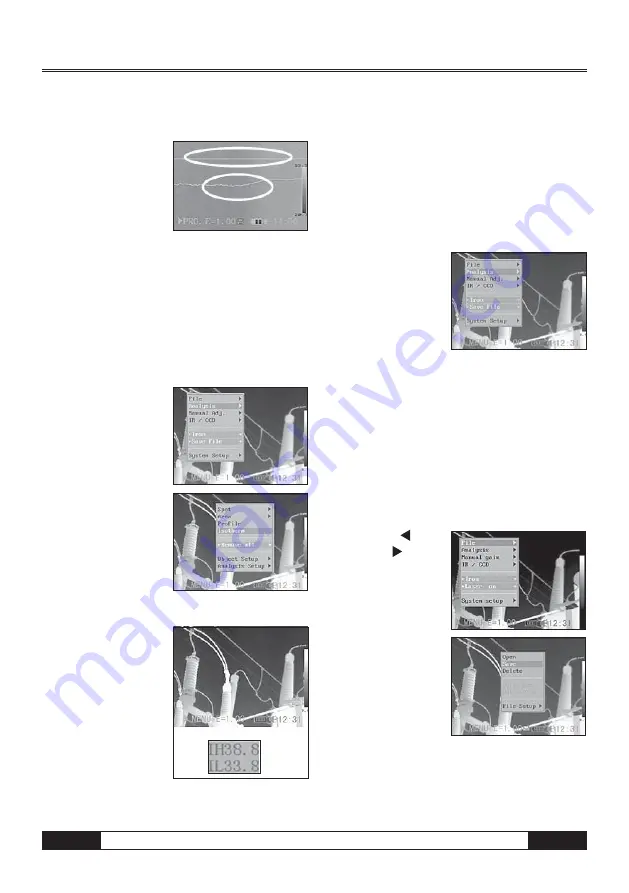
Isotherm Analysis
1. Press the MENU/ENTER key.
2. Press the
▲
UP/
DOWN
▼
arrow on
the omni-selector to
reach the menu item
[Analysis].
3. Press the
▲
UP /
DOWN
▼
arrow to
reach the menu item
[Isotherm] and press
the Menu/Enter key.
Important boxes are
marked with co-
lours.
4. Setting the Isotherm Range.
• Start with Step 1 to
select the Isotherm
Analysis.
• Press the
▲
UP /
DOWN
▼
arrow
on the omni-
selector to select
the isotherm ran-
ge.
•
The letters IL and IH appear in the bottom
right-hand corner. IH is the upper threshold
and IL the lower threshold of the isotherm
range.
Remove analysis tools
This topic briefl y explains how to remove analysis
tools you place on the screen.
1. Press MENU/ENTER.
2. Press the Up
▲
and
Down
▼
arrow on the
omni selector to select
the [Analysis] menu.
3.
Select the analysis
tool you want to re-
move.
4. Press the C-key to delete the tool or press the Menu/
Enter-key to delete all the analysis tools.
Saving the Image
You can save the image in the menu system after you
freeze an image, or save it directly by holding the S
key on the omni selector for 3 seconds when the ca-
mera is in Null mode without freezing an image.
1. Press the MENU/ENTER key.
2. Press the
Left
or Right
arrow
on the omni selec-
tor to select the
[File] menu.
3. Press
▲
Up and
Down
▼
arrow on
the omni selector
to select [Save],
then press the
Menu/Enter key to
save the image. The
display mode deci-
de the save mode.


