


Preparation before Use
2-41
2
1
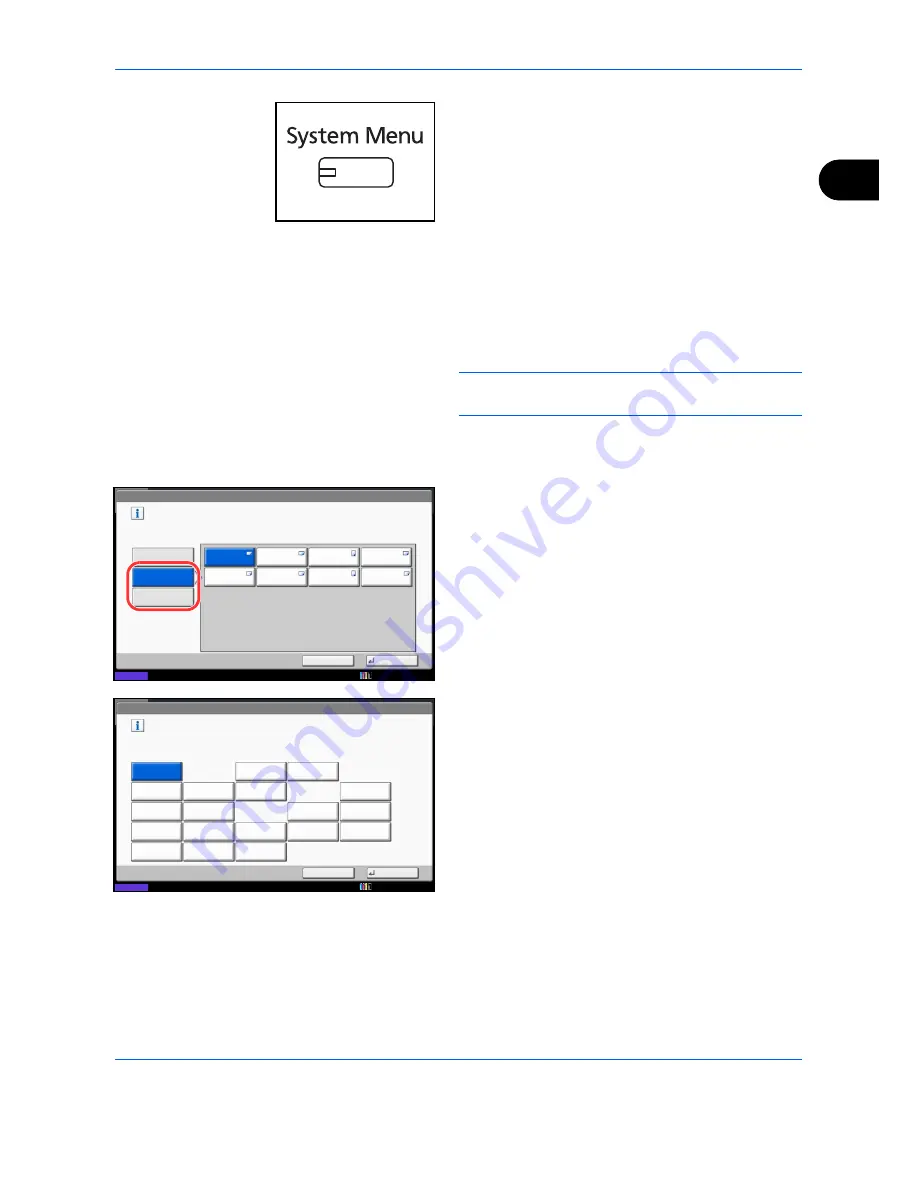
Press the
System Menu
key.
2
Press [Common Settings], [Next] of
Original /
Paper Settings
, [Next] of
Cassette Setting
.
3
Cassette Setting
, select one of [Cassette 1] to
[Cassette 7] and press [Next].
Then press [Change] of
Paper Size
.
NOTE:
[Cassette 3] to [Cassette 7] are shown when
the optional paper feeder is installed.
4
For automatic detection of the paper size, press
[Auto] and select [Metric] or [Inch] as the unit.
To select the paper size, press [Standard Sizes 1]
or [Standard Sizes 2] and select the paper size.
5
Press [OK]. The previous screen reappears.
6
Press [Change] of
Media Type
and select the
media type. Then press [OK].
Common Settings - Paper Size
Set cassette paper size.
Standard
Sizes 1
Auto
Status
10/10/2010 10:10
A3
A4
Standard
Sizes 2
A4
A5
B4
B5
B5
Cancel
OK
216x340mm
Common Settings - Media Type
Select type of paper in Cassette 1.
Vellum
Plain
Preprinted
Recycled
Bond
Letterhead
Prepunched
Color
Custom 2
Custom 1
High Quality
Custom 3
Custom 4
Custom 7
Custom 6
Custom 5
Custom 8
Status
Cancel
OK
Thick
Rough
10/10/2010 10:10
Содержание DCC 2930
Страница 220: ...Printing 5 12...
Страница 264: ...Sending Functions 6 44...
Страница 422: ...Default Setting System Menu 9 116...
Страница 423: ...10 1 10 Management This chapter explains the following operations User Login Setting 10 2 Job Accounting Setting 10 20...
Страница 456: ...Management 10 34...
Страница 457: ...11 1 11 Maintenance This chapter describes cleaning and toner replacement Regular Maintenance 11 2 Cleaning 11 15...
Страница 536: ...Troubleshooting 12 60...
Страница 588: ...Rev 2 2011 9 2LCGEEN002 TA Triumph Adler GmbH Betriebsst tte Norderstedt Ohechaussee 235 22848 Norderstedt Germany...


