


Page 18 of 43
Trilogy Communications
Mentor CX
4.
USING VECTOR | WEB BROWSER BASED MANAGEMENT
4.1
I
NTRODUCTION
Vector, a web browser based configuration tool provides:
•
Greatly simplified initial setup
•
Online editing of Mentor CX configurations
•
Visibility of your entire Trilogy Mentor reference system
•
Partial or incremental updates without causing disruption (where possible)
•
The ability to copy, backup and restore configuration data
4.2
G
ETTING STARTED
To start using Vector, follow these simple steps to set the Mentor CX IP address:
•
Power up the Mentor CX while holding down the “Fault Reset” button on the front panel.
The IP address will return to factory default of 192.168.1.252.
•
Connect the Ethernet port on the Mentor CX to a laptop, using a standard RJ-45 cable (not
supplied). Give the laptop a temporary IP address within the same subnet (e.g.192.168.1.20).
•
Open your web browser and Navigate to the address http://192.168.1.252.
•
Select Admin from the top menu and at the log-in screen, enter the default username
admin
and password
trilogy
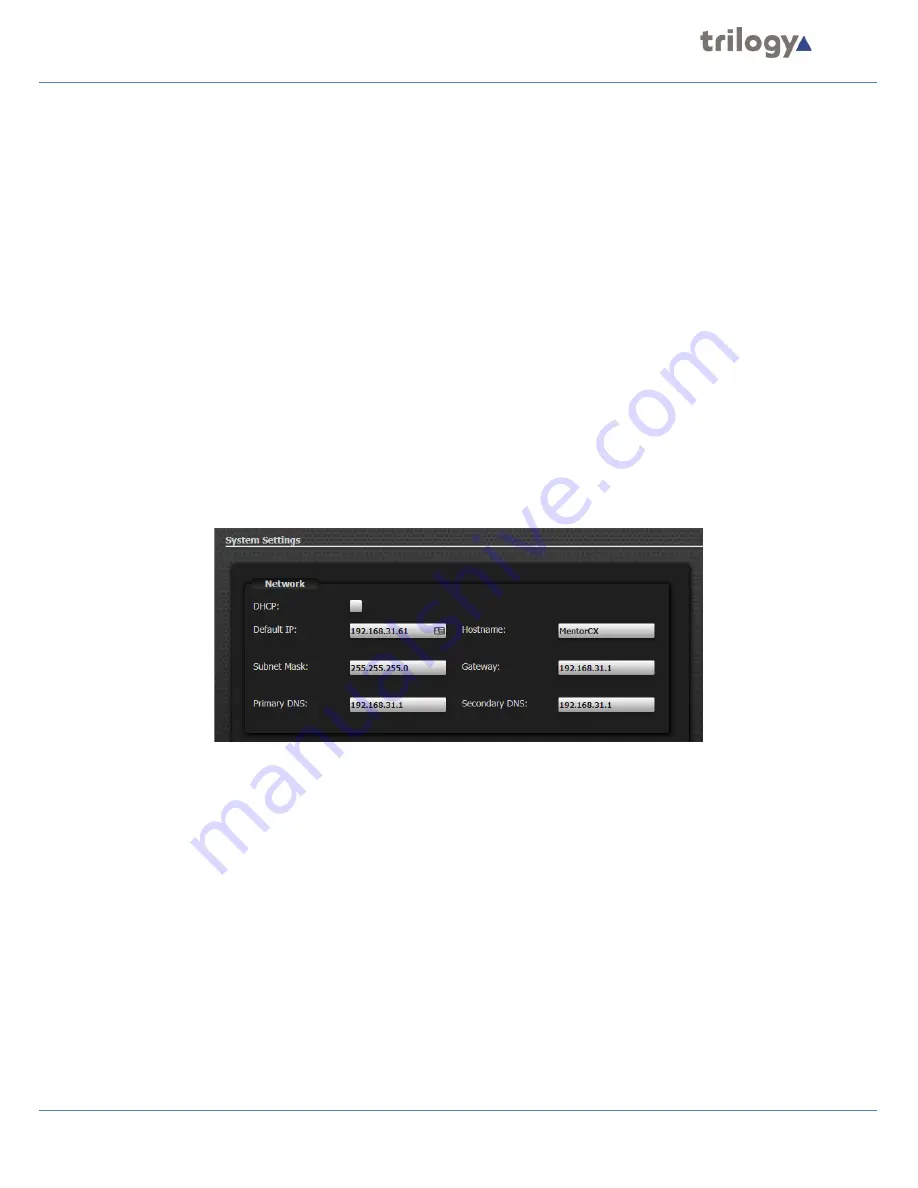
. The System Settings page will then be displayed.
•
As a minimum, enter values for Default IP and Subnet Mask which are appropriate for your
in-house network. A Gateway address will be required if you intend to access the Mentor CX
across a wider network. Use of DHCP is not normally advised for technical equipment.
•
A change of Default IP address will mean that you lose contact from the laptop. Once the
change has taken place you can disconnect the laptop and connect Mentor CX to your LAN.
•
Log in again from a PC connected to your LAN.


