


TW100-BRV304 User's Guide
Figure 87: Add Trusted Certificate
3.
Click the "Browse" button, and locate the certificate file on your PC
4.
Select the file. The name will appear in the "Certificate File" field.
5.
Click "Upload" to upload the certificate file to the TW100-BRV304.
6.
Click "Back" to return to the Trusted Certificate list. The new Certificate will appear in the
list.
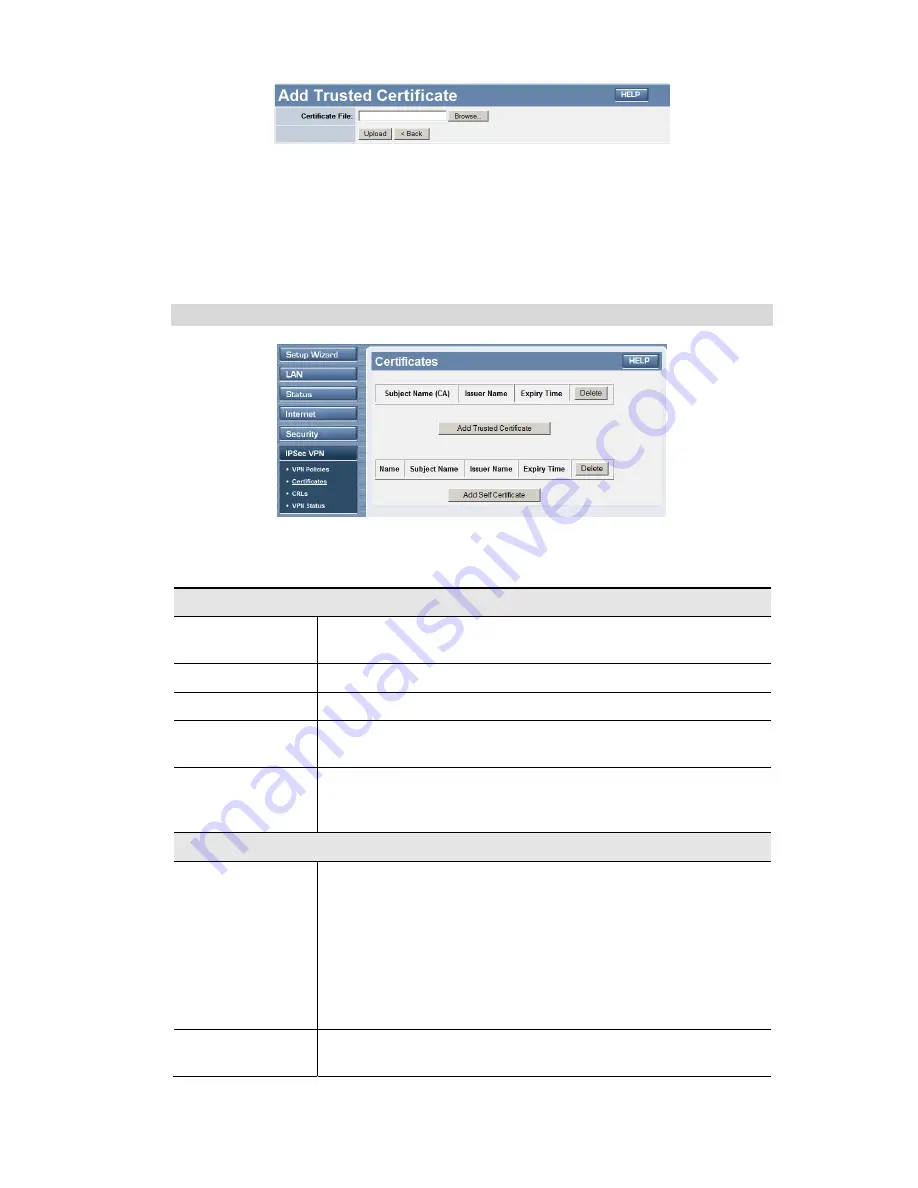
Self Certificates
Figure 88: Self Certificates Screen
Data – Self Certificates Screen
Active Self Certificates
Name
The name you assigned to this Certificate. You should select a name
which helps to identify this particular certificate.
Subject Name
The company or person to whom the Certificate is issued.
Issuer Name
The CA (Certification Authority) which issued the Certificate.
Expiry Time
The date on which the Certificate expires. You should renew the
Certificate before it expires.
Delete button
Use this button to delete a Self Certificate. Select the checkbox in the
Delete
column for any Certificates you wish to delete, then click the
"Delete" button.
Self Certificate Requests
Request List
Any current requests are listed. These requests are generated by
using the
New Request
button described below.
•
After you have received the Certificate file for a request, you
must select the request in the list, and upload the certificate file.
The request will then be deleted from this list, and the Certificate
will appear in the
Active Self Certificates
table.
•
If for some reason you never obtain the Certificate, you can
manually delete the request by using the
Delete Request
button.
Delete Request
Button
Use this to delete the selected certificate request.
106
Содержание TW100-BRV304 SHEETS
Страница 1: ......
Страница 2: ......
Страница 27: ...PC Configuration Figure 15 Windows NT4 0 DNS 23...
Страница 63: ...Security Configuration 59...
Страница 149: ...Appendix B Specifications 145...


