background image


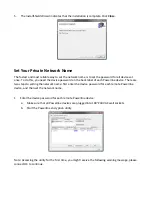
5.


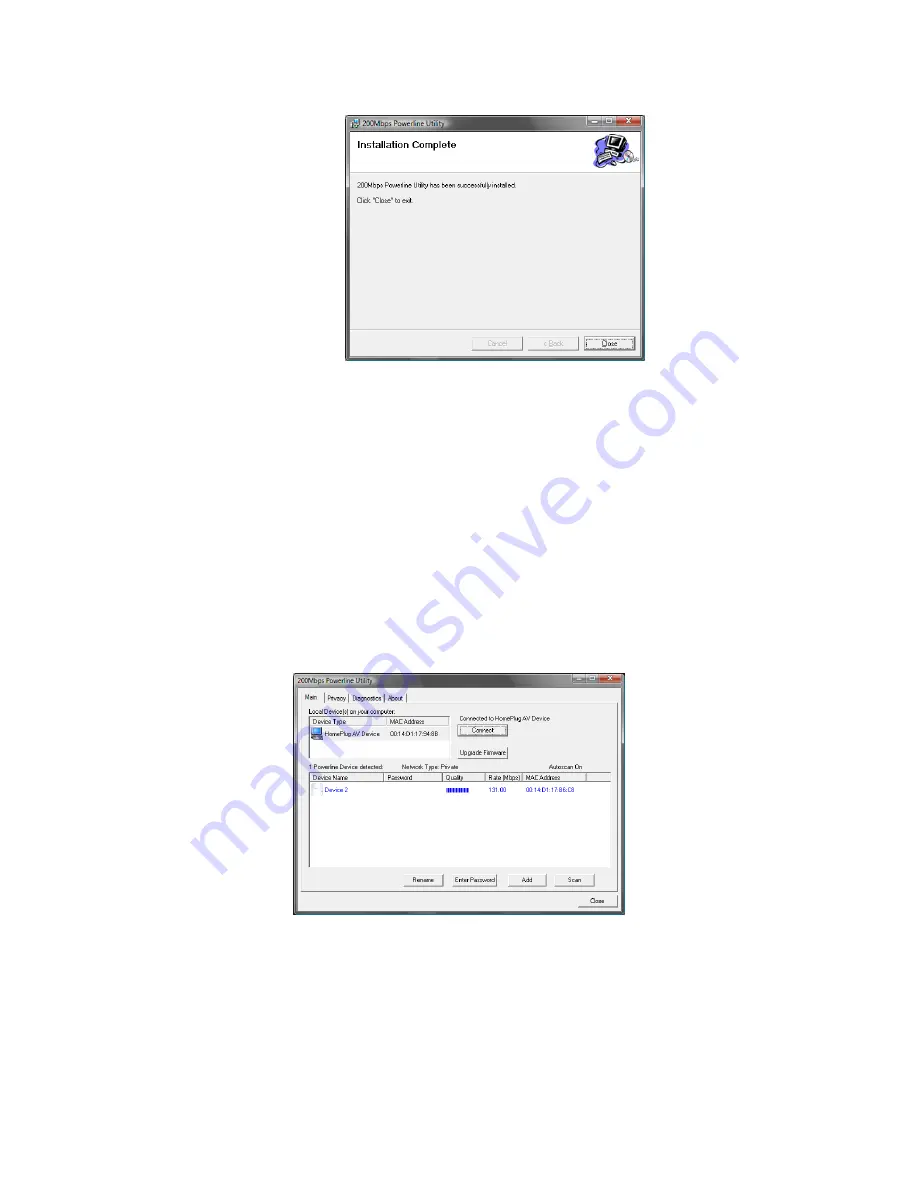
The


InstallShield


Wizard


indicates


that


the


installation


is


complete.


Click


Close

.


Set


Your


Private


Network


Name


The


fastest


and


most


reliable


way


to


set


the


network


name


is


to


set


the


password


for


all


devices


at


once.


To


do


this,


you


need


the


device


password


on


the


back


label


of


each


Powerline


device.


There


are


two


steps


to


setting


the


network


name:


first


enter


the


device


password


for


each


remote


Powerline


device,


and


then


set


the


network


name.


1.


Enter


the


device


password


for


each


remote


Powerline


device:


a.


Make


sure


that


all


Powerline


devices


are


plugged


into


100~240V


AC


wall


sockets.


b.


Start


the


Powerline


encryption


utility


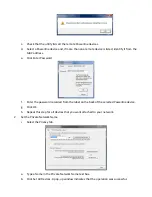
Note:


Accessing


the


utility


for


the


first


time,


you


might


receive


the


following


warning


message,


please


connect


OK


to


continue.


Содержание TPL-304E

Страница 1: ......

Страница 2: ...5 Connect other Powerline Adapters 5 Install the Utility 6 Set Your Private Network Name 9 Add a Device to an Existing Powerline Network 11 Adding a New Device from a Locally Connected Computer 11 Adding a New Device from a Remotely Connected Computer 11 Troubleshooting 12 Basic Functioning 12 Sync the device 13 Reset the device 13 Power Saving 13 Specification 14 Limited Warranty 15 ...

Страница 3: ... original packing materials in case you need to return the Powerline adapter for repair Status Lights and Label Information The Powerline adapter has status indicators and a label with important information Familiarize yourself with these features of your product LED Indicators The front panel of the TPL 304E TPL 304E2K contains status lights You can use them to verify connections The table below ...

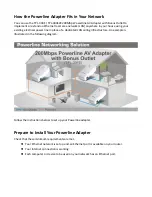
Страница 4: ...ine in place of a dedicated LAN wiring infrastructure An example is illustrated in the following diagram Follow the instructions below to set up your Powerline adapter Prepare to Install Your Powerline Adapter Check that these minimum requirements are met z Your Ethernet network is set up and an Ethernet port is available on your router z Your Internet connection is working z Each computer or devi...

Страница 5: ...tep is securely attached to the Powerline adapter and the router that the router is connected to the modem and the router and modem are powered on d Make sure that the Internet port of your router is connected to your modem and that your computer is either connected to a LAN port on the router or to a port on the Powerline adapter Connect other Powerline Adapters 1 Before plugging in your other Po...

Страница 6: ...sword with another Powerline adapter device To install the Powerline Encryption Utility follow these steps 1 Insert the TPL 304E TPL 304E2K CD ROM into a CD ROM drive on the computer that is connected to your router The CD will start up automatically If the CD does not start automatically Go to My Computer on the Windows Start menu and double click the drive that contains the TPL 304E TPL 304E2K C...

Страница 7: ...2 Click Install Utility to start the installation Prior to the utility installation it will prompt you to install the WinPcap program Click Next to continue ...

Страница 8: ...3 Then the powerline utility installation will start click Next to continue 4 Click Next and follow the instructions on the screen ...

Страница 9: ...l of each Powerline device There are two steps to setting the network name first enter the device password for each remote Powerline device and then set the network name 1 Enter the device password for each remote Powerline device a Make sure that all Powerline devices are plugged into 100 240V AC wall sockets b Start the Powerline encryption utility Note Accessing the utility for the first time y...

Страница 10: ...Enter Password f Enter the password recorded from the label on the back of the selected Powerline device g Click OK h Repeat this step for all devices that you want attached to your network 2 Set the Private Network Name i Select the Privacy tab a Type a Name in the Private Network Name text box b Click Set All Devices A pop up window indicates that the operation was successful ...

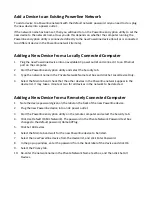
Страница 11: ...xt box and click Set Local Device Only 4 Select the Main tab and check that the other devices in the Powerline network appear in the device list It may take a minute or two for all devices in the network to be detected Adding a New Device from a Remotely Connected Computer 1 Note the device password given on the label on the back of the new Powerline device 2 Plug the new Powerline device into an ...

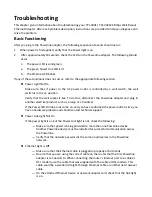
Страница 12: ...r and plug in another electrical product such as a lamp or a hairdryer If the Power LED still does not come on and you have confirmed the power outlet is live you have a hardware problem and should contact technical support z Power Link Light Not On If the power light is on but the Power Link light is not check the following Make sure that power is being provided to more than one Powerline device ...

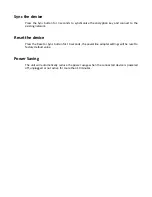
Страница 13: ...e existing network Reset the device Press the Reset or Sync button for 10 seconds the powerline adapter settings will be reset to factory default value Power Saving The unit will automatically reduce the power usage when the connected device is powered off unplugged or not active for more than 10 minutes ...

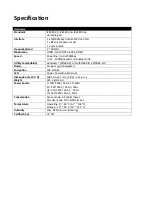
Страница 14: ...tibility Windows 7 32 64 bit Vista 32 64 bit XP 32 64 bit Nodes Connect up to 8 adapters Encryption 128 bit AES LED Power Powerline Ethernet Dimension L x W X H 148 x 65 x 67 mm 5 8 x 2 6 x 2 6 in Weight 181 4 g 6 4 oz Power Source A 100 240V 5A AC 50 60Hz EU 220 240V 5A AC 50Hz UK 230 240V 5A AC 50 Hz FR 220 240V 5A AC 50Hz Consumption Active mode 3 5 Watts max Standby mode 0 93 Watts max Tempera...

Страница 15: ...ubject to accident abuse or improper use iii the product was subject to conditions more severe than those specified in the manual Warranty service may be obtained by contacting TRENDnet within the applicable warranty period and providing a copy of the dated proof of the purchase Upon proper submission of required documentation a Return Material Authorization RMA number will be issued An RMA number...

Страница 16: ... AND LIMITS ITS LIABILITY TO REPAIR REPLACEMENT OR REFUND OF THE PURCHASE PRICE PAID AT TRENDNET S OPTION THIS DISCLAIMER OF LIABILITY FOR DAMAGES WILL NOT BE AFFECTED IF ANY REMEDY PROVIDED HEREIN SHALL FAIL OF ITS ESSENTIAL PURPOSE Governing Law This Limited Warranty shall be governed by the laws of the state of California Some TRENDnet products include software code written by third party devel...

Страница 17: ......

Отзывы: