background image

3

English

4.

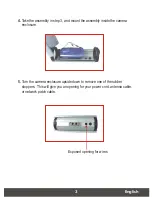
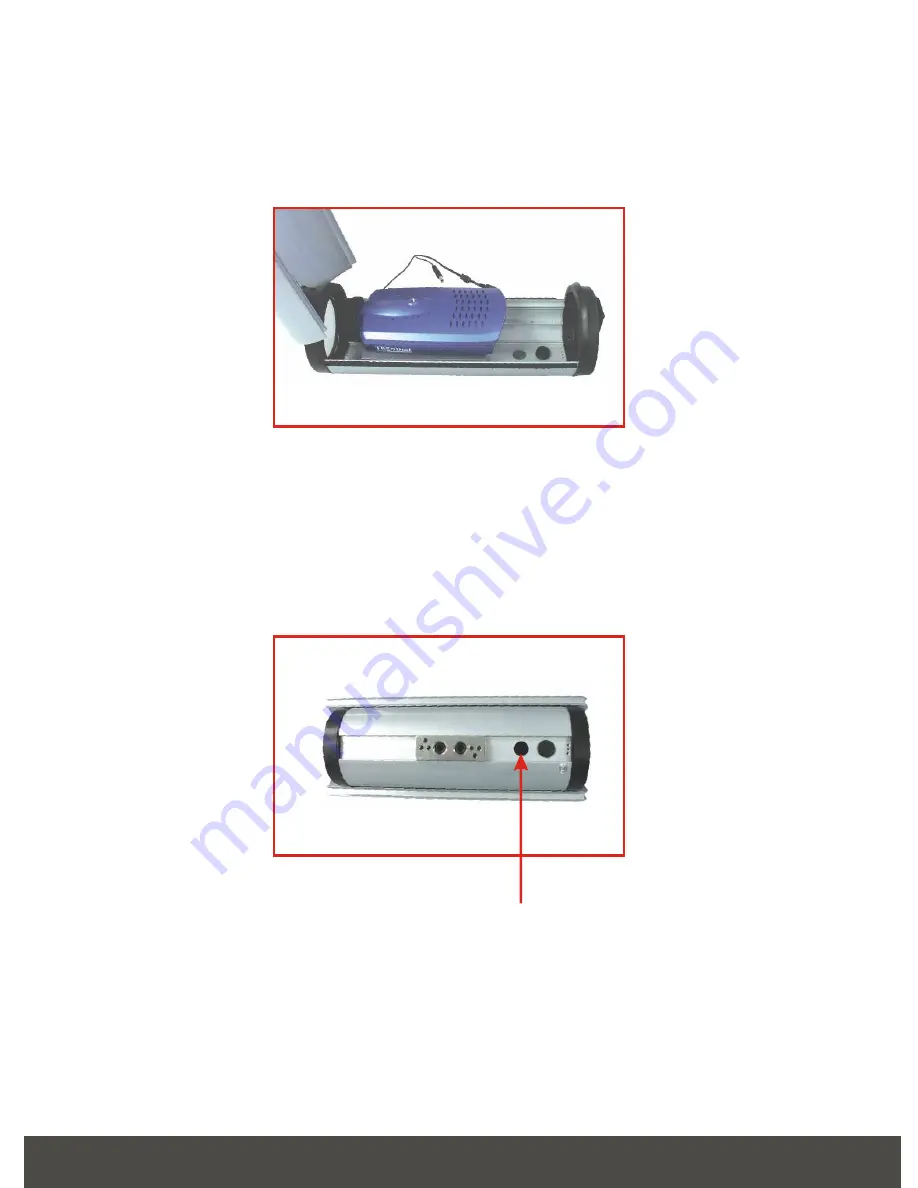
 Take the assembly in step 3, and mount the assembly inside the camera 

enclosure.  

5.

 Turn the camera enclosure upside down to remove one of the rubber 

stoppers.  This will give you an opening for your power cord, antenna cable, 
or network patch cable.  

Exposed opening for wires

Содержание 15AH25B

Страница 1: ...Copyright 2005 All Rights Reserved TRENDware International Inc TRENDnet TRENDware USA What s Next in Networking 15AH25B Version 09 23 05 User s Guide ...

Страница 2: ...Table of Contents English Troubleshooting 1 1 2 5 1 Prepare for Installation 2 Install Hardware ...

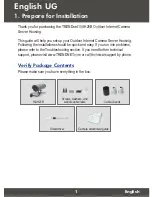
Страница 3: ...quick and easy If you run into problems please refer to the Troubleshooting section If you need further technical support please visit www TRENDNET com or call technical support by phone Verify Package Contents Please make sure you have everything in the box 1 1 Prepare for Installation English UG English 15AH25B Screws washers and wall mount screws Cable Glands Screwdriver Camera attachment guide...

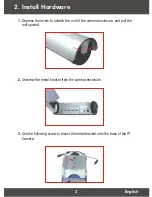
Страница 4: ...ess the levers to unlatch the roof of the camera enclosure and pull the roof upward 2 Unscrew the metal bracket from the camera enclosure 3 Use the following screw to mount the metal bracket onto the base of the IP Camera English ...

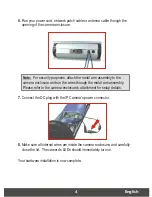
Страница 5: ... and mount the assembly inside the camera enclosure 5 Turn the camera enclosure upside down to remove one of the rubber stoppers This will give you an opening for your power cord antenna cable or network patch cable Exposed opening for wires ...

Страница 6: ...our hardware installation is now complete 8 Make sure all internal wires are inside the camera enclosure and carefully close the lid The camera s LEDs should immediately turn on Note For security purposes attach the metal arm assembly to the camera enclosure and run the wires through the metal arm assembly Please refer to the camera enclosure s attachment for setup details ...

Страница 7: ... that your switch is operating properly If you are using a wireless camera make sure that your antenna connection is properly connected to your camera s antenna connector Double check your antenna s position and make sure that your antenna is getting direct line of site with your wireless access point If you have any questions regarding the 15AH25B please contact Trendware Technical Support Depart...

Страница 8: ...ation or memory data of customer contained in stored on or integrated with any products returned to TRENDware pursuant to any warranty There are no user serviceable parts inside the product Do not remove or attempt to service the product by any unauthorized service center This warranty is voided if i the product has been modified or repaired by any unauthorized service center ii the product was su...

Страница 9: ...ORIZED ATTEMPTS TO REPAIR OR MODIFY OR ANY OTHER CAUSE BEYOND THE RANGE OF THE INTENDED USE OR BY ACCIDENT FIRE LIGHTNING OR OTHER HAZARD LIMITATION OF LIABILITY TO THE FULL EXTENT ALLOWED BY LAW TRENDWARE ALSO EXCLUDES FOR ITSELF AND ITS SUPPLIERS ANY LIABILITY WHETHER BASED IN CONTRACT OR TORT INCLUDING NEGLIGENCE FOR INCIDENTAL CONSEQUENTIAL INDIRECT SPECIAL OR PUNITIVE DAMAGES OF ANY KIND OR F...

Страница 10: ...RENDNET com TRENDnet Technical Support Contact Telephone Fax Email 1 310 626 6252 1 310 626 6267 support trendnet com Tech Support Hours 7 30am 6 00pm Pacific Standard Time Monday Friday Tech Support Hours Telephone Fax Deutsch 49 0 6331 268 460 Français 49 0 6331 268 461 0800 907 161 numéro vert Español 49 0 6331 268 462 English 49 0 6331 268 463 Italiano 49 0 6331 268 464 Dutch 49 0 6331 268 465...

Отзывы: