background image

22 

 Slash

Maintaining your Model

Your model requires timely maintenance in order to stay in top 
running condition. 

The following procedures should be taken 

very seriously.

Inspect the vehicle for obvious damage or wear. Look for:

1.  Cracked, bent, or damaged parts 
2.    Check the wheels and steering for binding. 
3.    Check the operation of the shock absorbers. 
4.    Check the wiring for any frayed wires or loose connections.
5.    Check the mounting of the receiver and servo(s) and  

speed control.

6.    Check the tightness of the wheel nuts with a wrench.
7.    Check the operation of the radio system, especially the 

condition of the batteries.

8.    Check for any loose screws in the chassis structure  

or suspension.

9.   The steering servo saver will wear out over time. If the steering 

becomes loose, the servo saver should be replaced.

10.  Inspect the gears for wear, broken teeth, or debris lodged 

between the teeth. 

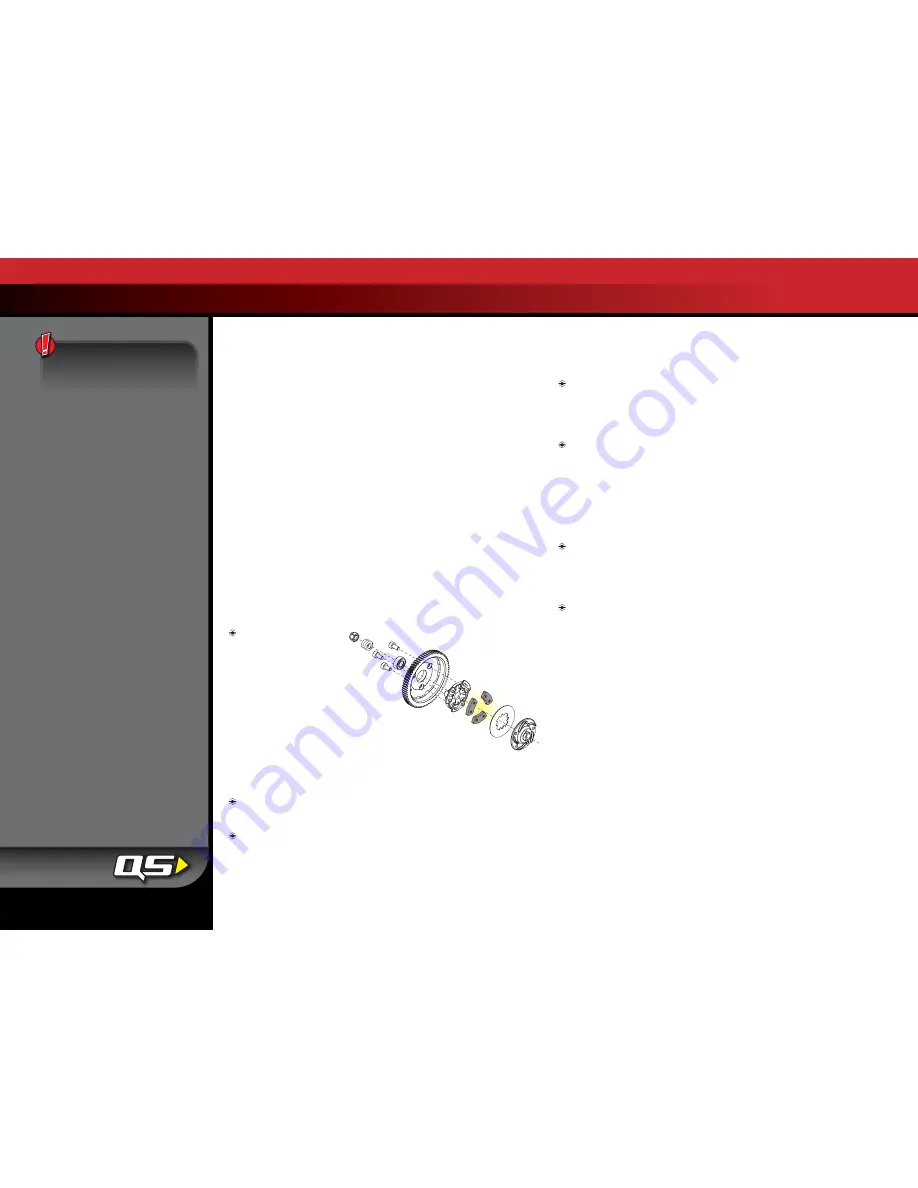
11.  Check the tightness of the slipper clutch.

Other periodic maintenance:


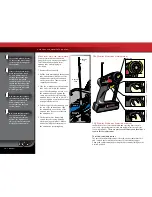
Slipper clutch pads


(friction material): 
Under normal use, 
the friction material 
in the slipper clutch 
should wear very slowly. 
If the thickness of any one of 
the slipper clutch pads is 1.8mm or 
less, the friction disc should be replaced. 
Measure the pad thickness using calipers or 
measuring against the diameter of the 1.5 and 2.0mm hex 
wrenches provided with the model.


Chassis

: Keep the chassis clean of accumulated dirt and grime. 

Periodically inspect the chassis for damage


Steering

: Over time, you may notice increased looseness in the 

steering system. There are several components which will wear 
out from use: the servo saver (Traxxas part #3744), the bellcrank 

bushings (Traxxas part #2545), and the tie rod ends (Traxxas  
part #2742). Replace these components as needed to restore 
factory tolerances. 


Motor

: Every 10-15 runs, remove, clean, and lubricate the motor. 

Use a product such as electric motor cleaning spray to flush dirt 
out of the motor. After cleaning, lubricate the bushings at each 
end of the motor with a drop of light-weight electric motor oil.


Shocks

: Keep the oil level in the shocks full. Use only 100% 

pure silicon shock oil to prolong the life of the seals. If you are 
experiencing leakage around the top of the shock, inspect the 
bladder in the top cap for signs of damage or distortion from 
overtightening. If the bottom of the shock is leaking, then it  
is time for a rebuild. The Traxxas rebuild kit for two shocks is  
part #2362.  


Suspension

: Periodically inspect the model for signs of damage 

such as bent or dirty suspension pins, bent turnbuckles, loose 
screws, and any signs of stress or bending. Replace components 
as needed.


Driveline

: Inspect the driveline for signs of wear such as worn 

drive yokes, dirty axle half shafts, and any unusual noise or 
binding. If a U-joint pops apart then it is time to replace the part. 
Remove the gear cover and Inspect the spur gear for wear and 
check the tightness of set screws in the pinion gears. Tighten, 
clean, or replace components as needed.

Storage

When you are through running the model for the day, blow it off 
with compressed air or use a soft bristled paint brush to dust-off 
the vehicle.

Always disconnect and remove the battery from the model 
whenever the model is stored. If the model will be stored for a long 
time, then also remove the batteries from the transmitter.

Always wear eye protection 
when using compressed 
air or spray cleaners and 
lubricants.

Содержание Slash 5805

Страница 1: ...owners manual MODEL 5805...

Страница 2: ...ovide just the right amount of bite and thick blinding clouds of dirt roost We know you re excited about getting your new model on the road but it s very important that you take some time to read thro...

Страница 3: ...Traxxas com You may also e mail customer support with your question at support Traxxas com Join thousands of registered members in our online community at Traxxas com Traxxas offers a full service on...

Страница 4: ...ter on First Switch on your transmitter first before switching on the speed control to prevent runaways and erratic performance Don t Get Burned The transistor tabs and the heat sinks can get extremel...

Страница 5: ...gh Current Connector NiMH battery charger peakdetectingtyperecommended seesidebar 2 0mm L wrench 1 5mm L wrench Turnbuckle wrench U joint wrench 4 way wrench Aftermarket servo adapters Pre load spacer...

Страница 6: ...own Receiver Box Antenna Mount Suspension Arm Front Front Bumper Steering Servo Shock Oil Damper Turnbuckle Toe Link Turnbuckle Front Camber Link Turnbuckle Rear Camber Link Rear Shock Tower Traxxas H...

Страница 7: ...s 3 Install the antenna See page 12 9 Detail your model See page 8 Install the antenna mast in the model Apply other decals if desired 4 Install batteries in the transmitter See page 11 10 Drive your...

Страница 8: ...ms The tires must be glued to the rims to prevent the rims from spinning inside the tires The instructions here are provided to show you how to glue replacement tires to the rims in the future Use CA...

Страница 9: ...witch Power Indicator Antenna Not Used Receiver Motor Titan 12T Traxxas High Current Connector Male to Battery Traxxas High Current Connector Male to Battery XL 5 Electronic Speed Control Channel 2 St...

Страница 10: ...control also has circuitry that prevents loss of steering and throttle control as the batteries lose their charge Frequency band The radio frequency used by the transmitter to send signals to your mod...

Страница 11: ...the hold down over to the 23mm side and use it on the opposite side of the chassis The Traxxas High Current Connector Your model is equipped with the Traxxas High Current Connector Standard connector...

Страница 12: ...t on the post just until the antenna tube is securely in place Do not over tighten or crush the antenna wire against the chassis 4 Fold the top of the antenna wire over the top of the antenna tube Sli...

Страница 13: ...teering trim located on the face of the transmitter adjusts the neutral center point of the steering servo when the servo is at rest Adjust this control to make the model drive straight with no steeri...

Страница 14: ...rear tires are off the ground If you are holding the model grip it firmly Make sure your hands are clear of the moving parts of the model 3 Plug the battery pack in the model into the speed control 4...

Страница 15: ...servo jump but the LED may not stay on Simply press the button again until the LED shines GREEN and then release Note If the throttle is not at neutral or if the throttle trim has been altered the LED...

Страница 16: ...ins blinking red indicating the Profile numbers 3 When the light blinks red twice release the set button 4 The light will then turn green and the model is ready to drive SelectingTrainingMode Profile...

Страница 17: ...en repetitively from a stop to top speed and with repetitive hard acceleration Tips for Increasing Run Time Use batteries with the highest mAh rating you can purchase Use a high quality peak detecting...

Страница 18: ...r the receiver box during wet running This can cause long term problems with the sensitive electronics in the receiver Removing the receiver box cover during storage allows the air inside to dry This...

Страница 19: ...smoothly and are more consistent while thicker oils provide more damping Use only 100 pure silicone shock oil to prolong seal life The model s ride height can be adjusted by adding or removing the cl...

Страница 20: ...t the model is close to factory stock weight and operates freely with no excessive friction dragging or binding and the battery is fully charged and in good condition The model is equipped with a Tita...

Страница 21: ...lation in the model 1 Disconnect the servo horn from the steering servo 2 Connect the steering servo to channel 1 on the receiver Connect the electronic speed control ESC to channel 2 The white wire o...

Страница 22: ...er Traxxas part 3744 the bellcrank bushings Traxxas part 2545 and the tie rod ends Traxxas part 2742 Replace these components as needed to restore factory tolerances Motor Every 10 15 runs remove clea...

Страница 23: ...e speed control is plugged into the throttle channel of the receiver Check operation of the throttle channel with a servo Bad battery or motor Check the operation with known good battery and motor XL...

Страница 24: ...080514 KC1130 1100 Klein Road Plano Texas 75074 1 888 TRAXXAS owners manual MODEL 5805...

Отзывы: