E-REVO BRUSHLESS • 11
TRAXXAS TQ
i
RADIO SYSTEM
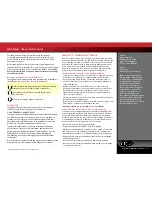
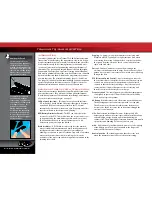
INSTALLING TRANSMITTER BATTERIES
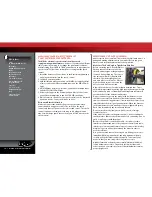
Your TQi transmitter uses 4 AA batteries. The battery compartment
is located in the base of the transmitter.
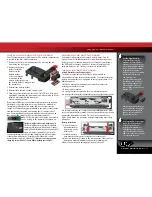
1. Remove the battery compartment door by pressing the tab
and sliding the door open.
2. Remove the battery
holder. Install the
batteries in the
battery holder.
Correct orientation
is indicated in the
battery holder. Make sure
the battery holder is plugged into
the transmitter.
3. Reinstall the battery holder.
4. Reinstall the battery door and snap it closed.
5. Turn on the transmitter and check the “ON” LED for a solid green
light.
Note
: Switching the transmitter on with your mobile device
installed will automatically launch the
Traxxas Link application.
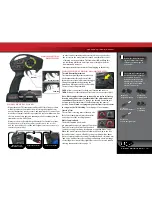
If the status LED flashes red, the transmitter batteries may be weak,
discharged, or possibly installed incorrectly. Replace with new or
freshly charged batteries. The status LED does not indicate the
charge level of the battery pack installed in the model. If the Traxxas
Link application is installed and running, there is a battery level
icon (see image below) on the main menu bar that will give you an
indication of the charge level of the transmitter batteries.
Note
: The Docking Base will charge your mobile
device as long as the transmitter is turned on.
TQi Docking Base Battery Charging Jack
The Docking Base incorporates a standard
charging jack for use with optional Traxxas
rechargeable NiMH battery pack (part #3037)
and wall charger (part #6545) (each sold
separately).
Note
: The charger and charging jack will not charge
rechargeable AA batteries installed in the standard 4-cell AA
battery holder supplied with the TQi.
Only use the charger and
charging jack with the Traxxas NiMH battery (part #3037).
CHARGING THE BATTERY PACKS
Your model requires two fully charged battery packs. Two (2)
Traxxas Power Cell NiHM batteries are supplied with your model.
A charger is not included with your model. Traxxas recommends
the EZ-Peak Plus charger, part #2933, for quick charging of the
included batteries. See Traxxas.com for more information.
INSTALLING BATTERY PACKS
Using Different Battery Configurations
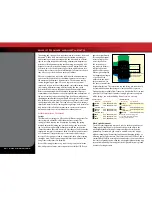
The battery compartments in the E-Revo are adjustable to
accommodate a large variety of battery packs. From the factory, the
battery compartments are configured to accept the included 7-cell
NiMH stick packs.
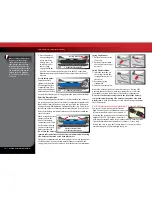
The E-Revo battery compartments have three key features for
keeping your batteries secure:
1. A foam rubber cushion
2. A spring clip (this is removable for use with taller batteries)
3. A battery retainer tab (this is adjustable to fit a variety of battery sizes)
We recommend using this combination for all NiMH batteries. Make
sure to adjust the battery retainer tab to keep your battery pack snug
against the foam rubber cushion. This does not need to be very
tight. It only needs to prevent the battery from moving excessively
during use.
Battery Installation
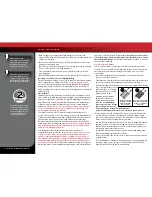
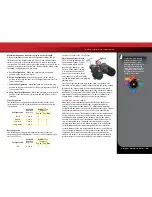
1. Open the battery
compartment door
by pressing on the
release tabs.
2. Install the battery
pack with the battery wires facing the rear of the model.
3. Make sure the battery is snug in the compartment. If not, remove
battery and make adjustment to the battery retaining tab.
4. Route the battery wire through the slot near the vent.
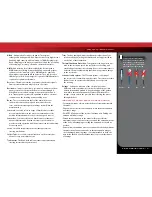
Foam
Cushion
Retainer
Tab
Spring
Clip
2-4
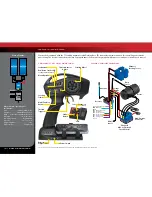
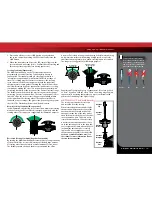
Use the Right Batteries
Your transmitter uses AA
batteries. Use new alkaline
batteries (part #2914). Do not
use rechargeable AA batteries
to power the TQi transmitter,
as they will not provide
sufficient voltage for optimum
transmitter performance.
The Traxxas 5-cell
rechargeable battery pack
(part #3037) can be used in
place of 4 AA alkaline cells.
This battery pack has the
same voltage (6 volts) as four
alkaline cells.
Caution: Discontinue running
your model at the first sign of
weak batteries (flashing red
light on the transmitter) to
avoid losing control.
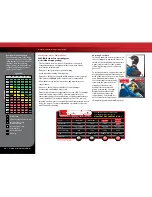
If the status LED doesn’t light
green, check the polarity
of the batteries. Check
rechargeable batteries for
a full charge. If you see any
other flashing signal from the
LED, refer to the chart on page
32 to identify the code.
Содержание 56085
Страница 1: ...MODEL 56085 OWNER S MANUAL ...


