8
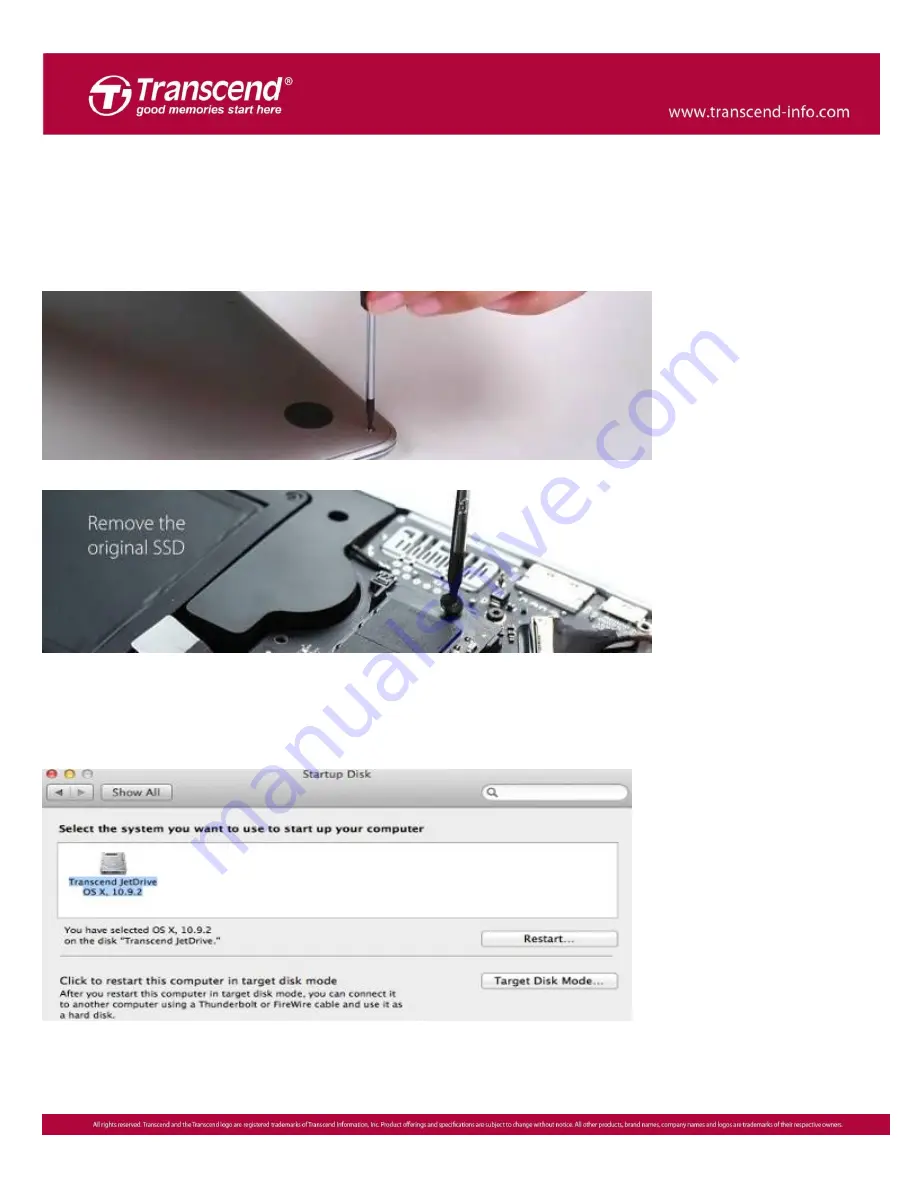
Step 9
Use the included P5 screwdriver to remove the MacBook bottom case and the T5
screwdriver to remove the single screw holding the SSD. Gently remove the original
SSD and insert your JetDrive. Tighten all screws to finish the installation.
※
Remember to disconnect the power adapter prior to the installation process.
Step 10
Turn on your Mac, go to System Preferences and click Startup Disk. Select your new
JetDrive as the startup disk and restart your Mac.
Содержание JetDrive SSD Upgrade Kit
Страница 2: ...2 Part 1 How to install the JetDrive SSD Upgrade Kit into your Mac ...
Страница 3: ...3 OS X 10 10 or earlier ...
Страница 9: ...9 OS X 10 11 El Capitan ...
Страница 13: ...13 Step 7 Go to the upper menu bar and click Edit to find the Restore tab ...
Страница 14: ...14 Step 8 Select Macintosh HD as the source Step 9 Click Restore to start the restore process ...
Страница 17: ...17 OS X 10 13 High Sierra ...
Страница 20: ...20 Step 5 Click the View tab Select Show All Devices ...
Страница 22: ...22 Step 8 Select Transcend s SSD in the sidebar Click the Restore tab ...
Страница 23: ...23 Step 9 Select Container disk2 as the source Click Restore to start the restore process ...
Страница 26: ...26 Part 2 How to install the JetDrive SSD into the enclosure ...
Страница 27: ...27 Step 1 Slide off the transparent plastic seal Step 2 Remove the USB to SATA adapter from the enclosure ...
Страница 30: ...30 Step 7 Put the bottom cover back in place and tighten the three screws ...


