57
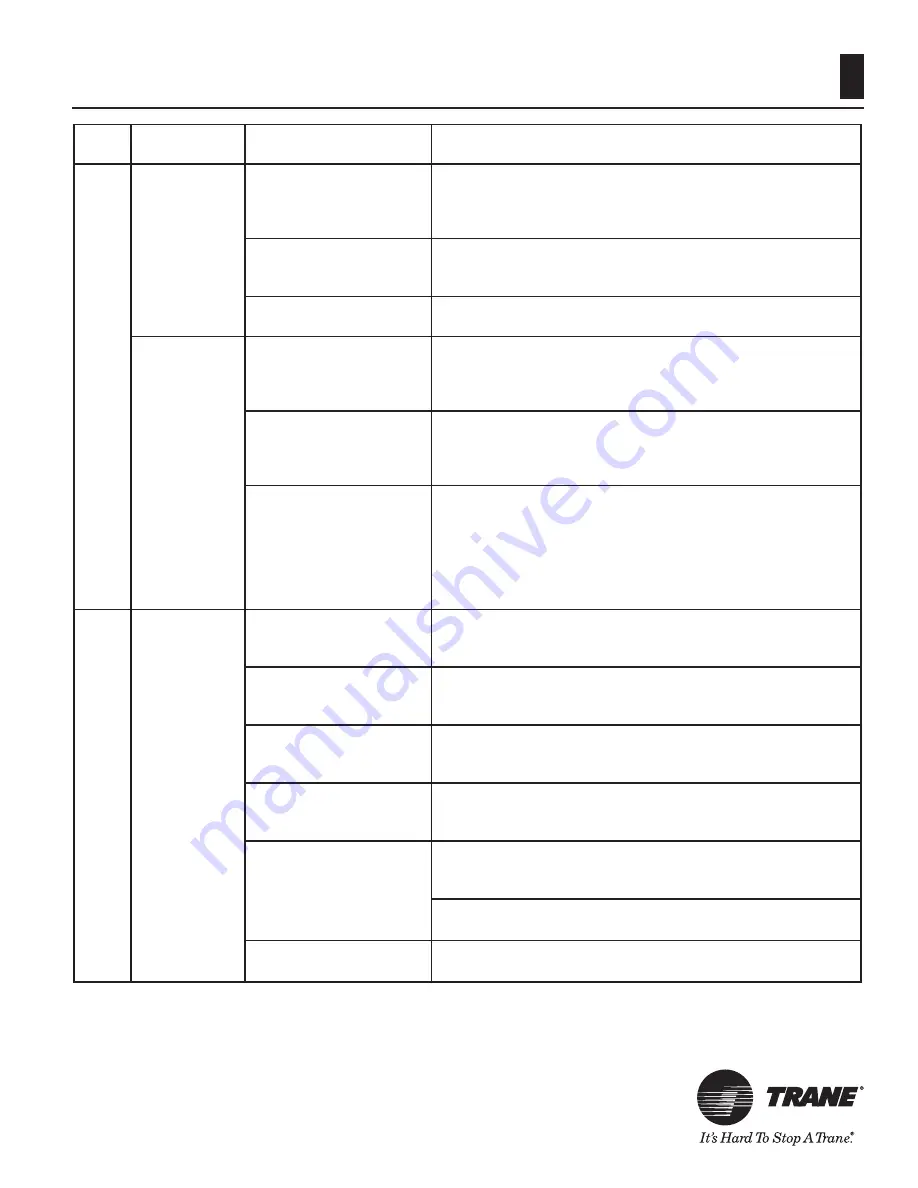
Figure 28:
TROUBLESHOOTING
Code
Fault
Diagnosis Step
Remedy
LO
cont’d
Temperature
limit switch
fault (cont’d)
2. Verify state of
temperature limits’
contacts
Remove wire leads from terminals and measure continuity
across limit switches. If closed, LO code is not caused by
a temperature limit switch fault. If open, proceed to step 3.
Reconnect leads to temperature limits.
3. Verify that water fl ow
is adequate
Verify that water fl ow rate to heater is above the minimum
required (25 GPM for TR250 and 30 GPM for TR400). If OK,
proceed to step 4.
4. Temperature limit
switch is defective.
Replace temperature limit switch.
Exhaust gas
temperature
limit fault
1. Check for faulty wiring
or connection
Inspect temperature limit switch wiring. Ensure wire
harness terminals are securely fastened to spade terminals on
temperarture limit switch located in the fl ue collector panel
above the center of the header.
2. Verify state of
temperature limit’s
contacts.
Remove wire leads from limit switch and measure continuity
across limit switch contacts. If closed, LO code is not caused
by exhaust gas temperature limit switch fault. If open, proceed
to step 3.
3. Heat exchanger has
been damaged.
Heat exchanger has been damaged. This is generally due to
low water fl ow, poor water chemistry, or a combination of
these and other factors. Rectify all issues with water fl ow
through the heater and water chemistry and then replace the
heat exchanger and exhaust gas temperature limit. Continuing
to run the heater after this limit has tripped will cause damage
to the entire unit and will not be covered by the warranty.
IF
Ignition
Failure
1. Ensure gas supply
shutoff valves are open.
Ensure that main gas shutoff installed adjacent to heater is
open. Ensure that knob on gas valve inside unit is in ‘‘on’’
position. If OK, proceed to step 2.
2. Check for low gas
supply pressure
Ensure inlet gas supply pressure is between the minimum and
maximum values indicated on rating plate. If OK, proceed to
step 3.
3. Check for faulty
fl ame sense wiring or
connection.
Inspect fl ame sense wiring. Ensure wire harness terminals are
securely fastened to fl ame sense and to control module. If OK,
proceed to step 4.
4. Check for faulty
gas valve wiring or
connection
Inspect gas valve wiring. Ensure wire harness terminals are
securely fastened to spade terminals on gas valve. If OK,
proceed to step 5.
5. Check for gas valve
failure or gas valve relay
failure.
1. Measure voltage across gas valve during trial for igintion.
If 24VAC is present and gas valve does not open, gas valve is
defective. Replace gas valve.
2. If 24VAC is not present, gas valve relay on control module
is defective. Replace control module.
6. Check for blockages in
gas orifi ces and burners
Inspect gas orifi ces for blockages which could prevent gas
fl ow. Remove and inspect burners for blockages.


