6 |
P a g e
3) Pulser Installation
Two Options:
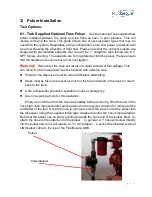
#1 - Trak Supplied Optional Flow Pulser
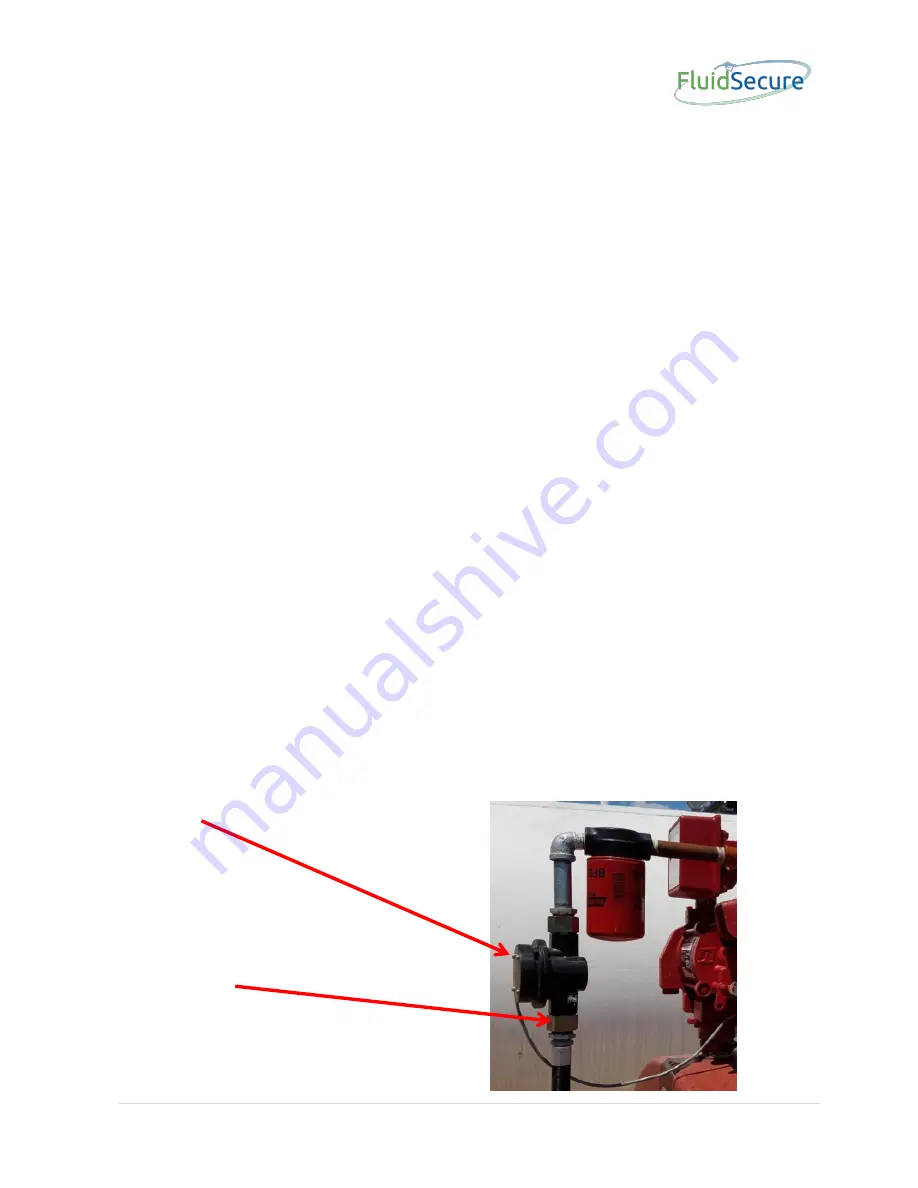
Use the optional Trak supplied flow
pulser installed between the pump and the hose as seen in prior pictures.. This will
involve removing the hose. This guide shows one of several pulser types that may be
used with the system. Regardless of the configuration, each flow pulser is marked with
an arrow showing the direction of fluid flow. Please note that the optional pulsers are
shipped with pre-
installed adapters that convert the 1” straight G type thread into a 1”
NPT female opening. The adapters are O-ring protected into the pulser. Please ensure
that the adapters are secure but do not over tighten.
Warning!
Removal of the hose will result in a minor amount of fuel spillage. This
can result in a fire hazard and must be handled with extreme care.
⚫
Power to the dispenser must be turned off before attempting.
⚫
Steps must be taken to recover as much of the fuel contained in the hose for return
back to the tank.
⚫
A fire extinguisher should be available in case of emergency.
⚫
Use non-sparking tools for this operation.
Empty as much fuel from the hose as possible before removing. Hold the end of the
hose high once removed until it can be placed in the recycle container for removal of the
remainder of the fuel. Once the hose is removed, screw the input end of the pulser into
the dispenser using the supplied teflon tape wrapped around the hose nipple adapter.
Note that the pulser has an arrow pointing towards the hose end of the pulser. Next, re-
attach the hose to the output end of the pulser. In general, a 1” hose will screw directly
into the pulser and a 3/4” will require a 1” to 3/4” adapter. Connect the included external
LINK pulser cable to the top of the FluidSecure LINK.
Pulser
PulserAdapter


