Trailer Vision DR-220N Скачать руководство пользователя страница 10

10

Power ON/OFF

This product has no power on/off button. To power on, start the engine while the power cable has been 
connected to the vehicle. 

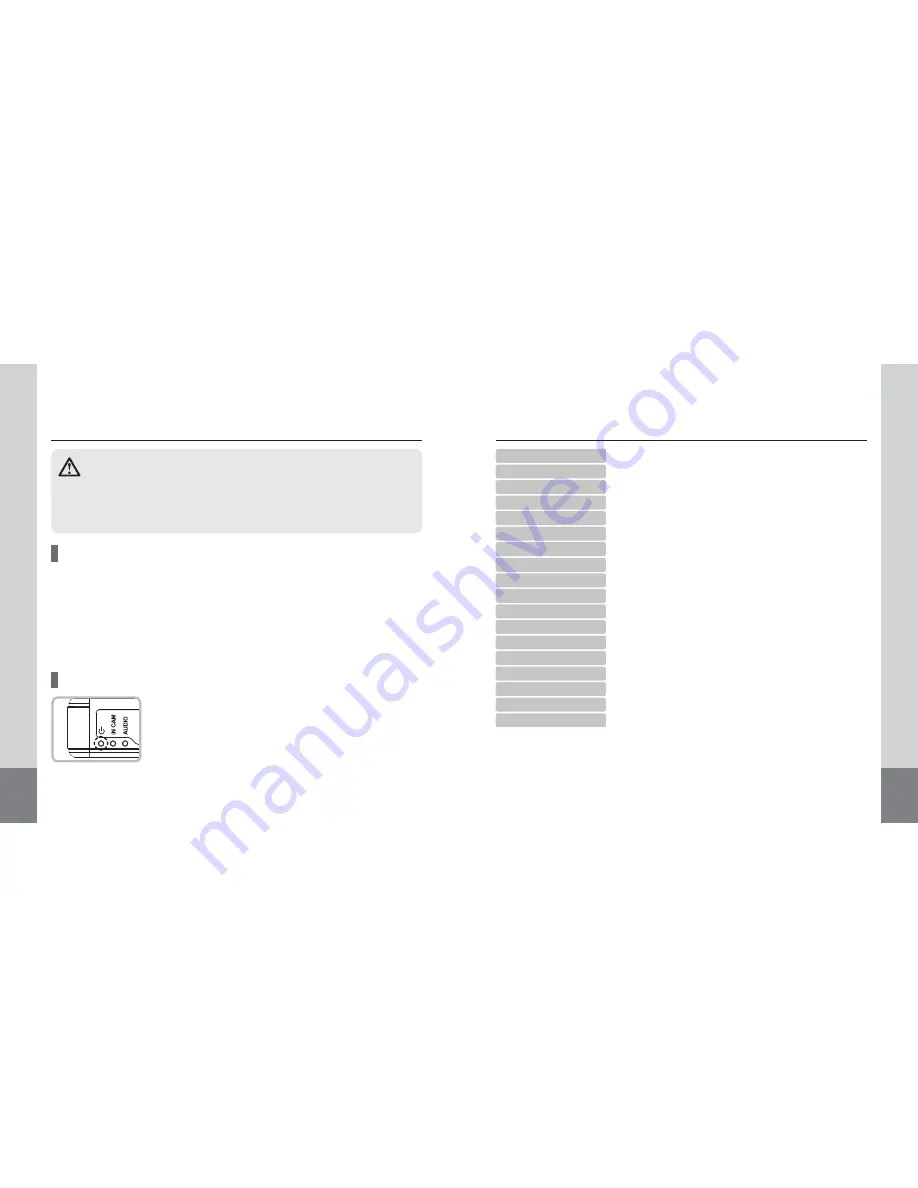
After powering on, the POWER / IN CAM / AUDIO LEDs will come on, and the 

camera will make a beeping sound. Recording will start in approximately 10 - 15 seconds with beep 
sound. 
*  If all 3 LED are blinking quickly with continuous beeping sound, the recording is not working. Please

check SD card or camera connection. 

Once the engine is stopped, the power maintains for 3 ~ 5 seconds by internal super capacitor and after 
audible tone, the last file saves with beep sound. 

• GPS RECEPTION : Power LED is slowly blinking green.
• NO GPS RECEPTION : Power LED is slowly blinking red.
• Event : Power LED is quickly blinking green.

Basic Operation

This product is a model integrated with GPS antenna. If powered on, GPS 
signals will be first detected with signal sounds. Then, GPS functions will be 
enabled to capture the user’s driving route, speed, duration and distance.

- Do not operate while driving.
- Recording is possible only when the SD card is inserted.
-  Please take out SD card after confirming of final melody. (About 3~4seconds) If device turns off and 

take out SD card before final melody sound, the recording files could be broken.  

Before operating this product, please note the following.

15

A fi eld where recorded images are viewed

Indicates 3G-sensor information display.

Controls the volume. (Mute / ,-)

Previous File/Backward/Play(Pause)/Forward/Next File

Controls play speed. (1/4 x speed ~ 4 x speed)

Exits the program.

Maximize the program 

Displays full screen video.

Video maintain / release in 1:1 ratio.

Minimizes the program window. (into the Task Bar)

Displays a list of the playable fi les saved on the SD card.

Shows additional fi le lists.

Displays the driving route on the map.

Shows additional map info.

Displays the current GPS info. received during driving.

Captures and outputs the video being played to a report.

Backs up video or saves playing video as an image fi le.

Displays confi guration window where the user can select detailed settings.

1. Play Screen

2. 3G-sensor

3. Volume Control

4. Image Control

5. Play Speed Control

6. Exit

7. Maximize

8. Full Screen

9. Keep/Off  the Aspect Ratio

10. Minimize

11. File List

12. Extend File List

13. Map Info.

14. Extend Map Info.

15. GPS Info.

16. Output of Event Report

17. Backup

18. Confi guration

Содержание DR-220N

Страница 1: ...hank you for purchasing this product For proper usage and application please read this instruction manual thoroughly DR 220N 2 CH DRIVINGVIDEO RECORDER PRINTED IN KOREA ver 1 1 Design and Specificatio...

Страница 2: ...FCC Rules These limits are designed to provide resonable protection against harmful interference when the equipment is operated in a commercial environment This equipment generates uses and can radia...

Страница 3: ...e problem with GPS signal reception GPS function requires acquisition time when powered on Signal acquisition may take a few seconds or longer depending on operating environment Donotplaceproductinloc...

Страница 4: ...ate sensitivity It may be different from real time because the time information from checking Apply to RTC is applied after SD card inserting Even after adjusting the time in the setting mode if it re...

Страница 5: ...Unit 2 Recording Quality 3 Shock Sensitivity 4 Audio Recording 5 UTC Click Configuration button to open the ConfigurationWindow 5 2 Before using this product please make sure the contents below are in...

Страница 6: ...VINGVIDEO RECORDER Installing the recorder in yourVehicle Prior to installation check the following After installation start the vehicle Then the LED on the POWER will light up which indicates nor mal...

Страница 7: ...by type Power RecordingON OFF timeinformationofrecovered file etc aredisplayed ALL EVENT LOG 7 4 2 CH DRIVINGVIDEO RECORDER Components and their functions 7 Speaker 10 Integrated GPS 9 Mounting Brack...

Страница 8: ...be muted Connection with External camera CM 100S 1 Exterior camera lens 2 Status indicator LED 3 Microphone 4 SD card slot 5 VIDEO OUT 6 DC IN 7 Speaker 8 Mounting bracket Bolt 9 Mounting Bracket 10...

Страница 9: ...f non recom mended SD Card To remove the SD card first turn off the vehicle engine and check that the POWER LED light is off not more than 10 sec required Then remove the SD card Please wait for audib...

Страница 10: ...is possible only when the SD card is inserted PleasetakeoutSDcardafterconfirmingoffinalmelody About3 4seconds Ifdeviceturnsoffand take out SD card before final melody sound the recording files could...

Страница 11: ...n and 40 sec Recording mode time Continued Odinary Recording Independent of events it continues recording at intervals of 2 min Event Motion Recording It performs recording just for 10 seconds before...

Страница 12: ...the SD card has not formatted more than 1 week Date O O GPS Connection X GPS no connection FORMAT T 13 6 2 CH DRIVINGVIDEO RECORDER PCVIEWER MANAGER Recommended PC specifications for PCVIEWER MANAGER...

Отзывы: