TD-W8970B
300Mbps Wireless N Gigabit ADSL2+ Modem Router (Annex B) User Guide
63
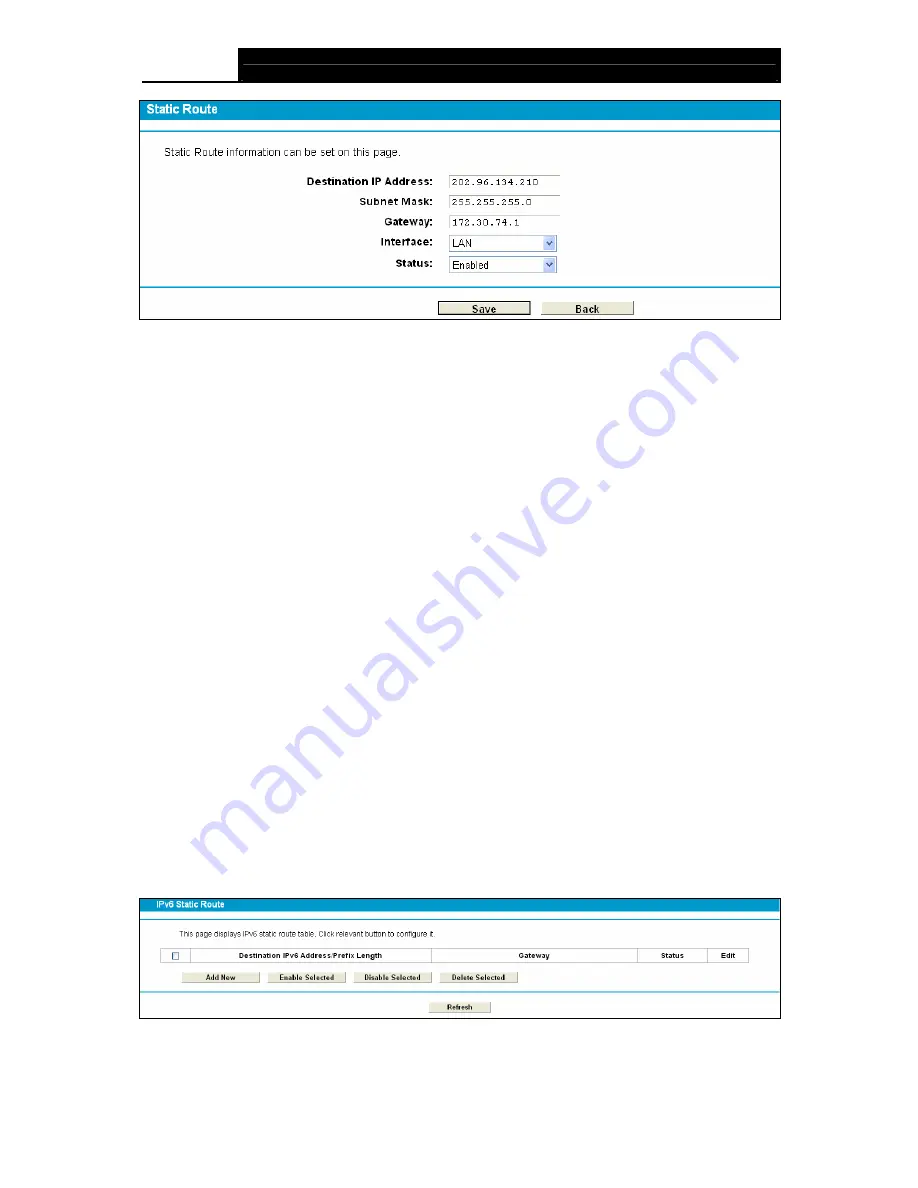
Figure 4-55
2. Enter the following data:
¾
Destination IP Address:
The
Destination IP Address
is the address of the network or host
that you want to assign to a static route.
¾
Subnet Mask:
The
Subnet Mask
determines which portion of an IP Address is the network
portion, and which portion is the host portion.
¾
Gateway:
Here you should type the Gateway address correctly, and the option for
Interface
will adopt the default Gateway address for the Static Route.
¾
Interface:
Select the Interface name in the text box, or else, the default Use Interface will be
adopted for the Static Route.
¾
Status:
Select
Enabled
or
disabled
from the drop-down list
.
3. Click
Save
to save your settings as shown in Figure 4-55.
To modify or delete an existing entry:
1
Find the desired entry in the table.
2
Click
Edit
as desired on the
Edit
column.
Click the
Enable/ Disabled Selected
button to make selected entries enabled/ disabled.
Click the
Delete Selected
button to delete selected entries.
4.9.3 IPv6 Static Route
Choose “
Route Settings
”
Æ
“
IPv6 Static Route
”. You can see the IPv6 Static Route screen. This
screen allows you to configure the IPv6 static routes (shown in Figure 4-54). An IPv6 static route is
a pre-determined path that network information must travel to reach a specific host or network.
Figure 4-56


