


52
NCC Notice & BSMI Notice
注意!
依據 低功率電波輻射性電機管理辦法
第十二條 經型式認證合格之低功率射頻電機,非經許可,公司、商號或使用者均不得擅
自變更頻率、加大功率或變更原設計之特性或功能。
第十四條 低功率射頻電機之使用不得影響飛航安全及干擾合法通信;經發現有干擾現象
時,應立即停用,並改善至無干擾時方得繼續使用。前項合法通信,指依電信規定作業
之無線電信。低功率射頻電機需忍受合法通信或工業、科學以及醫療用電波輻射性電機
設備之干擾。
4.7.9.1應避免影響附近雷達系統之操作。
4.7.9.2高增益指向性天線只得應用於固定式點對點系統。
安全諮詢及注意事項
• 請使用原裝電源供應器或只能按照本產品注明的電源類型使用本產品。
• 清潔本產品之前請先拔掉電源線。請勿使用液體、噴霧清潔劑或濕布進行清潔。
• 注意防潮,請勿將水或其他液體潑灑到本產品上。
• 插槽與開口供通風使用,以確保本產品的操作可靠並防止過熱,請勿堵塞或覆蓋
開口。
• 請勿將本產品置放於靠近熱源的地方。除非有正常的通風,否則不可放在密閉位
置中。
• 請不要私自打開機殼,不要嘗試自行維修本產品,請由授權的專業人士進行此項
工作。
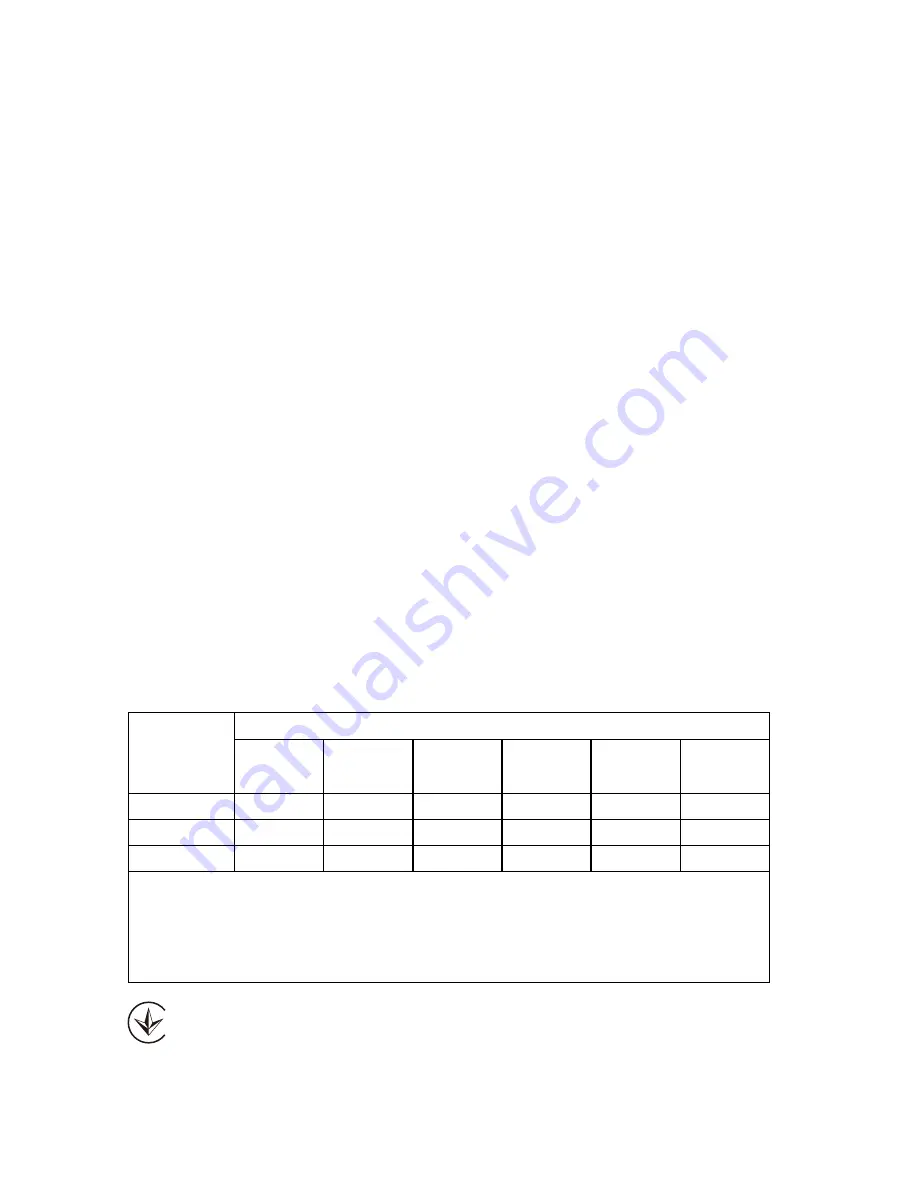
限用物質含有情況標示聲明書
產品元件名
稱
限用物質及其化學符號
鉛
Pb
鎘
Cd
汞
Hg
六價鉻
CrVI
多溴聯苯
PBB
多溴二苯醚
PBDE
PCB
○
○
○
○
○
○
外殼
○
○
○
○
○
○
電源供應板
−
○
○
○
○
○
備考1. "超出0.1 wt %" 及 "超出0.01 wt %" 系指限用物質之百分比含量超出百分比含量
基準值。
備考2. "○"系指該項限用物質之百分比含量未超出百分比含量基準值。
備考3. " − " 系指該項限用物質為排除項目。


