49
Chapter 11
Specify Your Network Settings
3
Enable
Data Limit
to set total/monthly data allowance and usage alert to prevent
data overuse.
4
Enter the allowed amount of total/monthly data in the
Total/Monthly Allowance
field.
When data usage exceeds the allowed level, the router will disconnect from the
internet and notify you on the
Basic
>
Network Map
Page.
5
Enter a percentage in the
Usage Alert
field to prevent data overuse. When data
usage reaches the alert level, a warning will be shown on the
Basic
>
Network Map
Page. If you want to want receive the alert on your phone, enter your mobile phone
number in the
SMS Alert for Usage
field.
6
Enable
Monthly Data Statistics
to reset data statistics when the next billing cycle
starts.
7
Enter the start date of the billing cycle in the
Start Date
field.
8
Click
Save
to save the settings.
11 4 LAN Settings
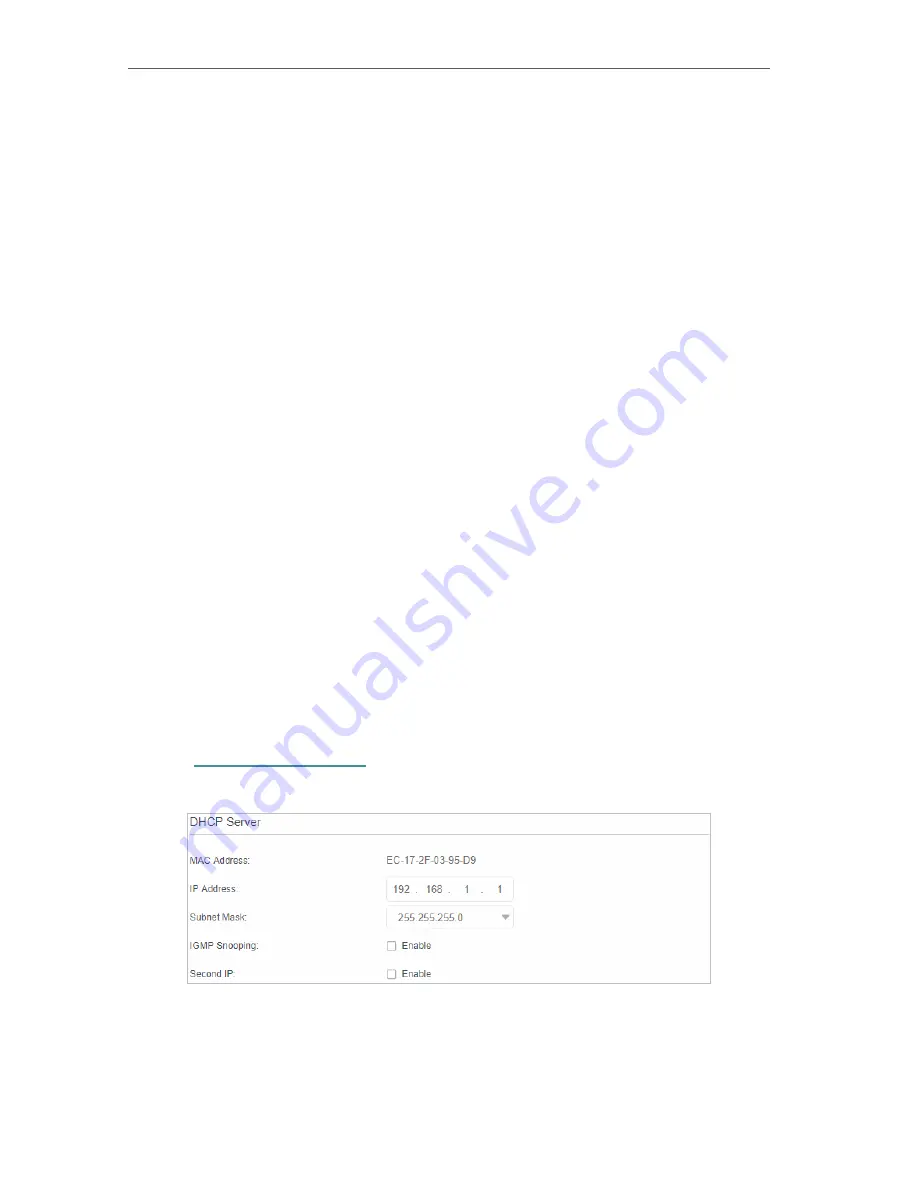
11 4 1 Change the LAN IP Address
The router is preset with a default LAN IP 192.168.1.1, which you can use to log in to
its web management page. The LAN IP address together with the Subnet Mask also
defines the subnet that the connected devices are on. If the IP address conflicts with
another device on your local network or your network requires a specific IP subnet, you
can change it.
Follow the steps below to change your IP address.
1
Visit
, and log in with the password or your TP-Link ID.
2
Go to
Advanced
>
Network
>
LAN Settings
page.
3
Type in a new
IP Address
as needed.
4
Select the
Subnet Mask
from the drop-down list. The subnet mask together with
the IP address identifies the local IP subnet.


