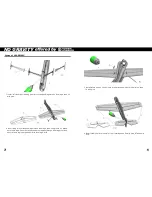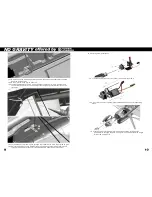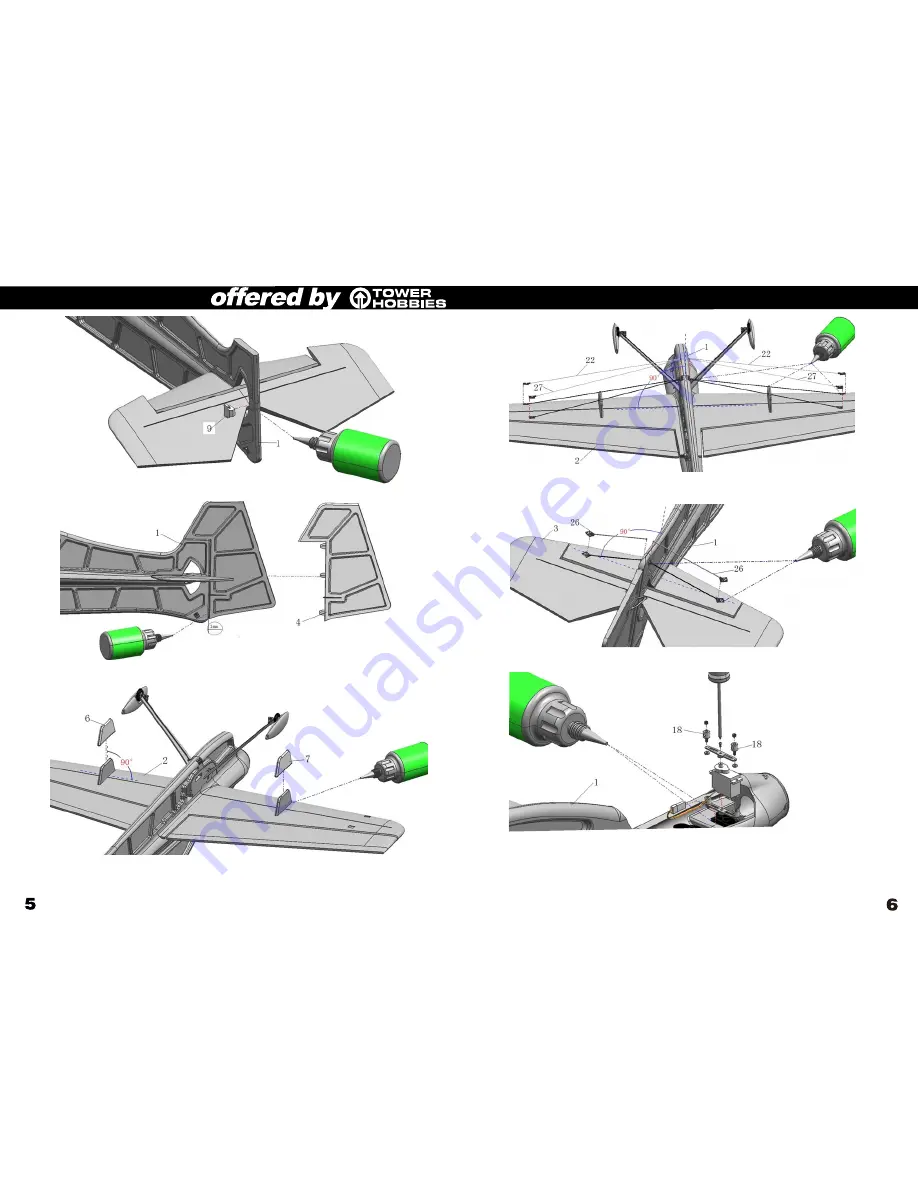
5.Install fuselage foam block into slot that shown in above picture, then fix with glue.
6.Attach rudder onto the rear fuselage according to their corresponding cuttings
and fix with glue. Make sure the rudder is on the same level as fuselage.
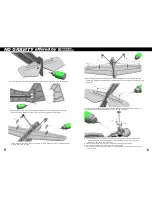
7.Insert left and right wing fences into slots on wing, make sure they’re perpendicular
to wing, then fix with glue.
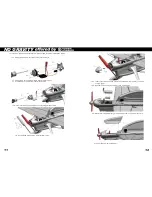
8.Install wing bracing rod 1 and 2 on corresponding places on wing and fuselage,
after make sure wing and fuselage is perpendicular to each other, fix the bracings
with glue.
9.Install elevator bracings as picture shown. Make sure fuselage and elevator is
perpendicular to each other, then fix the bracings with glue.
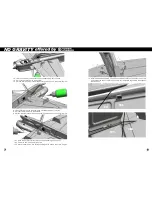
9.1.Place adjustors into holes on servo arm, and fix them with nuts both upside
and downside. Befor adding glue on joints between servo arm and nuts,
make sure adjustors are in function.
9.2.Pass the servo wires through the servo house as picture shown.
9.3.Fix the assembled servo arm onto servo with screw.
9.4.Put this servo which will be used for vector system into the servo house, then
fix with glue.
NO GRAVITY
Содержание NO GRAVITY
Страница 1: ......
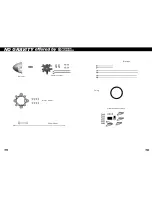
Страница 9: ...15 16 Spinner Vector system Motor mount Pushrod set Bracings O ring Other accessory pack NO GRAVITY ...
Страница 10: ...Motor 2206 Kv1500 Servo 8g micro servo ESC 10Amp Battery3S 400mAh 20C Li Po 17 18 NO GRAVITY ...
Страница 11: ...NO GRAVITY ...
Страница 12: ...NO GRAVITY ...


