8
ENGLISH
REPLACING THE FILL VALVE
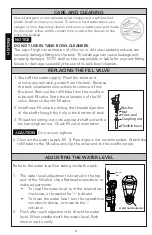
1. Shut off the water supply. Flush the toilet and
remove any remaining water from the tank. Reverse
the tank installation instructions to remove it from
the bowl. Remove the refill tube from the overflow
tube and fill valve. Note the orientation of the fill
valve. Remove the old fill valve.
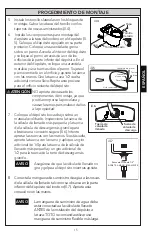
2. Install new fill valve by sliding the threaded portion
of the shaft through the hole in the bottom of tank.
3. Thread mounting nut onto exposed shaft under the
tank and tighten nut. Check fill valve orientation.
Refer to the water level line stamp inside the tank.
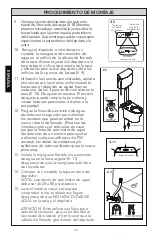
1. The water level adjustment is located in the top
end of the fill valve. Use a flathead screwdriver to
make adjustments:
• To raise the water level: turn the screwdriver
clockwise, or towards the ‘+’ indicator.
• To lower the water level: turn the screwdriver
counter-clockwise, or towards the ‘-’
indicator.
2. Flush after each adjustment to check the water
level. When satisfied with the water level, flush
once more to verify.
Flexible hose
Coupling nut
Nut
Washer
Cone seal
Ill. 1
ADJUSTING THE WATER LEVEL
⚠
CAUTION
water level adjuster
Ill. 1
CARE AND CLEANING
DO NOT USE IN-TANK BOWL CLEANERS.
The use of high concentration of chlorine or chlorine-related products can
seriously damage fittings in the tank. This damage can cause leakage and
property damage. TOTO shall not be responsible or liable for any tank fitting
failure or damage caused by the use of in-tank bowl cleaners.
NOTICE
Use a detergent or non-abrasive toilet cleaner and a soft bristled
plastic brush to clean your toilet. To remove hard water stains, use
vinegar or lime dissolving cleaner and a non-scratch scour pad made
for porcelain. Allow a little contact time to allow the cleaner to dis-
solve the buildup.
Do not over-tighten.
4. Connect the water supply (Ill. 1). Pipe dope is not recommended. Attach the
refill tube to the fill valve and clip the other end to the overflow pipe.
Special
Tool


