87
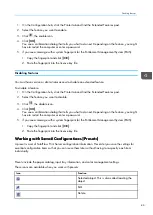
Creating Presets
You can create a new preset when you have changed the current settings of the printer and might need
to use them again.
You cannot create presets when the printer status is “Ready“.
You can save up to 4,000 presets.
To create a preset:
1.
On the Configuration hub, click the Printer tab and find the Preset pod.
2.
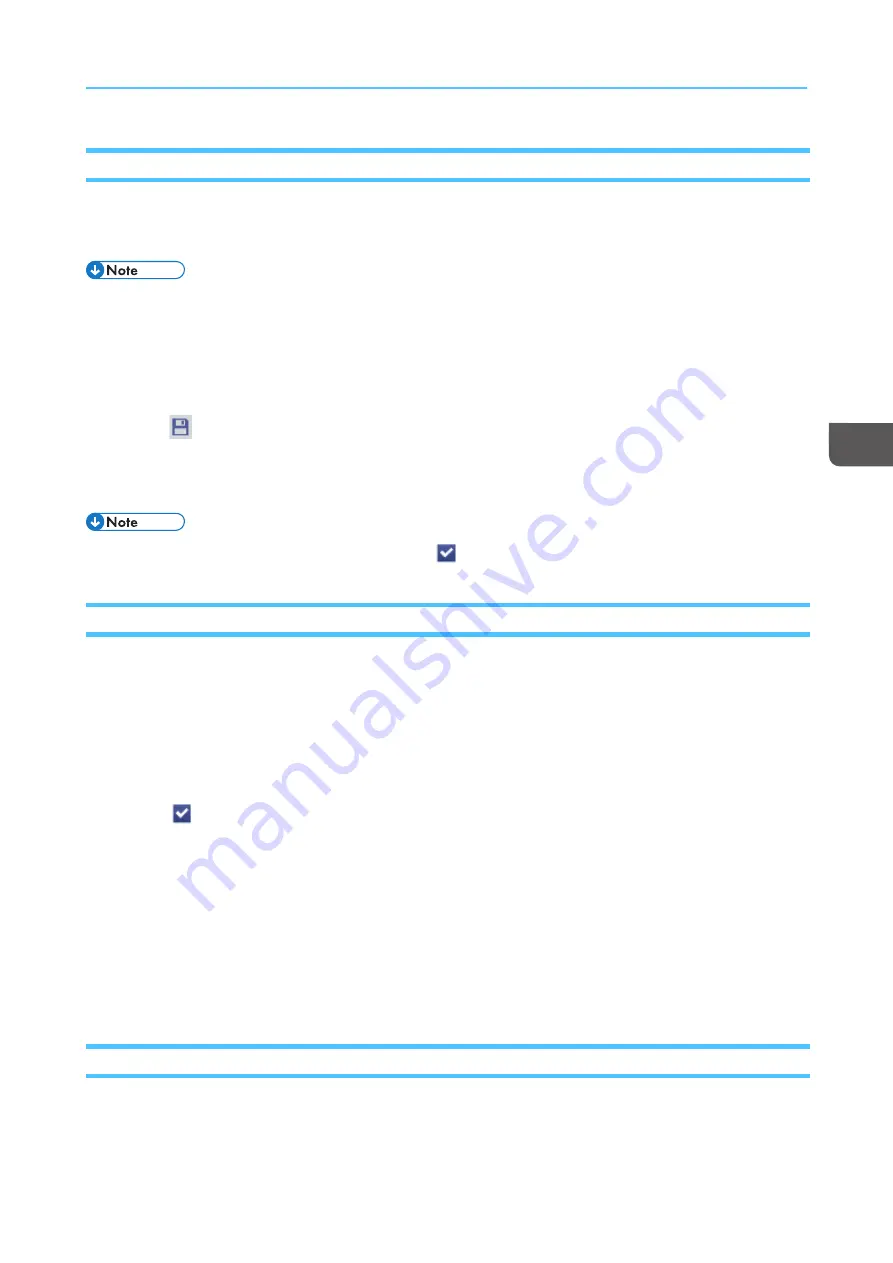
Click
, the save icon, to save the current settings of the printer.
3.
Enter the name of the new preset.
4.
Click [[O
OK
K]].
The new preset is marked as the currently loaded (
) preset.
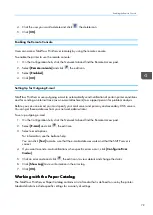
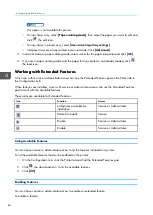
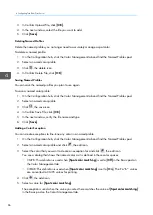
Loading Presets
When you need to use a preset that you have already created, you can load it. When you load a
preset, the TotalFlow Print Server settings are updated to match the values in the preset.
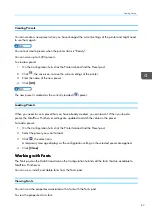
To load a preset:
1.
On the Configuration hub, click the Printer tab and find the Preset pod.
2.
Select the preset you want to load.
3.
Click
, the select icon.
A temporary message displays as the configuration settings in the selected preset are applied.
4.
Click [[C
Clloossee]].
W
Wo
orrkkiin
ng
g w
wiitth
h FFo
on
nttss
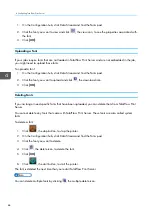
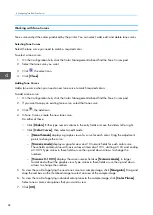
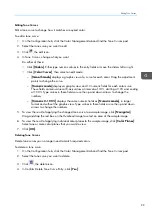
The Fonts pod on the Data Stream tab on the Configuration hub lists all the fonts that are available to
TotalFlow Print Server.
You can view, install, and delete fonts from the Fonts pod.
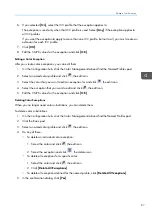
Viewing Fonts
You can view the properties associated with a font with the Fonts pod.
To view the properties for a font:
Содержание Print Server R-60
Страница 2: ......
Страница 14: ......
Страница 56: ......
Страница 62: ...2 60 ...
Страница 102: ...4 100 ...
Страница 150: ...5 148 ...
Страница 162: ...6 160 ...
Страница 172: ...7 170 ...
Страница 178: ...8 176 ...
Страница 198: ...10 196 ...
Страница 208: ...206 ...
Страница 218: ...Copyright 2015 2015 Ricoh Company Ltd All rights reserved ...
Страница 219: ......


