15
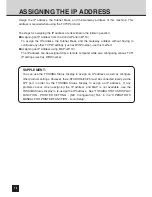
ASSIGNING
IP ADDRESS
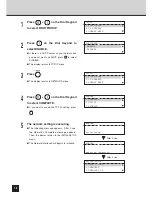
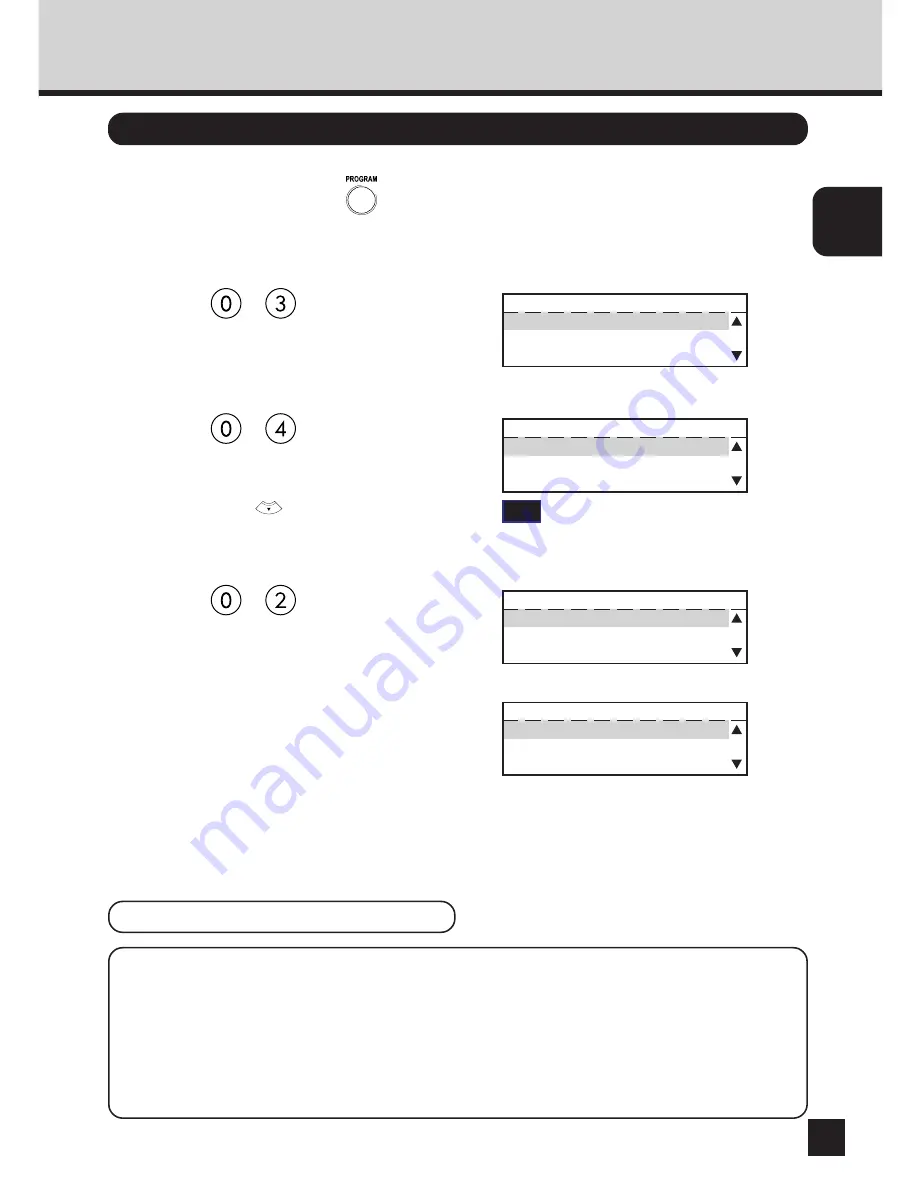
Assigning the IP Address from the Control Panel
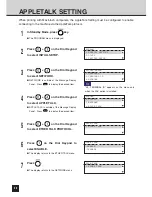
1
In Standby Mode, press
key.
●
The PROGRAM menu is displayed.
2
Press
+
on the Dial Keypad
to select INITIAL SETUP.
PROGRAM
01.DEFAULT SETTING
02.LISTS
03.INITIAL SETUP
3
Press
+
on the Dial Keypad
to select NETWORK.
●
NETWORK is outside of the Message Display
Panel. Press
to display the desired item.
INITIAL SETUP
02.LANGUAGE
03.TERMINAL ID
04.NETWORK
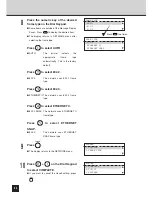
4
Press
+
on the Dial Keypad
to select TCP/IP.
NETWORK
01.COMPLETE
02.TCP/IP
03.NETWARE
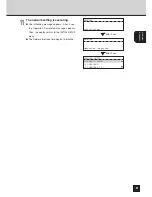
5
When the IP address can be obtained
from the DHCP server, continue to
“Use DHCP Server”.
When the IP address is assigned
manually, continue to “Assign IP
Address Manually”.
TCP/IP
01.BOOTP/DHCP
02.IP ADDRESS
03.SUBNET MASK
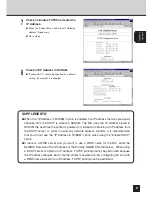
SUPPLEMENTS:
●
When the IP address is obtained from the DHCP server, TCP/IP printing cannot be
performed because the IP address changes each time the printer is powered on.
●
If there is a WINS server and you want to use a WINS name for the NIC, see “Assigning
IP Address using MAP”. By configuring the port with a WINS name instead of an IP
address, TCP/IP printing can be performed.
Use DHCP Server
TIP
“03. TERMINAL ID” appears on the menu only
when the FAX option is installed.
Содержание SmartLink e-STUDIO16
Страница 1: ......
Страница 9: ...7 INTRODUCTION INTRODUCTION ...
Страница 15: ...13 NETWORK SETUP NETWORK SETUP ...
Страница 30: ...28 ...
Страница 31: ...29 USING WITH PEER TO PEER UTILITY USING WITH PEER TO PEER UTILITY ...
Страница 45: ...43 SETUP THE PRINT SERVER WITH NetWare 3 x SETUP THE PRINT SERVER WITH NetWare 3 x ...
Страница 56: ...54 ...
Страница 57: ...55 SETUP THE PRINT SERVER WITH NetWare 4 x SETUP THE PRINT SERVER WITH NetWare 4 x ...
Страница 64: ...62 Click on OK The printer is created 9 10 ...
Страница 76: ...74 ...
Страница 77: ...75 SETUP THE PRINT SERVER WITH NetWare 5 x SETUP THE PRINT SERVER WITH NetWare 5 x ...
Страница 84: ...82 Click on OK The printer is created 9 10 ...
Страница 88: ...86 ...
Страница 89: ...87 SETUP THE PRINT SERVER WITH Windows NT 4 0 2000 SETUP THE PRINT SERVER WITH Windows NT4 0 2000 ...
Страница 106: ...104 The printer is created 16 ...
Страница 110: ...108 ...
Страница 111: ...109 INSTALLING THE PRINTER DRIVER for Windows INSTALLINGTHE PRINTER DRIVER for Windows ...
Страница 142: ...140 ...
Страница 143: ...141 INSTALLING THE PRINTER DRIVER for Macintosh INSTALLINGTHE PRINTER DRIVER for Macintosh ...
Страница 152: ...150 ...
Страница 153: ...151 NETPANEL FUNCTION NETPANEL FUNCTION ...
Страница 160: ...158 6 Click on OK ...
Страница 199: ...197 NETPANEL FUNCTION 6 The printer is installed to the File Server ...
Страница 201: ...199 NETPANEL FUNCTION 6 The printer is removed from the File Server ...
Страница 203: ...201 NETPANEL FUNCTION 6 The selected print jobs are canceled ...
Страница 216: ...214 ...
Страница 217: ...215 MAP MAP ...
Страница 221: ...219 MAP 9 10 Click on Next The files are installed 11 The completion message is displayed 12 Click on OK ...
Страница 229: ...227 TROUBLE SHOOTING TROUBLESHOOTING ...
Страница 234: ...232 ...
Страница 235: ...233 SPECIFICATIONS AND OTHER INFORMATION SPECIFICATIONS AND OTHER INFORMATION ...
Страница 237: ...235 SPECIFICATIONS AND OTHERS TEST PRINT SAMPLE Demo Page ...
Страница 238: ...236 Configuration Page ...
Страница 239: ...237 SPECIFICATIONS AND OTHERS NIC Status Page ...
Страница 240: ...238 PCL Font List ...
Страница 241: ...239 SPECIFICATIONS AND OTHERS ...
Страница 242: ...240 ...
Страница 243: ...241 SPECIFICATIONS AND OTHERS PS Font List ...
Страница 244: ...242 ...
Страница 245: ...243 SPECIFICATIONS AND OTHERS Status Log ...
Страница 246: ...244 Group Management List Page ...
Страница 248: ...246 ...
Страница 249: ...247 SPECIFICATIONS AND OTHERS LIST OF INTERNAL PS FONTS ...
Страница 250: ...248 ...
Страница 251: ...E1 17089B ...


