In
troducti
on
Connecti
o
ns
Bas
ic Setup
P
layback
Ed
iti
n
g
V
CR Fu
ncti
on
s
Ot
hers
Fu
nc
ti
on
Set
u
p
Recordi
n
g
89
EN
Playback
1
Press [
ON / STANDBY] to turn on
the unit.
To play back a tape, turn on the TV and be sure to
select the input to which the unit is connected.
2
Press [VCR].
3
Insert a pre-recorded tape, then
press [PLAY
P
] to begin playback.
4
During playback, press [PAUSE
p
].
Playback will be paused and sound will be muted.
5
Press [PLAY
P
] to resume playback.
6
Press [STOP
S
] to stop playback.
7
Press [OPEN / CLOSE
O
] to eject the
tape.
Note
• When a tape without record tab is inserted, the unit
will start playback automatically.
• Tracking will be automatically adjusted upon
playback. To adjust the tracking manually, press
[PROG.
/ ]
.
Recording and One-touch Timer
Recording (OTR)
Basic Recording
Before recording, make sure:
• The desired channel is selected by pressing
[the Number buttons]
or
[PROG.
/ ]
on the
remote control.
• There is a tape with a record tab in the unit.
• The desired recording speed is selected in SP
(standard play) or LP (long play) mode by pressing
[REC MODE]
on the remote control.
1
Turn on the unit and insert a
recordable tape.
Make sure that the TV input is set on the unit.
2
Press [VCR].
3
Select the recording speed using
[REC MODE].
• The desired recording speed is selected in SP
(standard play) or LP (long play) mode by
pressing
[REC MODE]
.
4
Select the desired channel to record
using [PROG.
/
] or
[the Number buttons].
5
Press [REC / OTR
I
] (VCR) to start
recording.
To temporarily stop recording or to resume it,
press
[PAUSE
p
]
.
After the unit has been in pause mode for 5
minutes, it will stop automatically to protect the
tape and the video head from damage.
6
Press [STOP
S
] when the recording
is completed.
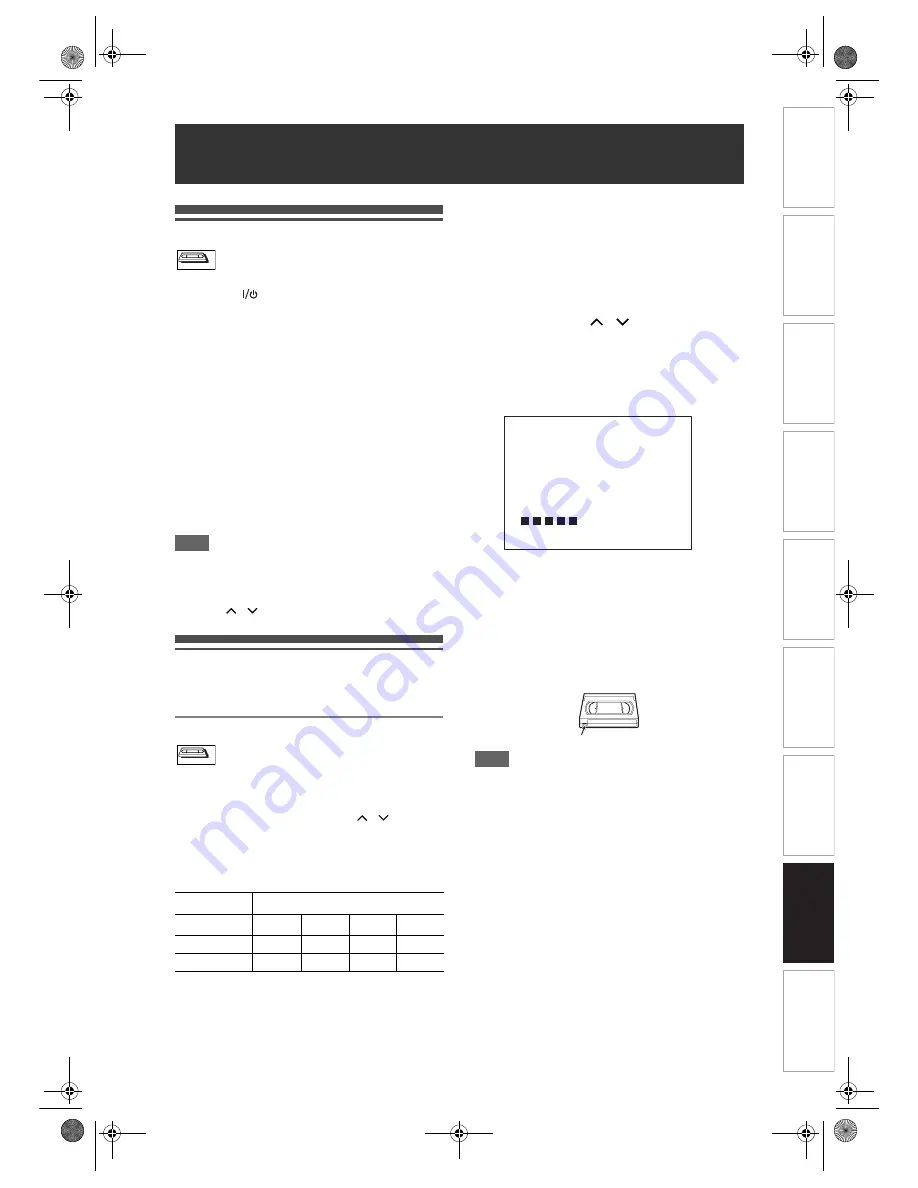
Accidental erasure prevention
To prevent accidental recording on a recorded
cassette, remove its record tab. To record on it later,
cover the hole with cellophane tape.
Note
• Although you can playback a videotape recorded in
the SP or LP mode on this unit, SLP mode recording
is not available.
• Timer Recording is not available for VCR.
• If a basic recording or One-touch Timer Recording is
in progress on the VCR and the Timer Recording set
for HDD or DVD is about to begin, the unit will
automatically switch to the programmed channel
within 15 seconds before the programmed time and
the recording in progress on the VCR will be
cancelled UNLESS their recording channel is the
same. If their recording channel is the same, the
Timer Recording for HDD or DVD will start without
cancelling the recording currently in progress on the
VCR. In this case, the recording of the same
channel will be made on both VCR and the HDD or
DVD.
To view one channel while recording another:
If you want to watch the TV programmes, simply
select the channel you want to watch with the TV’s
remote.
VCR Functions
Tape speed
Recording / Playback Time
Type of tape
E60
E120
E180
E240
SP mode
1 hour
2 hours
3 hours
4 hours
LP mode
2 hours
4 hours
6 hours
8 hours
VCR
VCR
VCR
VCR
Record tab
E439BBD_EN.book Page 89 Wednesday, May 31, 2006 4:01 PM


