- 13 -
Display Position
1
2
3
4
Viewing the Camera Image
Use the LIVE/PLAYBACK button to select the Live mode (The LED will light).
Full Screen Display
The camera image can be viewed in a full screen display.
1
Press the FULL SCREEN button.
2
Press the CAMERA SELECT button of the channel you wish to view. The LED of the selected channel will light
at this time.
2x2 Display
The camera image can be viewed in a 2x2 display.
1
Press the 2x2 button.
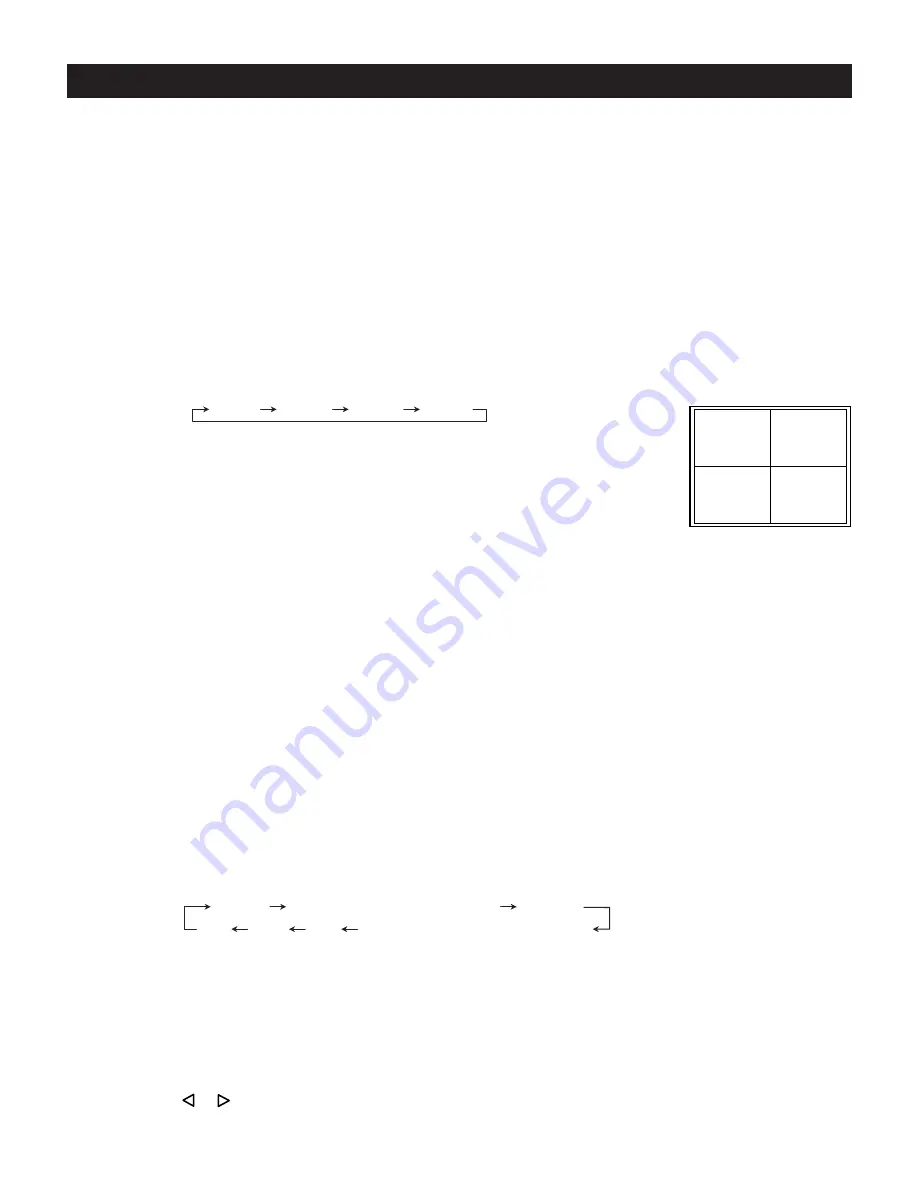
Each time the 2x2 button is pressed, the screen display mode changes as follows:
• 2x2 A: Displays Channel 1 to Channel 4.
(The LEDs of CAMERA SELECT buttons 1 to 4 light.)
• 2x2 B: Displays Channel 5 to Channel 8.
(The LEDs of CAMERA SELECT buttons 5 to 8 light.)
• 2x2 C: Displays Channel 9 to Channel 12.
(The LEDs of CAMERA SELECT buttons 9 to 2 light.)
• 2x2 D: Displays Channel 13 to Channel 16.
(The LEDs of CAMERA SELECT buttons 13 to 16 light.)
3x3 Display
The camera image can be viewed in a 3x3 display.
1
Press the 3x3 button.
*
The images from the Channel 10 to Channel 16 will not be displayed.
4x4 Display
The camera image can be viewed in a 4x4 display.
1
Press the 4x4 button.
MULTI Display
Camera images can be viewed in a variety of multiple displays.
1
Press the MULTI button. Each time the MULTI button is pressed, the display mode changes as follows:
• Squish
(1) The CAMERA SELECT button can be used to switch the camera image.
(2) The ZOOM button can be used to change the position at which the camera is switched.
• Vertical split screen with pan
(1) The CAMERA SELECT button can be used to switch the camera image.
(2) The ZOOM button can be used to change the position at which the camera image is switched.
(3) The or button can be used to pan the display area.
Operation
2x2 A
2x2 B
2x2 C
2x2 D
Squish Vertical split screen with pan Squash
PIP 12+1 8+2 Horizontal split screen with pan


