


36
CONTROLS AND FEATURES
En
glis
h
c
Press
B
or
b
to select
Setup
and press
OK
.
d
Press
B
or
b
to select
USB Auto Start
and press
C
or
c
to select
On
or
Off
.
Auto Start:
a
Insert USB device into the USB socket on the left side
of the TV. A prompt will appear.
b
Press
C
or
c
to select
Yes
and press
OK
.
c
Press
B
or
b
to select
Photo
,
Movie
, or
Music
and
press
OK
.
d
Select the connected USB device and press
OK
.
Multi View
will appear.
NOTE:
If
Auto Start
is set to
Off
, you can start the Media
Player manually.
Manual Start:
a
Insert USB device into the USB socket on the left side
of the TV.
b
Press
MENU
/
C c
to highlight
APPLICATIONS
icon.
c
Press
b
to select
USB Media Player
and press
OK
.
d
Press
B
or
b
to select
Photo
,
Movie
or
Music
and
press
OK
.
e
Select the connected USB device and press
OK
.
Multi View
will appear.
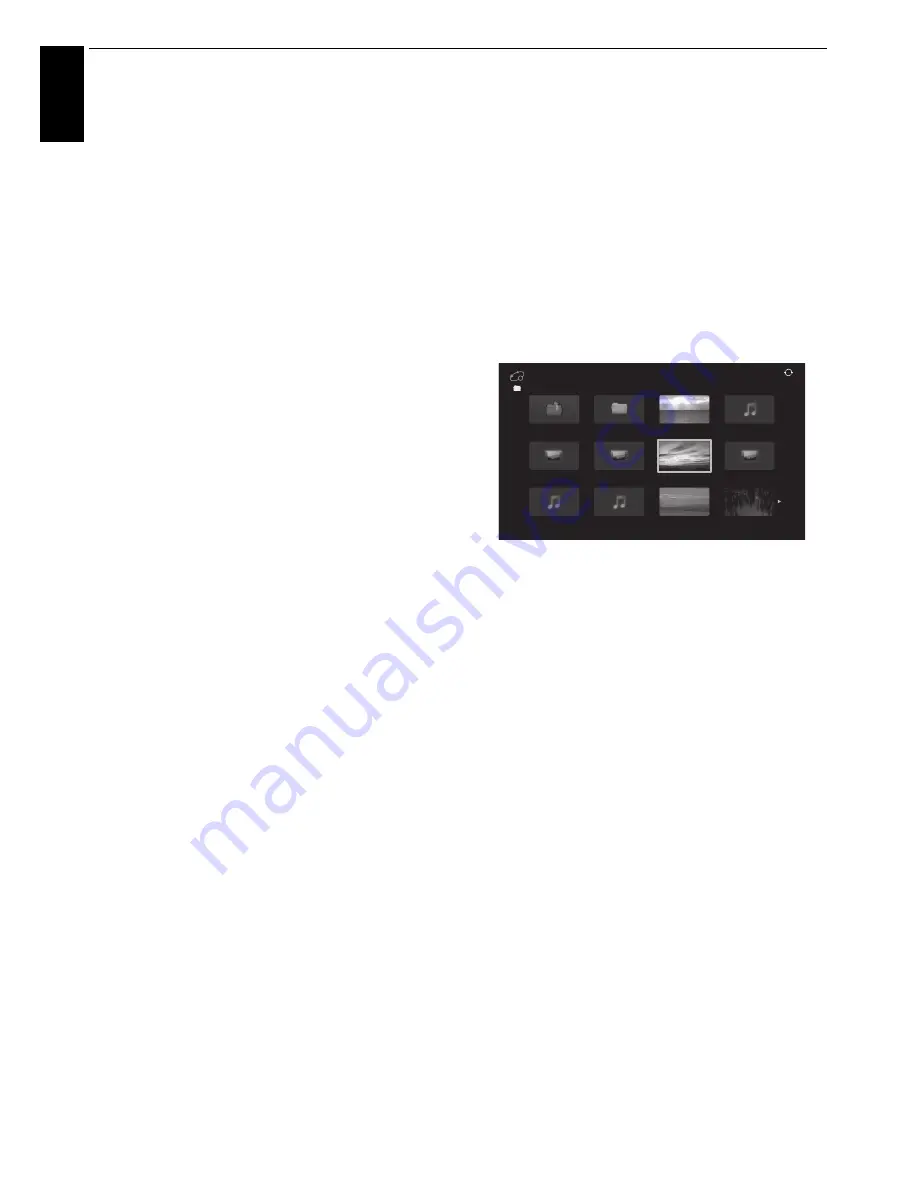
To select a file in the Multi View:
a
Press
Bb
C
c
to select a file or folder.
b
Press
OK
to move to the next layer, or press
BACK
to
return to the previous layer.
NOTE:
You can also return to the previous layer by selecting
the icon at the top left of the
Multi View
screen and pressing
OK
.
To close the Media Player:
a
Press
EXIT
.
Using the Media Player with a DLNA CERTIFIED™
Server
You need to configure a home network before using
this feature (see page 11).
a
Press
MENU
/
C c
to highlight
APPLICATIONS
icon.
b
Press
b
to select
Network Media Player
and press
OK
.
c
Select the server you want to use and press
OK
.
Multi View
will appear.
Photo, Movie and Music files and folders are displayed in the
Multi View
(DMS).
Files are displayed according to the type first selected (
Photo
,
Movie
or
Music
).
e.g. If you first selected a Photo file, only Photo files will be
displayed.
To select a file in the Multi View:
a
Press
Bb
C
c
to select a file or folder.
b
Press
OK
to move to the next layer, or press
BACK
to
return to the previous layer.
NOTE:
You can also return to the previous layer by selecting
the icon at the top left of the
Multi View
screen and pressing
OK
.
To close the Media Player:
a
Press
EXIT
.
Multi View (DMS)
///Folder name
5/9999
Return
xxxxxxxxx.mp3
xxxxxxxxx
xxxxxxxxx.mp3
xxxxxxxxx.mp3
Network Media Player
xxxxxxxxx.jpg
xxxxxxxxx.jpg
xxxxxxxxx.jpg
xxxxxxxxx.jpg
xxxxxxxxx.mpg
xxxxxxxxx.mpg
xxxxxxxxx.mpg


