Toshiba 32CV700E Скачать руководство пользователя страница 23

23

Note:

It will not be possible to change programme 

position while in Teletext mode, you will have 

to cancel the teletext first by pressing 

 to 

return to a normal TV picture.

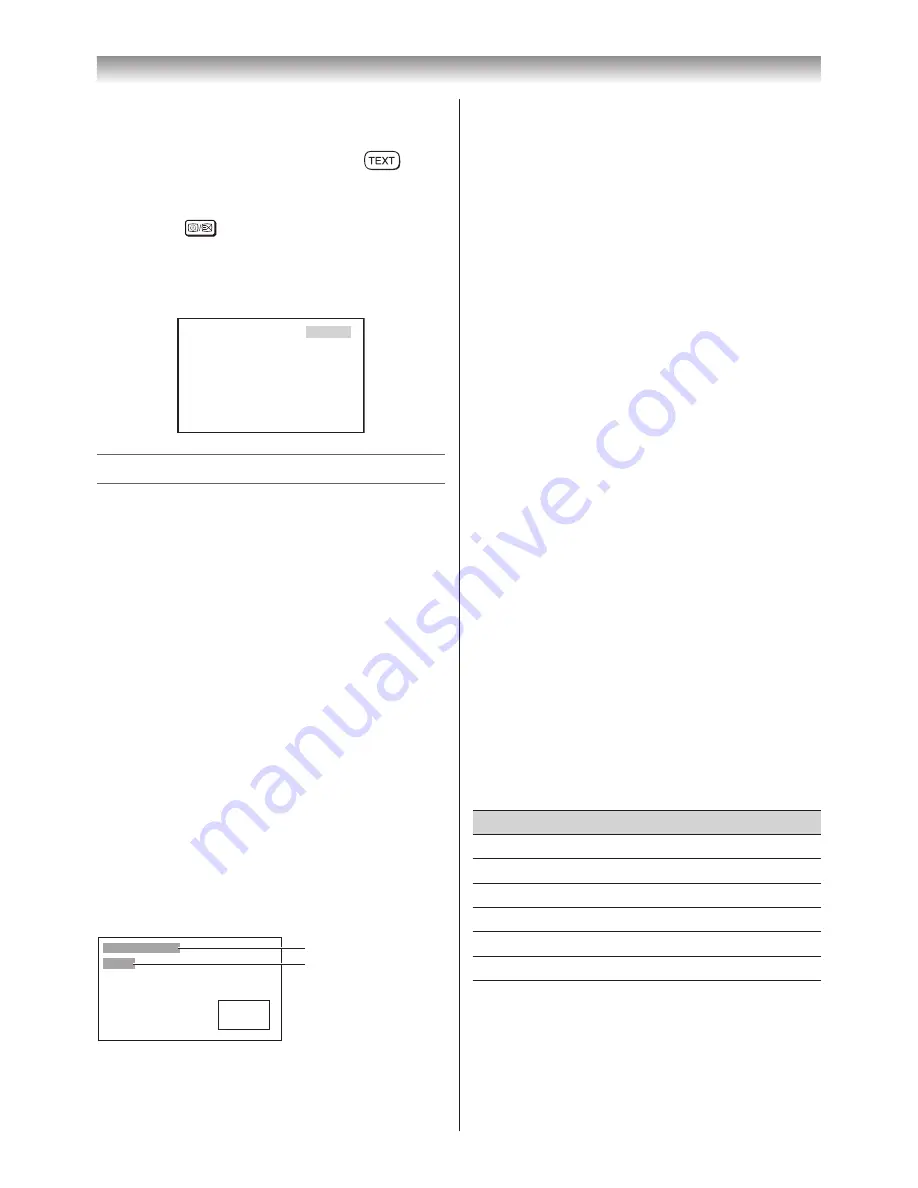
To select the time display:

If you press 

 while watching a normal TV 

broadcast, you will see a time display from the 

broadcaster. It will remain on the screen for 

about 5 seconds.

21:56:25

9:56 and 25 seconds p.m.

Watching PIP (Picture-in-Picture)

•  This TV is capable of displaying two pictures 

simultaneously.

•  This is called the PIP (Picture-in-Picture) 

function. A TV picture or a picture from external 

source equipment can be displayed as a sub-

picture.

•  When the main picture is a TV or Standard 

(Composite) video pictures, the sub-picture 

can only be HDMI, Component video or PC 

pictures.

•  When the main picture is a picture from HDMI, 

Component video or PC pictures, the sub-

picture can only be from a TV or Standard 

video pictures.

Displaying a sub-picture

1

  Select the TV programme or HDMI signal you 

want to watch.

2

  Press 

QUICK

 to open the 

Quick Menu

, press 

s

 or 

r

 to select 

PIP

.

3

  Press 

Q

 to display a sub picture will appear 

on the screen.

(Main picture)

(Sub- picture)

Main picture source
Sub-picture source

Using the TV’s features

Notes:

•  When the input signal is in 1080i, 1080p and 

the picture size select the 

Native

 mode (

-


page 15), the picture size will be changed 

Wide


mode when using this function.

•  The sub-picture cannot change channel 

position.

Changing the position of the sub-picture

1

  While watching the image in PIP, press 

s

r

v

 or 

w

 repeatedly.

Switching the position of the main and the 

sub-picture

1

  While watching the image in PIP, press 

QUICK

, then press 

s

 or 

r

 to select 

PIP Swap

. The main and sub-picture are 

switched.

2

  Select the mode again to switch again.

Selecting the sound of the Main and the 

Sub-picture

1

  While watching the image in PIP, press 

QUICK

, then press 

s

 or 

r

 to select 

PIP 

Sound

2

  Press 

v

 or 

w

 to select 

Main

 or 

Sub

.

Closing the PIP Mode

1

  While watching the image in 

PIP

 mode, press 

QUICK

.

2

  Press 

s

 or 

r

 to select 

PIP Off

, and then 

press 

Q

.

The other Quick Menu

Quick menu item

Description

Picture Mode

-

 page 16.

Picture Size

-

 page 15.

Sleep Timer

-

 page 19.

Media Player

-

 page 28.

Bass Boost

-

 page 19.

Signal Booster

-

 page 13.

Содержание 32CV700E

Страница 1: ...n the back of the TV Record these numbers in the spaces provided below Refer to them whenever you call upon your TOSHIBA dealer regarding this product Model number Serial number 32CV700E 32CV700T 32CV700V 40CV700E 40CV700T 40CV700V 2010 TOSHIBA CORPORATION All Rights Reserved VX1A00171500 TD J ...

Страница 2: ...rectly rated and approved type and the fuse cover must be refitted About the earth An appliance with protective earth terminal should be connected to a mains outlet with a protective earth connection About the use Make sure to insert the plugs firmly when plugging the AC power cord into the TV set end and wall outlet end Make sure to hold the plug when unplugging the AC power cord Contents Introdu...

Страница 3: ...rtain on the TV Never stand the TV on cloth or other material placed between the TV and supporting furniture When installing the TV against a wall always keep the TV at least 10 cm away from the wall Never place the TV on a soft unstable surface such as a carpet or a cushion The inside of this TV will overheat if the ventilation holes are covered blocked or sealed which may result in a fire 5 Neve...

Страница 4: ...s on or close to the TV High temperatures can melt plastic and lead to fires Introduction Getting started 2 The apparatus shall not be exposed to dripping or splashing and that no objects filled with liquids such as vases shall be placed on the apparatus When liquids are spilled or small items are dropped inside the TV this may cause a fire or an electric shock If small objects drop inside the TV ...

Страница 5: ...ic shock Service 1 Never repair modify or disassemble the TV by yourself It may cause a fire or an electric shock Consult a service technician for inspection and repairs 2 When a malfunction occurs or if smoke or an unusual odor comes from the TV turn off the TV and remove the power plug from the outlet immediately Make sure that the smoke or smell has stopped then contact a service technician If ...

Страница 6: ...ts or have luminous spots This is not sign of malfunction 4 About Interference The LCD display may cause interference in image sound etc of other electronic equipment that receives electromagnetic waves e g AM radios and video equipment 5 About using under the low temperature places If you use the TV in the room of 0 C or less the picture brightness may vary until the LCD monitor warms up This is ...

Страница 7: ...st not be exposed to excessive heat such as sunshine fire or the like Attention should be drawn to the environmental aspects of battery disposal Introduction Getting started Never mix battery types or combine used batteries with new ones Notes If the remote control does not operate correctly or if the operating range becomes reduced replace both batteries with new ones If the batteries are dead or...

Страница 8: ...Power LED Power indicator page 10 TV back panel connections AC IN RGB PC VIDEO AUDIO R L MONO AUDIO R L MONO Y PR CR PB CB 1 2 3 4 PC HDMI1 AUDIO 1 2 AUDIO FIXED COMPONENT VIDEO INPUT USB TV back view Power cord Make sure to insert the plugs firmly when plugging the AC power cord into the TV set end and wall outlet end Make sure to hold the plug when unplugging the AC power cord Never use other co...

Страница 9: ...ge 20 4 Power on Standby page 10 5 Picture still page 16 6 Stereo Bilingual selection pages 18 19 7 Number buttons 0 9 pages 12 19 22 8 To display the Channel List page 21 9 To return to the previous programme page 12 10 To display on screen information page 12 Initial Index function for Teletext page 22 11 Sound Mute This button turns the sound off on 12 Programme position U u page 12 13 Volume T...

Страница 10: ... the TV for the first time Before switching on the TV put your decoder and media recorder to standby if they are connected and ensure that the aerial is connected To setup the TV use the buttons on the remote control as detailed on page 9 1 Press the button The Quick Setup screen will appear This screen will appear the first time that the TV is switched on Quick Setup Language English 2 Press v or...

Страница 11: ... 23 PIP Off page 23 When using Media Player Photo View Interval Time page 28 Repeat page 28 Learning about the menu system We suggest you familiarize yourself with the display charts before using the menu system Press MENU to display menu then press v or w to select main menu headings Press s or r to select an item Press v or w to select or adjust setting Press Q to display the next menu Displayin...

Страница 12: ...an also change the position by using PU or Pu The position will be displayed on the screen with the Mono Stereo Dual audio status Note Changing positions between different format channels takes several seconds Switching between two positions You can switch two positions without entering actual position number each time 1 Select the first position you want to view 2 Select the second position with ...

Страница 13: ...ection is wrong In such a case select another colour and or sound system page 31 D Position skip selection Press s or r to turn the position skip option on 8 or off The position will then be skipped when you select channels with PU or Pu The 8 mark will appear beside a position number when you use the Number button on the remote control E Channel search operation Press r to search up the band or s...

Страница 14: ... 1 for channel MNOP Prog 4 1 From the SETUP menu press s or r to select Manual Tuning menu and then press Q 2 Press s or r to select the channel ABCD then press w 1 A B C D E F G H I J K L M N O P Manual Tuning Pos Label 2 3 4 5 6 7 8 3 Press s to select the new position 4 then press v 4 Press r to select the channel MNOP then press w 5 Press r to select the new position 1 then press v 6 Confirm n...

Страница 15: ...y stretching the image horizontally and vertically holding better proportions at the centre of the image Some distortion may occur Cinema When watching all sides panel format films video tapes this setting will eliminate or reduce the black bars on all the sides of the screen by zooming in and selecting the image without distortion Subtitle When subtitles are included on a letterbox format broadca...

Страница 16: ...osition Adjustment to the position of the picture may be made to suit your viewing preferences 1 From the SETUP menu press s or r to select Picture Position 2 Press Q then press s or r to select the item you want to adjust Picture Position Horizontal Position Vertical Position Reset 0 0 3 Press v or w to adjust the settings as desired Horizontal Position 0 Notes When the picture size is in Wide or...

Страница 17: ... s or r to select Cinema Mode on the 2nd page Picture Settings 2 2 Cinema Mode Colour Temperature Reset Off 2 Press v or w to select On or Off Note When a DVD movie with subtitle is playing back this mode may not work correctly Adjusting the Colour Temperature Colour Temperature increases the warmth or coolness of the picture by setting the red green or blue tint 1 From the Picture Settings menu p...

Страница 18: ...aural mode d Stereo and e Mono appear cyclically on the screen Adjusting the Colour Management You can adjust the picture colour quality by selecting from 6 base colour adjustments Red Green Blue Yellow Magenta or Cyan 1 From the PICTURE menu press s or r to select 3D Colour Management 2 Press v or w then press v or w to select On 3 Press Q then press s or r to select Base Colour Adjustment 4 Pres...

Страница 19: ...ss s or r to select the required timer mode Sleep Timer Turn off the TV or On Timer 3 Press the Number buttons 0 9 v or w to set the On or Off delay time The timer display will set by 10 minutes up to 12 hours and 50 minutes Stereo Selecting the bilingual programmes 1 When a bilingual programme is received j Dual appears 2 Press g to select the sound to be heard The sound differs according to the ...

Страница 20: ...anel Lock disables the buttons on the TV All buttons on the remote control can still be used 1 From the FUNCTION menu press s or r to select Panel Lock 2 Press v or w to select On or Off Note When Panel Lock is On a reminder will appear when the buttons on the TV are pressed If the standby button is pressed the TV will switch off and can only be brought out of standby by using the remote control A...

Страница 21: ...s it will take a long time for them all to load and this will depend on the speed with which the broadcaster transmits them To access the sub pages in memory press v or w to view them Using Subtitles 1 Press on the remote control to display the current Subtitle status While this status is displayed press again to change the setting A Colour System Confirm that Colour System is set to A Auto If not...

Страница 22: ...nt to change these stored pages press the coloured button for the colour you want to change e g Press the Green button and enter the 3 digit number This number will change and blinking 4 Press Q to store your choice The bars at the bottom of the screen will flash white 5 You may view other pages by simply entering the 3 digit page number but NEVER press Q or you will lose the favorite already stor...

Страница 23: ...n the Quick Menu press s or r to select PIP 3 Press Q to display a sub picture will appear on the screen Main picture Sub picture Main picture source Sub picture source Using the TV s features Notes When the input signal is in 1080i 1080p and the picture size select the Native mode page 15 the picture size will be changed Wide mode when using this function The sub picture cannot change channel pos...

Страница 24: ... properly with this TV Connecting an HDMI or a DVI device The HDMI input on your TV receives digital audio and uncompressed digital video from an HDMI device and uncompressed digital video from a DVI device This input is designed to accept HDCP programme material in digital from CEA 861 D compliant consumer electronic devices such as a set top box and DVD player with HDMI and DVI output The HDMI i...

Страница 25: ...gue audio cables An HDMI to DVI adapter cable transfers only video Separate analogue audio cables are required Selecting the PC HDMI 1 Audio mode You can select PC audio or HDMI audio when using this function 1 From the SETUP menu and then press s or r to select AV Connection 2 Press Q to display the AV Connection menu AV Connection PC HDMI 1 Audio PC HDMI 1 Audio Digital 3 Press s or r to select ...

Страница 26: ...or parts of the picture may be obscured depending on some signals This is not the malfunction If the edges of the picture are stretched readjust the picture position adjustments in the PC Settings menu Depending on the specification of the PC you are playing the DVD Video on and the DVD s title some scenes may be skipped or you may not be able to pause during multi angle scenes To connect a PC to ...

Страница 27: ...e 1 From the PC Settings menu press s or r to select Clock Phase 2 Press v or w to obtain a clear picture Adjusting the Sampling Clock If the Sampling Clock does not match with the dot clock frequency of the PC blurred picture detail will occur or screen width will change or drift patterns in vertical lines may be apparent This function enables you to adjust it and optimize the picture 1 From the ...

Страница 28: ...ess Q to begin viewing the selected file or to move to the next layer To return to the previous layer 3 Press s to view the next file or press r to view the previous file Note If the previous or next file is not compatible it will be skipped automatically To view in Slide Show mode 1 To switch to Slide Show mode press Q during Single View mode Note To return to Single View mode press Q again 2 Pre...

Страница 29: ...cable Repeat play icon if applicable Operation guide 2 Press again to remove the information from the screen Note The file status information will disappear after about 6 seconds File Compatibility Data compatibility JPEG Exif ver 2 2 File format DCF ver 1 1 Maximum viewable resolution 4096 4096 pixels Total number of pixels 16 000 000 Total number of files Less than 2000 per folder To close the M...

Страница 30: ...for the back light on this TV has longevity When the brightness of the screen comes down or the flickers of the screen are caused or some parts of the screen do not light up it may reach the end of its life Contact a service technician Some pixels of the screen do not light up The LCD display panel is manufactured using an extremely high level of precision technology however sometimes some pixels ...

Страница 31: ...y 40 160 W 0 5 W standby Dimensions 32 786 mm W 579 mm H 258 mm D 40 976 mm W 677 mm H 305 mm D Mass Weight 32 12 5 kg 40 17 5 kg TV system Aerial input Channel coverage PAL B G CCIR VHF 2 12 UHF 21 69 CATV X Z 2 S1 S41 PAL I UK VHF UHF 21 69 CATV PAL D K CHINA VHF 1 12 UHF 13 57 CATV Z1 Z38 SECAM B G CCIR VHF 2 12 UHF 21 69 CATV X Z 2 S1 S41 SECAM D K OIRT VHF 1 12 UHF 21 69 CATV X1 X19 NTSC M US...

Страница 32: ...ital HDMI Lip Sync USB port Data compatibility JPEG Exif ver 2 2 File format DCF ver 1 1 Support file system FAT12 FA16 FAT32 Operating condition Temperature 0 C 35 C Humidity 20 80 No moisture condensation Supplied accessories Owner s manual 1 Power cord 1 Remote control 1 Batteries 2 Clip 1 This is used to fix the TV to a wall pillar etc page 3 Design and specifications are subject to change wit...

Отзывы: