27
4. Slowly pour distilled water into each battery cell until
the electrolyte level is up to the Upper line (Fig. 32) on
the battery case.
Important
Do not overfill the battery because
electrolyte (sulfuric acid) can cause severe corrosion and
damage to the chassis.
5. Wait five to ten minutes after filling the battery cells.
Add distilled water, if necessary, until the electrolyte
level is up to the Upper line (Fig. 32) on the battery
case.
6. Reinstall the battery vent caps.
Charging the Battery
Important
Always keep the battery fully charged
(1.260 specific gravity). This is especially important to
prevent battery damage when the temperature is below
32
°
F (0
°
C).
1. Remove the battery from the chassis; refer to Removing
the Battery, page 25.
2. Check the electrolyte level; refer to Checking the
Electrolyte Level, page 26.
3. Make sure that the vent caps are installed in the battery.
Charge the battery for 1 hour at 25 to 30 amps or 6
hours at 4–6 amps. Do not overcharge the battery.
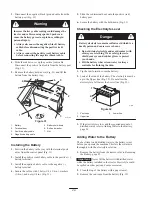
4. When the battery is fully charged, unplug the charger
from the electrical outlet, then disconnect the charger
leads from the battery posts (Fig. 33).
4
1
2
3
m-4970
Figure 33
1.
Positive battery post
2.
Negative battery post
3.
Red (+) charger lead
4.
Black (–) charger lead
5. Install the battery in the tractor and connect the battery
cables; refer to Installing the Battery, page 26.
Note: Do not run the tractor with the battery disconnected,
electrical damage may occur.
Spark Plug
Replace the spark plug(s) after every 100 operating hours.
Make sure the air gap between the center and side
electrodes is correct before installing the spark plug. Use a
spark plug wrench for removing and installing the spark
plug(s) and a gapping tool/feeler gauge to check and adjust
the air gap. Install a new spark plug(s) if necessary.
Type: Champion RC12YC (or equivalent)
Air Gap: 0.030 in. (0.76 mm)
Removing the Spark Plug
(s)
1. Disengage the PTO, set the parking brake, stop the
engine, and remove the key.
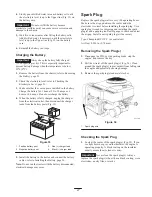
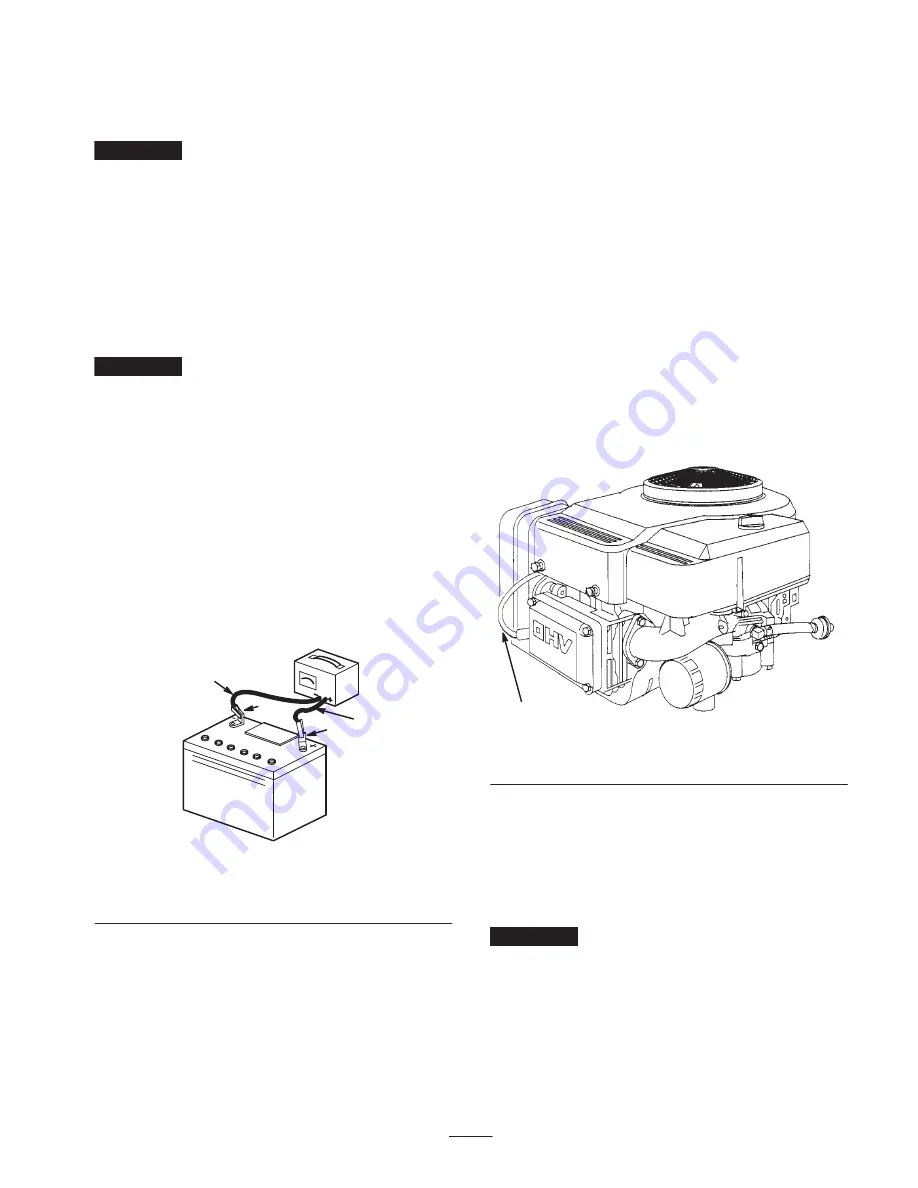
2. Pull the wire(s) off the spark plug(s) (Fig. 34). Clean
around the spark plug(s) to prevent dirt from falling into
the engine and potentially causing damage.
3. Remove the spark plug(s) and metal washer.
1
m–1798
Figure 34
1.
Spark plug wire
Checking the Spark Plug
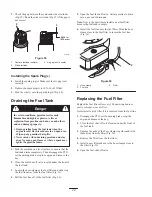
1. Look at the center of the spark plug(s) (Fig. 35). If you
see light brown or gray on the insulator, the engine is
operating properly. A black coating on the insulator
usually means the air cleaner is dirty.
Important
Never clean the spark plug(s). Always
replace the spark plug(s) when it has a black coating, worn
electrodes, an oily film, or cracks.
Содержание Z16-44 TimeCutter
Страница 6: ...6 ...
Страница 7: ...7 Slope Chart ...
Страница 8: ...8 ...
Страница 11: ...11 104 8014 1 Parking brake 104 5091 104 8088 ...
Страница 38: ...38 ...
Страница 39: ...39 ...


