

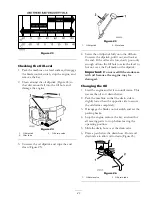


Figure 23
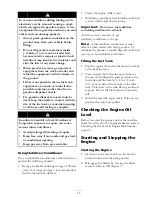
Checking the Oil Level
1. Park the machine on a level surface, disengage
the blade control switch, stop the engine, and
remove the key.
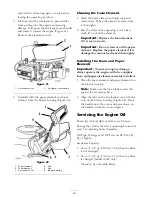
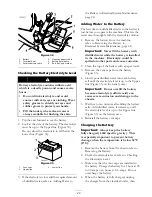
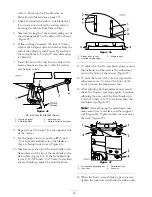
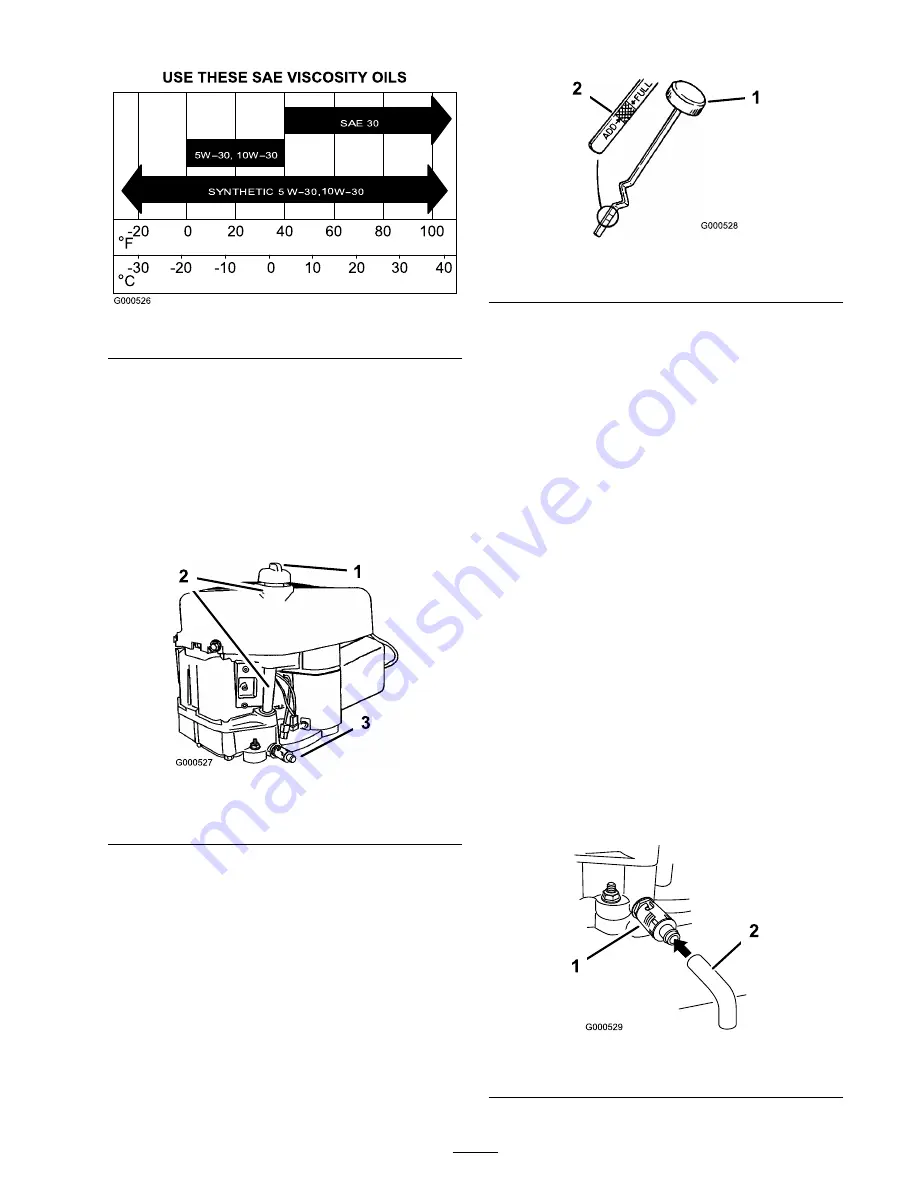
2. Clean around the oil dipstick (Figure 24) so
that dirt cannot fall into the fill hole and
damage the engine.
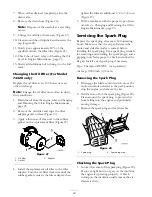
Figure 24
1. Oil dipstick
3. Oil drain valve
2. Filler tube
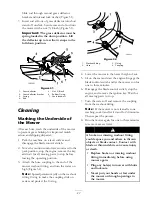
3. Unscrew the oil dipstick and wipe the end
clean (Figure 25).
Figure 25
1. Oil dipstick
2. Metal end
4. Screw the oil dipstick fully onto the fill hole.
Unscrew the dipstick, pull it out, and look at
the end. If the oil level is low, slowly pour only
enough oil into the fill hole to raise the level to,
but not over, the Full mark on the dipstick.
Important:
Do not overfill the crankcase
with oil because the engine may be
damaged.
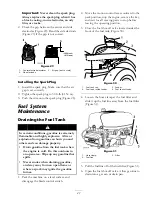
Changing the Oil
1. Start the engine and let it run until warm. This
warms the oil so it drains better.
2. Park the machine so that the drain side is
slightly lower than the opposite side to assure
the oil drains completely.
3. Disengage the blade control switch and set the
parking brake.
4. Stop the engine, remove the key, and wait for
all moving parts to stop before leaving the
operating position.
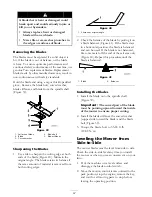
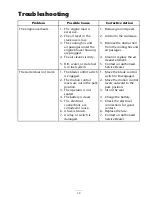
5. Slide the drain hose over the drain valve.
6. Place a pan below the drain hose. Rotate oil
drain valve to allow oil to drain (Figure 26).
Figure 26
1. Oil drain valve
2. Oil drain tube
25
Содержание TimeCutter Z380
Страница 8: ...Slope Chart 8 ...
Страница 42: ...Schematics Electrical Diagram Rev B 42 ...


