


13
Height-of-Cut Adjustment for a
Fixed Cutting Unit
1. Adjust reel to bedknife contact.
2. Loosen nuts securing skids or front roller and raise to
highest position.
3. Loosen jam nuts securing rear roller. Lower roller
beyond desired height-of-cut (ensures proper bedknife
attitude).
4. Lower cutting unit onto a flat surface, such as a 1 in. x
20 in. x 30 in. piece of plywood. Shut off engine and
remove the key.
5. Insert piece of bar stock (Fig. 16) 25–28 in. (70 cm)
long with thickness equal to desired height-of-cut,
under entire length of the reel, next to bedknife.
6. Adjust rear roller adjustment knobs and jam nuts until
full length of the rear roller contacts the flat surface
and the full length of the reel (not bedknife) contacts
the bar stock. Tighten rear roller knobs and jam nuts.
Adjusting the Skids and Front
Roller (Fixed Head Kit)
After skid kit or front rollers are installed (installation
instructions are included with each option) make the
following adjustments to prevent them from pushing down
uncut grass or scalping on undulating terrain:
1. Lock each cutting unit in the fixed position (Refer to
Cutting Unit Orientation, Fig. 15). Set the reel to
bedknife adjustment and height-of-cut adjustment.
2. Position the cutting units on a flat, level surface (1 in.
(25 mm) thick piece of plywood).
3. Skids and front rollers used to prevent scalping should
not ride on the ground. Adjust each skid or front roller
so it is 1/8–1/4 in. (3–6 mm) or higher above the level
surface. Allow greater clearance at the higher
height-of-cut settings.
4. Proper adjustment is achieved when the cutting unit
does not scalp the grass in normal mowing conditions
and yet is set high enough not to mar the turf and
create undue wear on the skids or rollers.
Note: Skids are used only with the cutting unit in the
fixed position. Front rollers may be used with the cutting
unit in either the fixed or floating position.
Maintenance
Note: Determine the left and right sides of the machine
from the normal operating position.
Lubrication
Before and after greasing, wipe each grease fitting with a
clean rag. Use a hand-operated grease gun and #2 general
purpose grease to lubricate the eight grease fittings.
Applying too much pressure will ruin the seals and
leaking grease could cause damage to grass.
Important
Before washing the machine, shut off the
engine and remove the key. Lubricate the reels and rollers
immediately after washing the machine. This helps to
minimize water entering the reel and roller bearings.
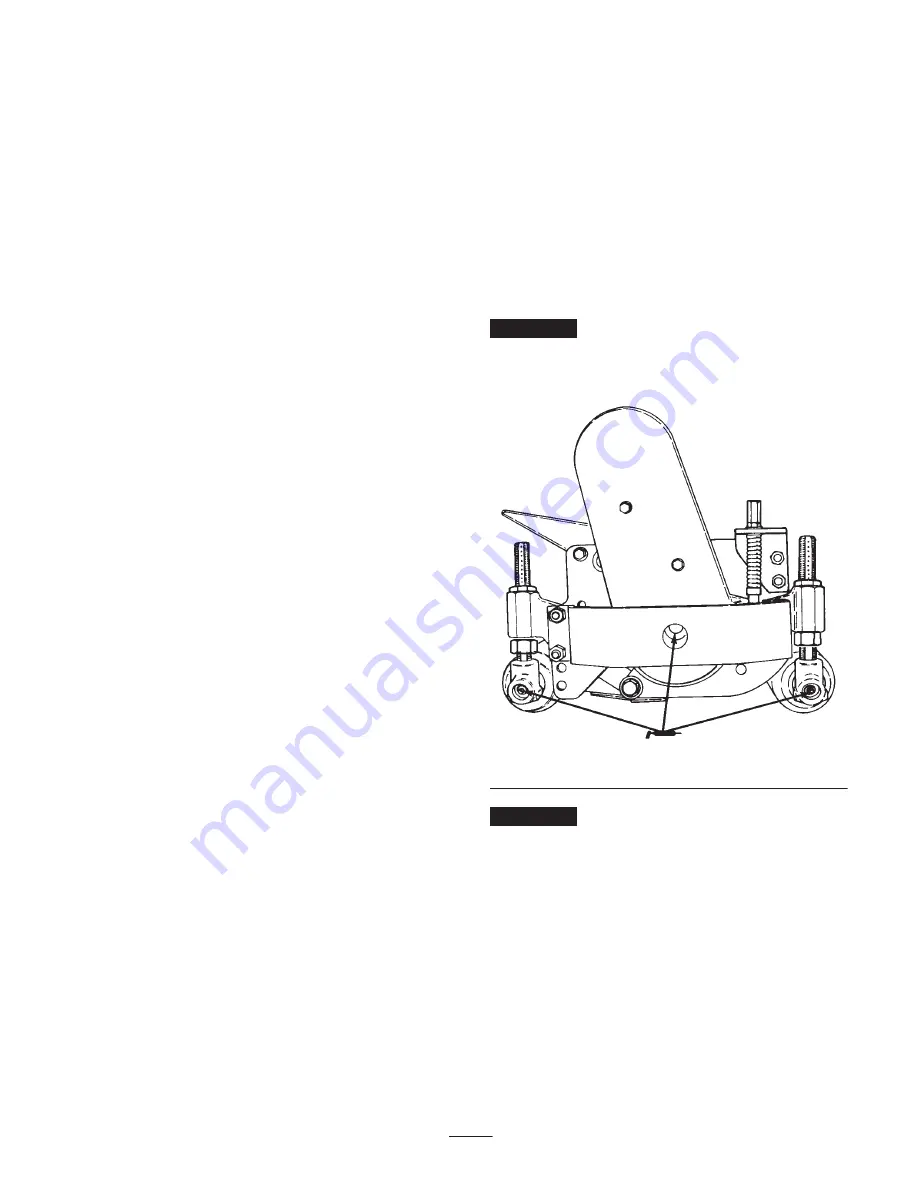
Figure 22
Important
If the cutting units are washed in the raised
position, be sure to lower them to the ground after
washing. This allows water to drain from the ends of the
rollers and reel bearing housings.
1. Lubricate the reel shaft and roller bearings with 3 or 4
pumps of grease. Daily lubrication of these fittings
purges water and other contaminants, increasing
service life and maintaining excellent quality-of-cut.
Note: When greasing roller bearings, grease forced from
bearings will not be visible around the roller shaft.


