background image

Safety Related Symbols

Protective Ground

Before  turning  the  unit  ON,  make  sure  that  it  is 
connected  to  Ground.  This  is  to  prevent  the  risk  of 
electric shock.
Never cut internal or external Ground wires. Like wise, 
never  remove  Ground  wiring  from  the  Protective 
Ground Terminal.

Operating Conditions

Always install in accordance with the manufacturer's
instructions.
To avoid the risk of electric shock and damage, do not
subject this product to any liquid/rain or moisture.
Do not use this product when in close proximity to 
water.
Do not install this product near any direct heat source.
Do  not  block  areas  of  ventilation.  Failure  to  do  so 
could result in fire.
Keep product away from naked flames.

IMPORTANT SAFETY INSTRUCTIONS

Read these instructions
Follow all instructions
Keep these instructions. Do not discard.
Heed all warnings.
Only use attachments / accessories specified by the
manufacturer.

Power Cord and Plug

Do not tamper with the power cord or plug. These are
designed for your safety.
Do not remove Ground connections!
If the plug does not fit your AC out let seek advice
from a qualified electrician.
Protect the power cord and plug from any physical
stress to avoid risk of electric shock.
Do not place heavy objects on the power cord. This
could cause electric shock or fire.

Cleaning

When required, either blow off dust from the product
or use a dry cloth.
Do not use any solvents such as Benzol or Alcohol.
For safety, keep product clean and free from dust.

Servicing

Refer all servicing to qualified service personnel only.
Do  not  perform  any  servicing  other  than  those 
instructions contained within the User's Manual.

CAUTION

RISK OF ELECTRIC SHOCK

DO NOT OPEN

2

TOPP PRO

MUSIC GEAR

PORTABLE
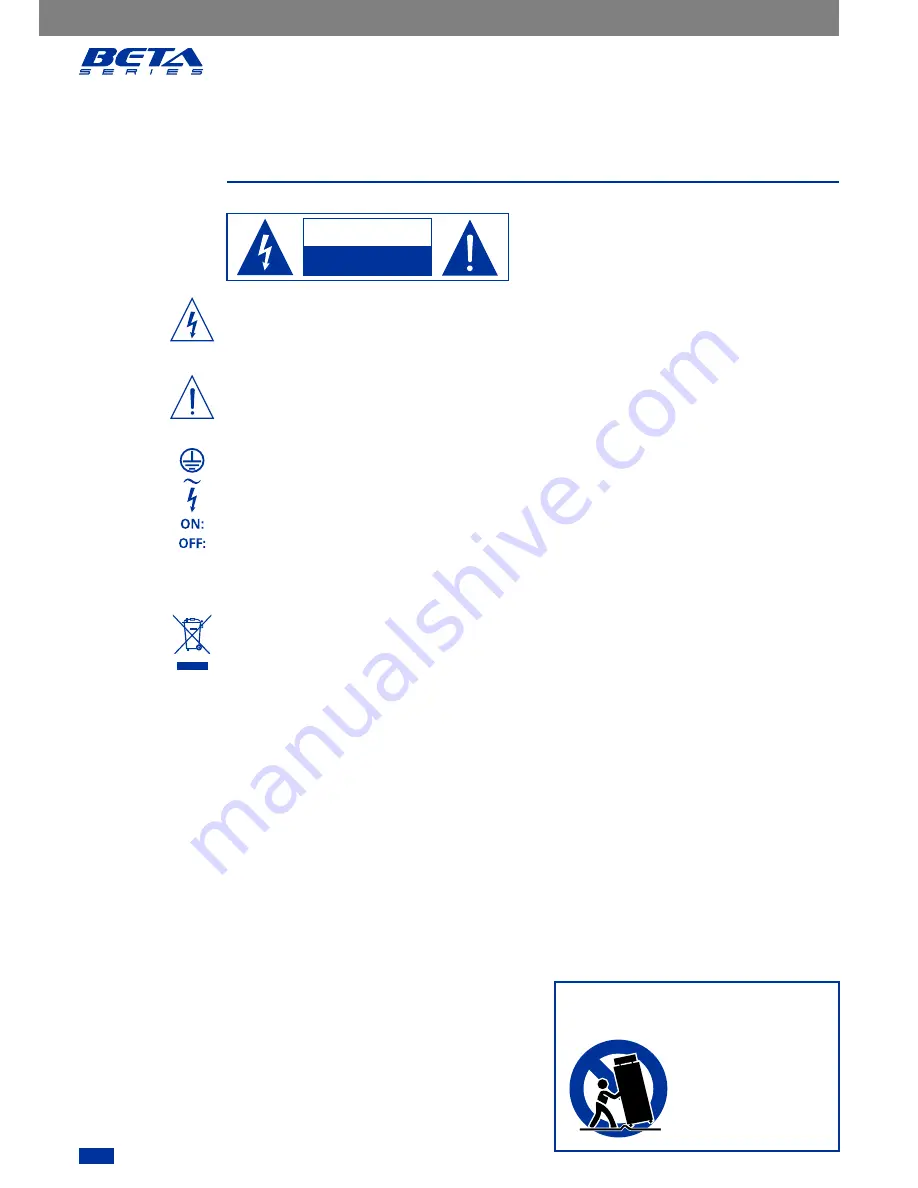
CART WARNING

Carts and stands - The
component should be used
only with a cart or stand
that is recommended by
the manufacturer.
A component and cart
combination should be
moved with care. Quick
stops, excessive force,
and uneven surfaces may
cause the component and
cart combination to 
overturn.

This symbol, wherever used, alerts you to the presence 
of  un-insulated  and  dangerous  voltages  within  the 
product  enclosure.  These  are  voltages  that  may  be 
sufficient  to  constitute  the  risk  of  electric  shock  or 
death.

This symbol, wherever used, alerts you to important 
operating and maintenance instructions.

Please read.

Protective Ground Terminal

AC mains (Alternating Current)

AC mains (Alternating Current)

Denotes the product is turned on.

Denotes the product is turned off.

WARNING

Describes  precautions  that  should  be  observed  to 
prevent the possibility of death or injury to the user.

CAUTION

Describes  precautions  that  should  be  observed  to 
prevent damage to the product.
Disposing  of  this  product  should  not  be  placed  in 
municipal waste but rather in a separate collection.

WARNING
Power Supply

Ensure  that  them  a  inssource  voltage  (AC  outlet) 
matches the voltage rating of the product. Failure to 
do so could result in damage to the product and
possibly the user. Unplug the product before electrical 
storms occur and when unused for long periods  of 
time to reduce the risk of electric shock or fire.

External Connection

Always  use  proper  ready-made  insulated  mains 
cabling (power cord). Failure to do so could result in 
shock/death  or  fire.  If  in  doubt,  seek  advice  from  a 
registered electrician.

Do Not Remove Any Covers

Within the product are areas where high voltages may 
present.  To  reduce  the  risk  of  electric  shock  do  not 
remove any covers unless the AC mains power cord is 
removed.  Covers  should  be  removed  by  qualified 
service personnel only.

No user serviceable parts inside.

Fuse

To prevent fire and damage to the product, use only 
the  recommended  fuse  type  as  indicated  in  this 
manual. Do not short-circuit the fuse holder. Before 
replacing the fuse, make sure that the product is OFF 
and disconnected from the AC outlet.

3

Table of Contents

Don’t forget to visit our website at 

www.topppro.com

for more information about this and other Topp Pro products.

4

4

4

5

10

12

13

18

20

  1.  PROLOGUE

2.  INSTALLATION TIPS

3.  USEFULL DATA

  4.  CONNECTING DIAGRAM

For Passive Speaker Cabinet

For Passive Subwoofer & Satellite Speakers

For Active Speaker Cabinet

For Active Subwoofer & Satellite Speakers

5.  CONNECTING PLATE

       For Passive Series Speaker

       For Active Full-range Speaker

       For Active Subwoofer Speaker

6.  WIRE CONNECTIONS

7.  TECHNICAL SPECIFICATIONS

   8.  BLOCK DIAHGRAM

  9.  GUARANTEE

TOPP PRO

MUSIC GEAR

Содержание TPS BETA1152

Страница 1: ...PRO CONCERT LEVEL PASSIVE ACTIVE AUDIO ENCLOSURES User s Manual TPS BETA1152 1152A TPS BETA2152 2152A TPS BETA15 18 218 SUB TPS BETA15A 18A SUB l l ...

Страница 2: ...y the manufacturer A component and cart combination should be moved with care Quick stops excessive force and uneven surfaces may cause the component and cart combination to overturn This symbol wherever used alerts you to the presence of un insulated and dangerous voltages within the product enclosure These are voltages that may be sufficient to constitute the risk of electric shock or death This...

Страница 3: ...ION TIPS 3 USEFULL DATA 4 CONNECTING DIAGRAM For Passive Speaker Cabinet For Passive Subwoofer Satellite Speakers For Active Speaker Cabinet For Active Subwoofer Satellite Speakers 5 CONNECTING PLATE For Passive Series Speaker For Active Full range Speaker For Active Subwoofer Speaker 6 WIRE CONNECTIONS 7 TECHNICAL SPECIFICATIONS 8 BLOCK DIAHGRAM 9 GUARANTEE TOPP PRO MUSIC GEAR ...

Страница 4: ... prevent them from falling and hurting someone secure the speaker could also prevent you from damaging the cabinet or its components Use quality cables Using quality cables ensure best possible sound For best results of the BETA passive cabinets you can match the speaker to a good amplifier that match the wattage and impedance of your speakers Proper amplification power result in good quality audi...

Страница 5: ... and the other side to the Input socket of your speaker cabinet 2 Complete other connections as illustrated 3 Turn on your mixer first then the stereo power amplifier 4 Turn up the volume controls of your amplifier to about 70 5 Use PFL function to get the proper input level for the mixer and adjust the Main Mix Level control to manipulate the output level 6 After using turn off your stereo power ...

Страница 6: ...lifier and the 2 way full range passive speakers with a second speaker cable 2 Complete other connections as illustrated 3 Turn on your mixer first then the stereo power amplifier 4 Turn up the volume controls of your amplifier to about 70 5 Use PFL function to get the proper input level for the mixer and adjust the Main Mix Level control to manipulate the output level 6 After using turn off your ...

Страница 7: ...5 7 4 Connecting Diagram TOPP PRO MUSIC GEAR For Passive Subwoofer 2 way full range Speakers FIG 3 Equalizer TPS BETA2152 TPS BETA2152 TPS BETA218 SUB TPS BETA218 SUB ...

Страница 8: ...active speaker cabinets 4 Turn up the volume control of the active speaker cabinets 5 Use PFL function to get the proper input level for the mixer and adjust the Main Mix Level control to manipulate the output level 6 After using turn off your active speaker cabinets first then the mixer speaker cable Tripod Mount Left Main Mix Output Right Main Mix Output Mixer Tripod Mount speaker cable Power Co...

Страница 9: ...R to the Line Input COMBO of the active satellite 2 Connect the power cord to mains 3 Turn on your mixer first then the active speaker cabinets 4 Turn up the volume control of the active speaker cabinets 5 Use PFL function to get the proper input level for the mixer and adjust the Main Mix Level control to manipulate the output level 6 After using turn off your active speaker cabinets first then t...

Страница 10: ...not connected With the mode switch 3 set to BI AMP position 1 INPUT Receive the power coming from two separate amplifier channels SPK 1 1 connect to low frequency SPK 2 2 connect to high frequency 2 THRU Direct LINK for connect in parallel a second TPS BETA 1152 speaker cabinet For Passive Subwoofer series Speaker TPS BETA 15 18 218 SUB 1 INPUT Receive the power coming from an external power ampli...

Страница 11: ... socket with main fuse 8 Bi polar main power switch 9 AC INPUT voltage selector 10 Phase switch 5 11 TOPP PRO MUSIC GEAR 5 Connecting Plate CAUTION REPLACE FUSE ONLY WITH SAME AND RATED TYPE SIGNAL LIMIT BAL LINK INPUT VOLUME MAX MIN MIN MAX L I N E M I C ON OFF SHIELD 220V 110V POWER CONSUMPTION 780W AC INPUT 110 127V 50 60Hz T8AL 250V 220 240V 50 60Hz T4AL 250V TPS BETA1152A POWER MUSIC VOCAL FL...

Страница 12: ... the Low Frequency 2 2 used to connect with High Frequency For Active Speaker Cabinets As to these circumstances audio connections is mostly intended for the signal flow so determine the wire configuration according to your real application system and its connecting facility Normally you have the following choices For TPS BETA 1152 2152 with the MODE SWITCH on Full Range position TPS BETA SUB Seri...

Страница 13: ... x 19 57 x 23 62 79 81 lbs 36 2 kg 14 67 CFT LF Full range 400W Continuous 800W Peak HF 100W Continuous 200W Peak LF Full range 8 ohms Ø Model System Type Amplifier Continuous Power Amplifier Program Power Sensitivity at 1mt Max SPL at 1mt Frequency Response Input Sensitivity Input Impedance Horn Coverage Hº x Vº Connectors Subsonic Filter Protections External Control Power Supply Enclosure Dimens...

Страница 14: ... 19 57 x 23 62 124 56 lbs 56 5 kg 21 62 CFT LF Full range 800W Continuous 1600W Peak HF 100W Continuous 200W Peak LF Passive 4 ohms Ø Model System Type Amplifier Continuous Power Amplifier Program Power Sensitivity at 1mt Max SPL at 1mt Frequency Response Input Sensitivity Input Impedance Connectors Subsonic Filter Protections External Control Power Supply Enclosure Dimension H x W x D Net weight ...

Страница 15: ... 11 56 CFT 800W 8 ohms 2 x SPK4 Style Textured Black Plywood Cabinet Black Metal Grille Protection Ø Model System Type Power Handling Low Frequency Sensitivity 1W 1m Frequency Response Electronic Crossover Control Line Input Line Output Indicator Enclosure Dimension H x W x D Net weight lbs kg Volume TPS BETA 15A SUB Active Bandpass Enclosure 500W RMS 98dB SPL 15 402mm Premium Sub woofer 3dB 45Hz ...

Страница 16: ...r 2 x SPK4 Style Textured Black Plywood Cabinet Black Metal Grille Protection Ø Model System Type Power Handling Low Frequency Sensitivity 1W 1m Frequency Response Electronic Crossover Control Line Input Line Output Max SPL Indicator Enclosure Dimension H x W x D Net weight lbs kg Volume TPS BETA 18A SUB Active Bandpass Enclosure 500W RMS 98dB SPL 18 457mm Premium Sub woofer 3dB 99Hz 120Hz 6dB 85H...

Страница 17: ...ectors Enclosure Dimension H x W x D Volume Frequency Response Crossover Type TPS BETA 218 SUBented Box Passive Bandpass Enclosure 1000W 5Hz 160Hz 6dB Acoustic Filter 4 Ohms 2 x 18 650 x 1155 x 800mm 29 1 CFT 2000W 102dB SPL 3dB Max SPL 135dB at 1 m 5 458mm 3 Voice Coil 8 Ohms 2 x SPK4 Style Textured Black Plywood Cabinet Black Metal Grille Protection Ø ...

Страница 18: ...18 TOPP PRO MUSIC GEAR 8 BLOCK DIAGRAM ...

Страница 19: ...19 8 TOPP PRO MUSIC GEAR BLOCK DIAGRAM ...

Страница 20: ...xt to the invoice of purchase or any other proof where the date of purchase consists to its authorized distributer Topp Pro or an authorized technical center on watch by Topp Pro Exclusion of damages THE RESPONSABILITY OF TOPP PRO BY ANY DEFECTIVE PRODUCT IS LIMITED THE REPAIR OR THE REPLACEMENT OF HE HIMSELF TO TOPP OPTION PRO IF WE CHOSE TO REPLACE THE PRODUCT THE REPLACEMENT CAN BE A RECONDITIO...

Страница 21: ...21 10 TOPP PRO MUSIC GEAR NOTES ...

Страница 22: ...NF02894 1 2 ...

Отзывы: