background image

MENU OPERATIONS 

 24

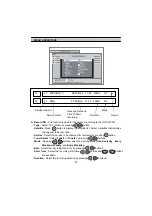
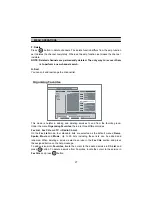
F. Sound Mode 

It allows you to configure the sound mode. Select the 

Stereo

,

Mono

,

Left

 and 

Right

mode by using

V-

,

V+

buttons. The Sound mode is configurable later on by using

aud

button on your RCU. 

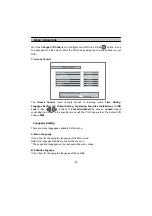
G. RF Type 

When the STB is connected to the TV by an RF cable, you may need to select the 
correct TV standard system. Select the 

PAL G

,

PAL I

,

PAL K

,

NTSC M

 mode by using  

V-

,

V+

 buttons. The default RF output is NTSC M. 

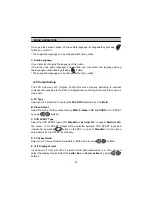
H. RF Channel 

Select a RF channel by using  

V-

  ,  

V+

  buttons. The default RF channel is CH36. 

When you change the RF channel number, you must also change to the same value on 
the TV. If you do not, there will be no picture and sound. 

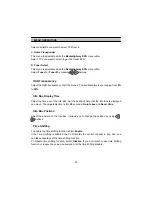
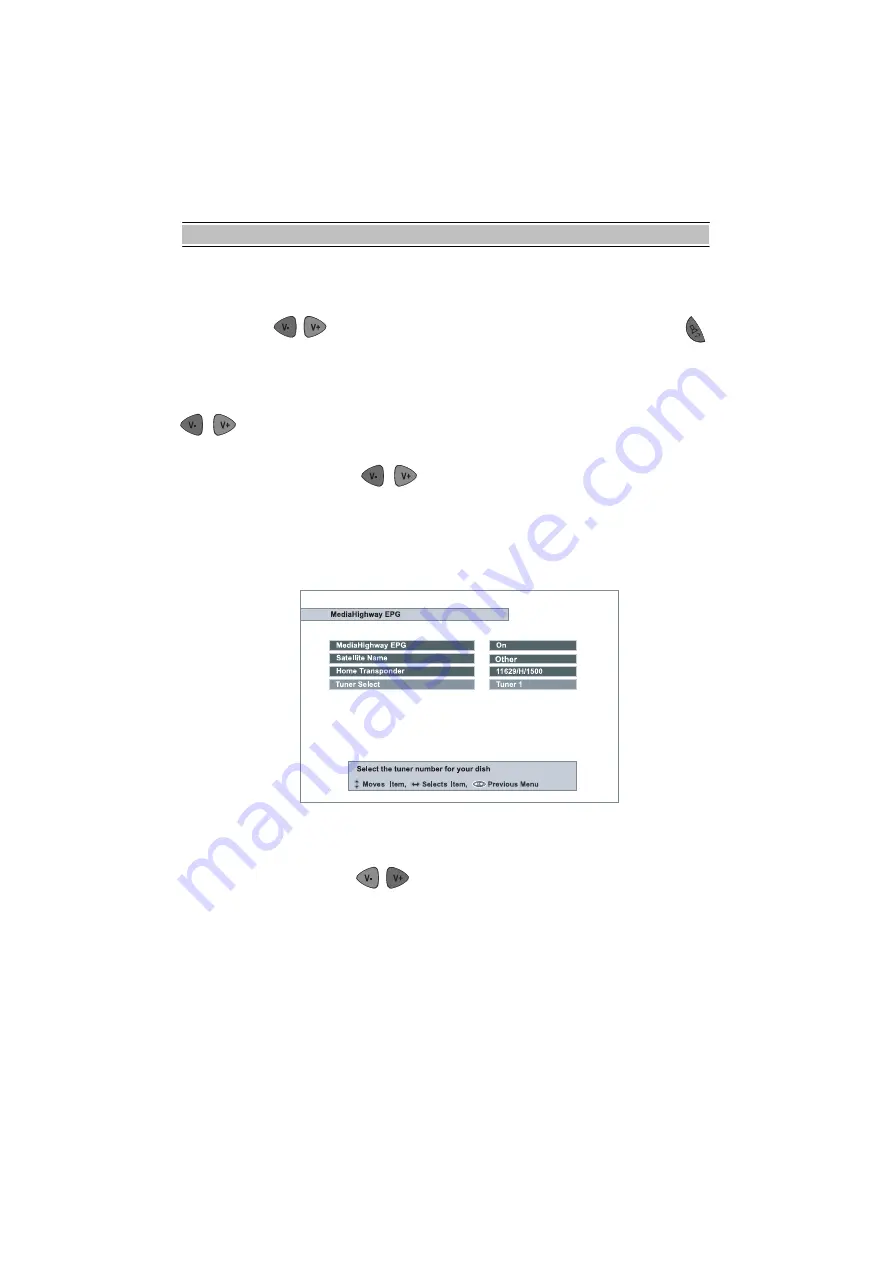
MediaHighway EPG 

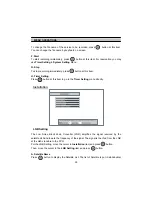
A. MediaHighway EPG 

To enable the Canal EPG function, select 

On

.

Select

On

 or

Off

by pressing

V-

,

V+

 buttons. 

B. Satellite Name

This menu is selectable while the 

MediaHighway EPG

 menu is 

On

.

Содержание TF5010PVR

Страница 1: ...The User s Manual Personal Video Recorder Please read this Users Manual carefully The menu structure and specification can be changed without notice TF5510PVR Personal Video Recorder TF5010PVR...

Страница 2: ...ting 19G Parental Control 21G Language Setting 22G A V Output Setting 23G MediaHighway EPG 24G OSD Transparency 25G Info Box Display Time 25G Info Box Position 25G Time Shifting 25G Organizing Channel...

Страница 3: ...Slow Motion Playback 51G Fast Motion Playback 51G Fast Forwarding and Rewinding 51G Reverse Playback 51G Bookmark 52G Recording The Descrambled Live Service 53G Descrambling Recorded Services 53G Repe...

Страница 4: ...n fall through the ventilation slots of the PVR and cause serious damage CLEANING Disconnect the PVR from the wall socket before cleaning it Use a dry cloth lightly dampened no solvents to clean the e...

Страница 5: ...use the PVR and its contents for illegal purpose We are not responsible for any kind of illegal use Do not use the PVR to backup important data It can be deleted We are not responsible for any kind of...

Страница 6: ...DiSEqC 1 3 enabling you to move your antenna in order to focus preferred satellite You can save up to 5000 TV and Radio channels and work around with the Favorite Lock Delete Move and Sort functions T...

Страница 7: ...t supported by VBI insertion and software emulation Parental lock facility by channel and program event Program and Channel information transfer from receiver to receiver Exciting games embedded S PDI...

Страница 8: ...n the power is ON the current status is displayed TV Radio Menu CHANNEL Change the channels VOLUME Change audio volume level MENU Display the Menu on screen OK Display channel List on screen Select an...

Страница 9: ...OUTPUT z Video output YELLOW G AUDIO LEFT OUTPUT z Audio output WHITE G AUDIO RIGHT OUTPUT z Audio output RED G S VIDEO z S Video output Connect the S Video input of your TV G TV SCART z Connect the...

Страница 10: ...urned OFF and the PVR goes to the STANDBY mode G Numeric Buttons z Select the TV or Radio service channels and menu options G RECALL Button z Select the previously viewed channel G INFO Button z Displ...

Страница 11: ...E Button z Activate the subtitle selection window Select the subtitle language in the list G EXIT Button z Return to the previous menu and the screen G TELETEXT Button z Enable the teletext with softw...

Страница 12: ...le Resize and Disable the Sub picture G Button z Make a bookmark while playback or time shift G Button z Go to the bookmarked position G Button z Go to backward by 10 seconds per each pressing of this...

Страница 13: ...and Hi Fi 1 Connection to the TV with the SCART Cable Connect one end of the SCART cable to the TV SCART socket on the PVR and the other end to a SCART socket on the TV 2 Connection to the VCR with a...

Страница 14: ...of the S VIDEO cable to the S VIDEO socket on the PVR and the other end to a S VIDEO socket on the TV Connection to the Antenna We recommend one of the following installation diagrams because of the...

Страница 15: ...ould be set to Separated 4 Installing the PVR with two separated Twin LNB Antennas and DiSEqC switches The Connection Type in LNB setting menu should be set to Separated Connection to the other Satell...

Страница 16: ...right parameters for Satellite Name Tuner Select Connection Type LNB Frequency LNB Power 22KHz DiSEqC 1 1 and DiSEqC 1 0 Set the Motorized DiSEqC1 2 and the USALS items according to your antenna LNB...

Страница 17: ...alled connected to the PVR The PVR is connected to the TV The RCU has batteries and ready to control the PVR If the PVR has not been installed or connected properly please refer to the INSTALLATION me...

Страница 18: ...e Time Offset the Time Format the GMT Collection the Satellite and the Frequency sub menus A Mode By using V V buttons you can select on of the Auto Manual mode The Auto mode updates the time settings...

Страница 19: ...buttons The default Time Format is 12 hour F GMT Collection The PVR will get the time information from the TPs selected Mode Comment Normal The PVR gets the time information from all the TPs CAS TP Th...

Страница 20: ...Tuner Select Select Tuner1 or Tuner2 by pressing V V buttons Mode By using V V buttons select one among One Time Everyday Every Weekend Weekly and Every Weekday Date Select the recording start date b...

Страница 21: ...N Parental Control Password to various menus can be configured The PIN Code box will automatically appear when this menu is selected The default PIN Code is 0000 A Censorship The Censorship item block...

Страница 22: ...ng Favorites Installation and IRD Lock Press V V buttons to Locked Unlocked the access Locked means controlling the access to the specific menus with the PIN Code system The default PIN Code is 0000 L...

Страница 23: ...nd Video can be made here A TV Type Select your TV standard For automatic PAL NTSC selection set it to Multi B Video Output Select the mode of Video output among RGB S Video YUV and CVBS on TV SCART b...

Страница 24: ...ystem Select the PAL G PAL I PAL K NTSC M mode by using V V buttons The default RF output is NTSC M H RF Channel Select a RF channel by using V V buttons The default RF channel is CH36 When you change...

Страница 25: ...splay Time Adjust the time out of the Info Box Set the period of time that the Info Box is displayed on screen The adjustable time is 0 to 30 seconds No info box and Never Hide Info Box Position Adjus...

Страница 26: ...t by pressing OK button at Save item C Move You can reorder and move the service to the preferred position Mark the desired channel to move and press OK button Use P P buttons to choose the Move mode...

Страница 27: ...ng services to and from the favorite group Under the menu Organizing Favorites there are three different modes Fav List Fav CHs and TV or Radio Ch List On the Fav List mode four standard lists are sel...

Страница 28: ...eously You can distinguish between the two records by this Recording NO Press V V button to select Record NO 1 or 2 B Service Press OK button to display the service list Select a channel to be recorde...

Страница 29: ...mer Setting Press OK button at this item to go to the Timer Setting menu directly Installation LNB Setting The Low Noise Block down Converter LNB amplifies the signal received by the satellite dish an...

Страница 30: ...d by V or V button Also you can insert LNB frequency by using Numeric key on the RCU E LNB Power Select LNB power On to output the LNB voltage F 22 KHz If you are using a 22 KHz tone switch box make 2...

Страница 31: ...be DiSEqC 1 0 compatible This allows multiple antennas to be connected to the PVR at the same time If you are using two or more fixed antennas or LNBs then it is recommended to use a DiSEqC 1 0 switc...

Страница 32: ...mation the PVR has On the other hand you may need to know in advance the frequencies and the symbol rates before using the Manual mode On the Advanced mode enter the Audio PID Video PID or the PCR PID...

Страница 33: ...le channels you want to search among FTA only CAS only and FTA CAS I Tuner Select Select a tuner for channel searching from the selected channel J Start Search To start the searching process press OK...

Страница 34: ...ice lists of Tuner 1 and Tuner 2 and save it to service list of Tuner 1 and that of Tuner 2 Motorized DiSEqC 1 2 If you have DiSEqC 1 2 motorized system then you can use the DiSEqC 1 2 functions A Sat...

Страница 35: ...the motor for the selected satellite The followings are available only at the Installer mode Recalculate Recalculate the position of the Stab Rotor motor Goto Ref Go to reference Limit E Limit W Set t...

Страница 36: ...he longitude of the selected satellite and it can be set automatically in case of selecting a satellite name You can use numeric keys of RCU to enter the angle East or West will be selected by V V but...

Страница 37: ...h saved before Its moving limit is 65 Factory Setting All the stored data can be reset just like it was manufactured The factory setting has two steps The first is to reset the channel data and other...

Страница 38: ...ther IRD It is used to transfer PVR Data such as service information to other PVR for upgrading the PVR Notes Please proceed this menu with connecting the PVR of same model and same specification Firm...

Страница 39: ...atellite and TP can be added or changed You can get the information at www i topfield com Information You can check the IRD PVR version and refer the calendar IRD Status Check the PVR s system informa...

Страница 40: ...MENU OPERATIONS 40 Common Interface The menu differs according to each inserted CAM If the module has not been installed yet the phrase Not Installed will be indicated Game ExBlock Bomb Hexa...

Страница 41: ...phabetic The sorted channel list will be displayed in the channel list menu only YB Yellow button Search the channel list by Alphabetic BB Blue button Display the options You can use this options by p...

Страница 42: ...Name Time Information CAS Subtitle Teletext Parental Lock Mark Service Number Event Description Start Time End Time Dolby Multifeed You can see the Current Next event by pressing V V button in the inf...

Страница 43: ...the reservation for the next program Info button shows extended information of the event TV button will change the contents of EPG between TV and Radio services F1 Red button switches the EPG from Sin...

Страница 44: ...ts various languages of soundtrack Also it is possible to choose a mode among Stereo Mono Left and Right using V V buttons Aud button is used for multifeed function too If the multifeed is available i...

Страница 45: ...ting progress bar is displayed 4 To remove the Time Shifting progress bar at once press OK exit or ply button 5 To go to the live video press stop button 6 To start Instant Time Shifting press chk but...

Страница 46: ...go to Recording menu and modify Duration item To go to the Recording menu press rec button once more or go to Recording item of Main Menu B Checking and modification A Recording Icon will be displayed...

Страница 47: ...Recording menu press menu button and select Recording item by pressing OK button Select the options that you want to record with Select Start item and press OK button For detailed information refer t...

Страница 48: ...ing If you press the rec button in the modification window the modification will be canceled B Checking and modification Press guide button to display EPG The reserved services for delayed recording w...

Страница 49: ...e the recorded service E Event Info Press info button to display extended event information 3 Select a recorded service at the list 4 Press OK button to start playback 5 Press ply button to display Ti...

Страница 50: ...unction is available for playback 2 To stop playback press stop button 3 You can stop the recording in the recorded service list too To stop the recording press stop button at the selected recording f...

Страница 51: ...k 4 Press ply button to resume playback with normal speed 5 The fast motion function is available for the playback and the time shifted playback Fast Forwarding and Rewinding 1 Press ply button to dis...

Страница 52: ...Add a bookmark To add a bookmark press BOOKMARK button at the position you want to add it You can make the bookmark at maximum 64 positions 2 Go to a bookmark Press GO TO BOOKMARK button to jump to th...

Страница 53: ...1 Select and playback a service you want to descramble Descramble the service with a proper CAM and smart card The playback service should be decoded well with the proper CAM and smart card 2 Press p...

Страница 54: ...ss Intvl button once more to cancel the repeating playback 2 Repeating the selected region a Start playback a recorded service b Press ply button to display Playback progress bar c To specify one end...

Страница 55: ...ayback Caution If the copying time is less than about 1 minute copying will not be done successfully It is recommended not to change the playbck speed Cut Out Save Selected Region 1 Start playback a r...

Страница 56: ...RED Red button repeatedly to change the size of sub picture or to remove the sub picture 2 At PIP screen press sat button to exchange main picture with sub picture Remarks It is not possible to excha...

Страница 57: ...cording there too To stop the recording press stop button at the selected recording file 5 It is possible to stop the recording in the live picture To do it press stop button and press OK button after...

Страница 58: ...w button after selecting a file you want to move The lists of Folders will appear You can select a folder you want 4 Delete Press whlte White button after selecting a file you want to delete You have...

Страница 59: ...list button The file list of MP3 files can be selected by revs FWD buttons from other list 1 You can download the MP3 files via USB from PC using Altair exe You can get it from www i topfield com The...

Страница 60: ...xe You can get it from www i topfiled com The list of the TAP will be displayed 2 Folder A new folder can be made by pressing Geeen Green button The new folder will be named as GROUP The name can be c...

Страница 61: ...button Icon color Description Circle Red Recording Small Circle in the large circle means the current service you are watching is being recorded The number in the large circle means recording number A...

Страница 62: ...new software a PVR to PVR download via RS232C It is possible to download the firmware or channel data from PVR to another PVR b PC to PVR download via RS232C You need the TFD down exe to download the...

Страница 63: ...rvices to or from your PC You need to the Altair exe to enjoy it You can download the TFD down exe TFDN_USB exe Altair exe at Topfield website http www i topfield com The TAP application can be develo...

Страница 64: ...p Change PIN Code Access Control Language Setting Menu Language Subtitle Language Audio Language A V Output Setting TV Type Video Output VCR SCART Type TV Aspect Ratio Display Format Sound Mode RF Out...

Страница 65: ...Satellite Name Search Mode Frequency Symbol Rate Polarization Network Search PID FTA Scrambled Tuner Select Start Search LNB Setting Motorized DiSEqC 1 2 USALS Setting Factory Setting Format Hard Disk...

Страница 66: ...Symbol Rate 1 45MS s MPEG Transport Stream A V Decoding Item Specification Transport Stream ISO IEC 13818 1 MPEG 2 Profile Level 2 x MPEG 2 MP ML PIP Aspect Ratio 4 3 16 9 Pan scan Letterbox Video Res...

Страница 67: ...put S PDIF Digital audio or Dolby AC 3 bitstream output 9 pin D sub type RS 232C Transfer rate 115 2Kbps USB USB2 0 Device Power Supply Item Specification Input Voltage 90 250VAC 50 60Hz Type SMPS Pow...

Страница 68: ...www i topfield com 110T F7513 201 0 rev 2 11...

Отзывы: