


7.1 Recording a programme
45
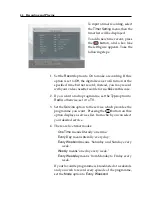
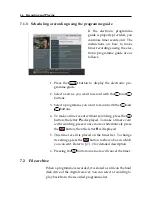
5. Set the
Date
option to the desired date, on which the digi-
tal receiver will turn on. The date format is
day/month/year-
day of the week
.
Set the
Start Time
option to a desired time, at which the
recording will be started. The time format is
hour:minute
.
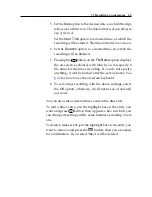
6. Set the
Duration
option to a desired time, in which the
recording will be finished.
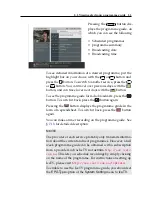
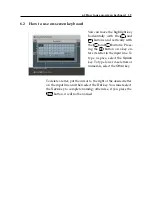
7. Pressing the
OK
button on the
File Name
option displays
the on-screen keyboard, with which you can specify a
file name for the timer recording. If you do not specify
anything, it will be named after the service name. See
§
6.2
for how to use the on-screen keyboard.
8. To set a timer recording with the above settings, select
the
OK
option; otherwise, it will not be saved and will
not occur.
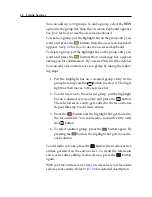
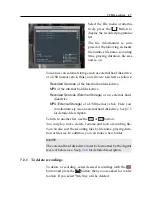
You can also edit or delete timer events in the timer list.
To edit a timer entry, put the highlight bar on the entry you
want and press
OK
button; then appears a box in which you
can change its settings in the same manner as making a new
one.
To delete a timer event, put the highlight bar on the entry you
want to remove and press the
button; then you are asked
for confirmation. If you select
Yes
, it will be deleted.


