Connection between Cutter and Power Supply
• Connect the ‘Power Supply Input Cable’ on the back board of the cutter to the single-
phase power supply;
• Connect the ‘Safe Earth Connection Bolt’ with the power supply earth cable reliably with the
lead whose section area is not less than the cutter’s input lead’s
• Power Supply Configure of one Cutter:
ITEMS
POWER CUT 25K
Air switch (A)
≥30
Fuse (A)
35
knife switch (A)
≥30
Supply cable (mm
2
)
≥4
Notice: The melting current of the fuse is two times of its rated current
Connection between Cutter and Compressed Air
• Connect the output of the decompressed air to the “gas input ” on the back panel by gas
pipe with thread.
OPERATION (SEE SKETCH OF CUTTER’S BOARD)
Operation
• Check the cutter which has finished connection according to the items of the ‘Operation’
to be sure that the connection is correct and reliable; check according to the items of the
‘Safety Operation’ to be sure that it complies with the safety operation requirements;
• When the supply power is on, (Voltage Displayer) shows the input power supply voltage;
Switch on the power supply switch of the cutter to observe if the operation state is normal.
If it is normal, the fan should start up; the (Power Supply Indication Light) should be on. If
there is no compressed air or the air pressure is not enough, the (Pressure Lack Indication
Light) will sign;
• Switch the Torch cooling switch to the ‘Gas Cooling’, adjust air decompression valve till the
air pressure is up to the cutting craft’s requirement. (The lowest pressure should be no less
than 0.33MPa), the (Pressure Lack Indication Light) won’t sign at that condition;
• Adjust the (Gas Check) to the gas check position to observe if the compressed air is
smooth.
• Turn on the torch switch; the cutting operation then begins after the cutting plasma pilot is
made.
Manual cutting
Manual Contact Cutting
• Put the torch’s nozzle at the start of the work piece (with slight touch or lift). Turn on the
torch switch to ignite the plasma pilot. After the work piece is cut thoroughly, then move the
torch along the cutting direction uniformly. The cutting speed should be aimed to cutting
thoroughly. If the speed is too quick, the work piece won’t be cut very thoroughly, or if
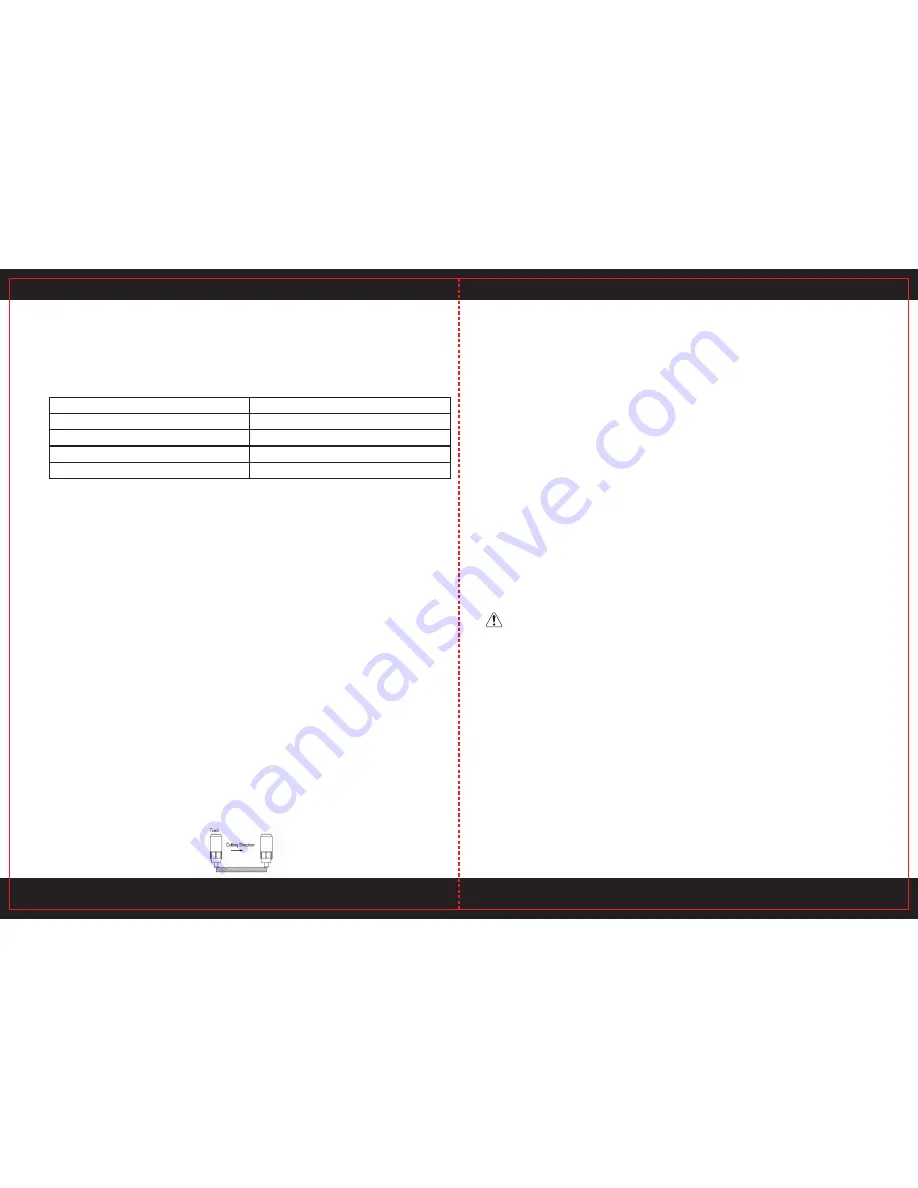
too slow, the cut quality would be affected even result into broken arc. (See the following
picture)
• Turn off the torch after the cutting, then the plasma pilot will extinguish and then withdraw
the torch. The cutting process is over then.
Notice while cutting
• If unnecessary, please do not ignite the leading pilot in the air, or it will reduce life-span of
the torch’s electrode and puzzle.
• It will be better to start cutting at the edge of the work piece, unless you must do
perforation operation on the work piece.
• Be sure that the splash is spilt from the bottom of the work piece. If it is spilt from the top
of the work piece, then you must move the torch not too quickly, or the thickness you
chose could not cut through the work piece.
• Keep certain space between the nozzle and the work space. If press the torch onto the
work piece heavily, it will make the nozzle stick onto the work piece, thus it can not move
smoothly to cut.
• Templet or accessorial equipment is required to cut round work piece and edge
inosculation work piece.
• It is easier to “pull” than “push” during the cutting process
• Keep the torch’s nozzle vertical against the work piece, and observe if the pilot is moving
along the cutting line.
• While cutting the thin work piece, the thin mode can get best cutting quality with low
wastage and longer life span of electrode and nozzle.
• Do not repeat to press the torch switch rapidly, otherwise the pilot system and relative
work piece will be destroyed.
• The Non-HF Arc-pilot Series cutter’s working range is 0.4~0.45MPa. HF Arc-pilot Series
cutter’s working range is 0.50~0.55MPa.
Safety Requirement
• Never allow the electrophorus torch to aim at any part of the body.
• Make sure to wear protection glasses and protection glove while operating.
• Make sure to work in places where there are exhaust or ventilation facilities to keep fumes
or emissions away from the breathing zone.
• No touching to the work piece while cutting in case of the creep age leading into
accident.
• Never allow to cut the vessel that is or was with flammable or explosive stuff
• Torch cable is not allowed to work under water or in the moist environment
• The puckering angle of the torch cable can not be too small, otherwise the inside cable of
gas pipe will be damaged which can result into accident.
• Never allow anybody else other than the operator himself to access the working area.
• Make sure to turn off the power supply when dismantling or moving the machine
• Make sure to turn off the power supply when dismantling or installing any spare parts
(such as torch, electrode, nozzle, earth clamp or other spare parts)
• Make sure to turn off the power supply when dismantling or moving the machine.
• Never allow people with heart pace close to the working site without the permission of the
doctor. The magnetic field produced by the cutters during operation will cause negative
affect to the heart pace.
• The cutting cable can not be pressed or shocked by any appliance.
• Never clean the slag in the torch head by violent knocking.
13
14
Содержание POWER CUT 25K
Страница 1: ......


