


10
3. CONNECTING THE HARDWARE
Before connecting the NCOM serial device server for the first time, you may want to
follow these instructions for testing purposes. We will describe how to connect to
the network, power, your serial devices, and also state the functions of the LED
indicators.
Step 1 – Connecting to the Network
First, connect an Ethernet cable to NCOM’s Ethernet port. Once the Ethernet cable is
connected, connect the other end of the cable to your network. This can be a free
Ethernet port on your DSL router, Ethernet hub/switch, or 802.11n router/base
station. If you do not have a network, you can connect NCOM directly to the
Ethernet port on your computer.
Step 2 – Connecting the Power
Connect the included power supply to NCOM’s power input connector. Once the
NCOM is powered, the “PWR” LED turns ON. After a few seconds, the “PWR” LED
will flash two times to indicate that the NCOM serial device server is ready.
Step 3 – Connecting to a Serial Device
Connect the serial data cable between NCOM and the serial device. The NCOM-111-
M’s serial port provides RS-232, the NCOM-112-M provides RS-422/485 and the
NCOM-113-M provides RS-232/422/485 interface for data transmission. The port
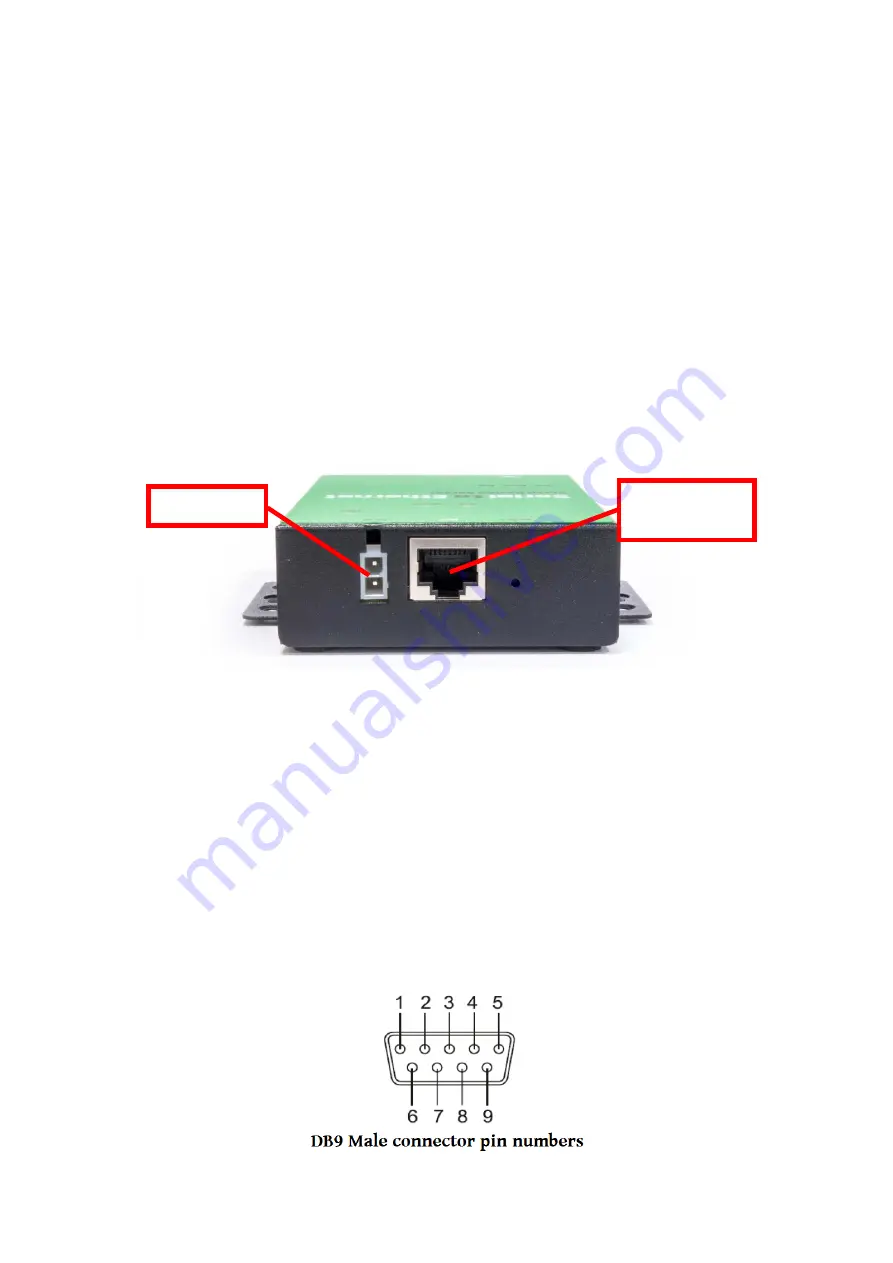
uses a standard male DB9 pin assignment.
Power Input
RJ45 10/100M
Ethernet Port


