9
SHARPENING SAW CHAIN (SEE FIG.8,9,10)
1.
Set your saw on a flat, solid surface so it will not slip while you are sharpening
the chain. The chain tension should be adjusted as specified in the Chain Saw Owner’s
Manual. If it is too loose, the teeth will move, resulting in a poor sharpening.
BEST RESULTS are accomplished by sharpening on flat area of the saw bar-somewhere near
the middle of the bar.
2.
Position saw so you are looking at the side of the chain bar with the motor to your
right.
Cutter teeth on the far side of the chain are sharpened, from inside to outside,
or away from you, as shown in figure 8. The metal guide (B) should be laid flat on
the tooth with the 30 degree index line (L) parallel with the chain. Align by eye
with the chain.
Two or three light strokes are usually enough, unless the cutters have been damaged.
Sharpen all cutters equal. Start with the cutter with the most visual damage (i.e.
nicks or gouges) and sharpen all cutters back equally. Do not remove excessive metal
material while sharpening, as this can shorten the life of the chain.
NOTE: Sharpen cutter teeth (J) only, not the depth gauge/raker (K).
3.
When all of the teeth on the top of the bar have been sharpened, advance the chain
using a glove or a rag to protect your hand, by pulling the chain toward the end
of the bar.
Repeat until all the teeth on the far side of the chain have been
sharpened.
4.
Next, turn the saw around so that you are looking at the side of the chain bar with
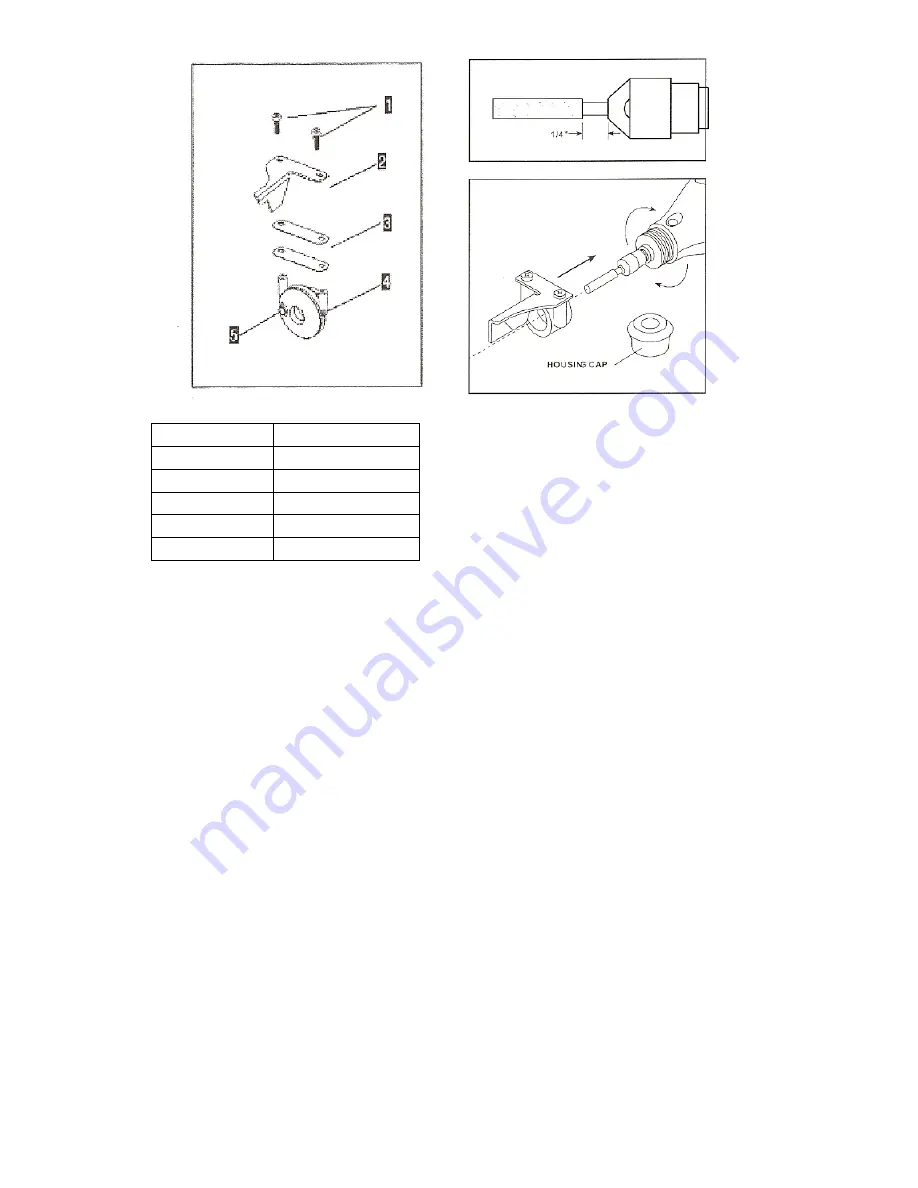
Ref. Number
Description
1
Screws
2
Metal Guide
3
Spacers
4
Plastic Guide
5
Led worklight
FIG 5
FIG 6
FIG 7


