5.2.1
Found New Hardware Wizard
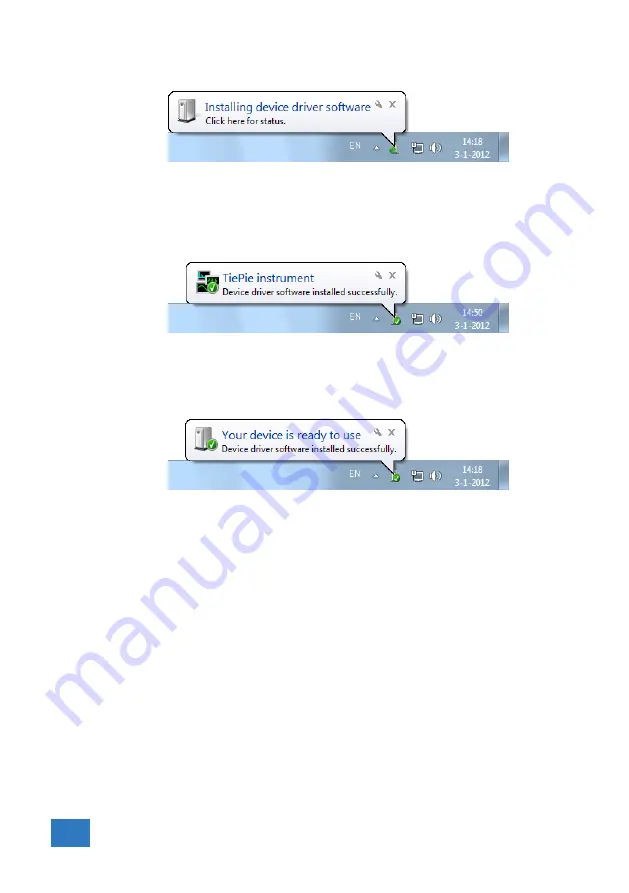
Figure 5.1: Hardware install: step 1
Windows has detected new hardware and starts installing the
drivers.
Figure 5.2: Hardware install: step 2
Once ready, Windows will report that the driver is installed.
Figure 5.3: Hardware install: step 3
Now the driver is installed, the measurement software can be
installed and the Handyscope TP450 can be used.
5.3
Plug into a different USB port
When the Handyscope TP450 is plugged into a different USB port,
some Windows versions will treat the Handyscope TP450 as dif-
ferent hardware and will ask to install the drivers again. This is
controlled by Microsoft Windows and is not caused by TiePie en-
gineering.
22
Chapter 5
Содержание Handyscope TP450
Страница 1: ...Handyscope TP450 User manual TiePie engineering ...
Страница 4: ...7 11 Measure lead 27 7 12 Package contents 28 II ...
Страница 6: ...2 Chapter 1 ...
Страница 17: ...When measuring DC signals make sure to set the signal coupling of the input to DC Introduction 13 ...
Страница 18: ...14 Chapter 3 ...
Страница 24: ...20 Chapter 4 ...
Страница 28: ...24 Chapter 6 ...


