5
10 Step Codec Quick Start
© Tieline Pty. Ltd. 2012
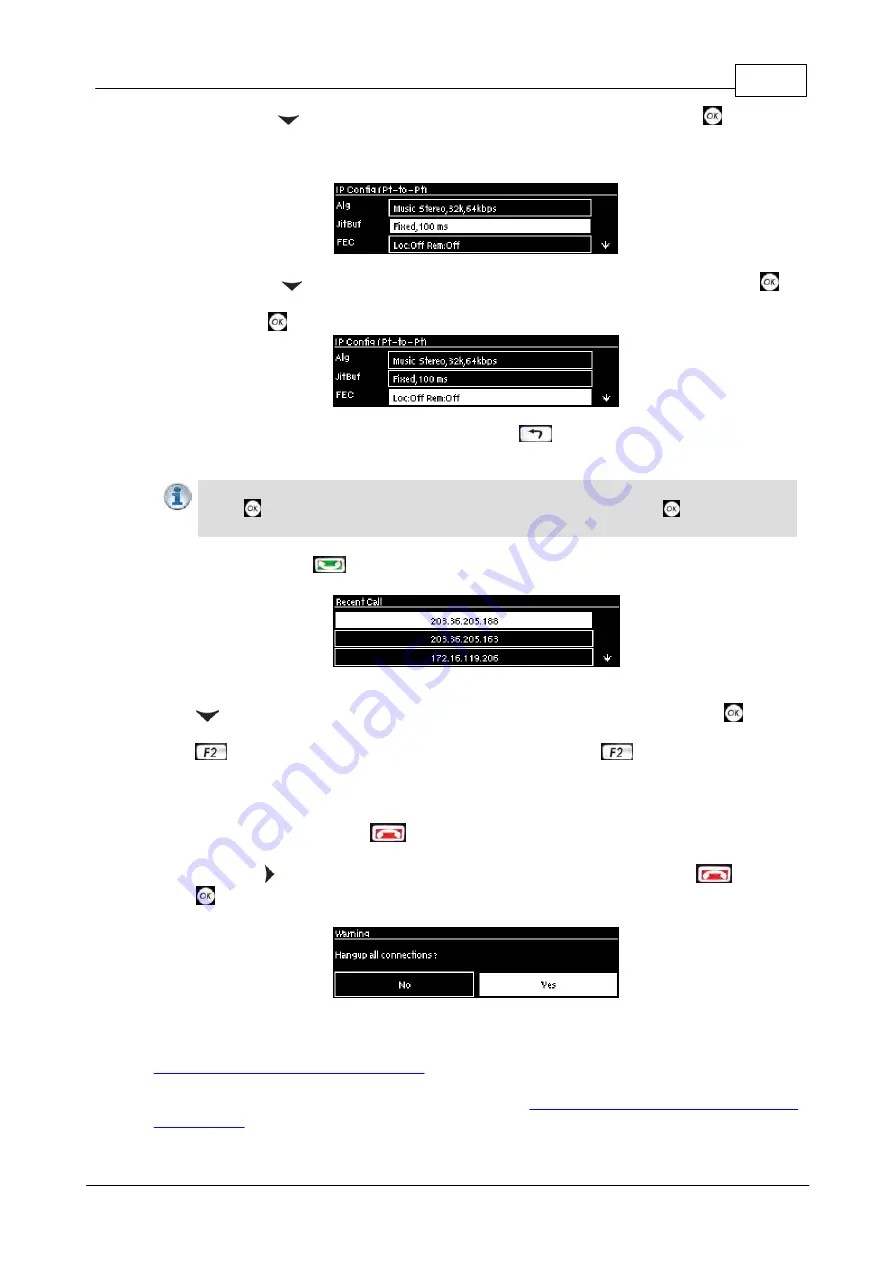
6. Press the down
navigation button to select Jitt (jitter buffer delay) and press
to select a
different automatic jitter buffer setting for your connection, or to enter a fixed buffer setting in
milliseconds (maximum 999 ms). The default
Auto, Best Compromise
setting is a good
starting point for most internet connections.
7. Press the down
navigation button to select FEC (forward error correction) and press
to
view selection options. Use the navigation buttons to choose the FEC percentage you want to
use and press
.
8. When programming is complete press the
RETURN
button to navigate backwards to the
Connect IP
screen that the IP address was entered into.
Important Note:
At this point you can navigate to
Save
on the
Connect IP
screen and
press
to use the numeric
KEYPAD
to name the program and press
to save the
program.
9. Press the
CONNECT
button to make a connection. The
Wait Connecting
screen appears
during the connection process.
When connected, the green
CONNECTED LED
on the front of the unit will illuminate. Use the
down
navigation button to select
Cxns
and view connection
Status
and press
to view
connection statistics for IP packets being sent over the connection. To negotiate higher bit-rates
press
then
3
on the numeric
KEYPAD
; for lower bit-rates press
then
9
.
Disconnecting
1. Press the red
DISCONNECT
button on the numeric
KEYPAD
at any time to hangup a
connection.
2. Use the right navigation button to select
Yes
and press the
DISCONNECT
button or
the
button to confirm the disconnection.
User Manuals and Latest Firmware
To download the latest firmware for your codec and view software release notes visit
www.tieline.com/Support/Latest-Firmware
To download the latest user manual for your codec visit


