background image

404-344-0000   •   tiedown.com

605 Stonehill Drive SW, Atlanta, GA 30336

Red: 0-100-100-0 

Blue: PMS 293 

100-56-0-0 

Color Logo use on white background only 

Black Logo use on white background only 

White Logo use on black background only 

E1414; Rev. 1/3/19

Instructions #08243

Updated: 1/3/19

For the Most Up to Date

Information and Instructions, Visit the TranzSporter Web Site at 

www.tranzsporter.com.

Solar/ Plywood  

Panel Accessory

Owners Manual

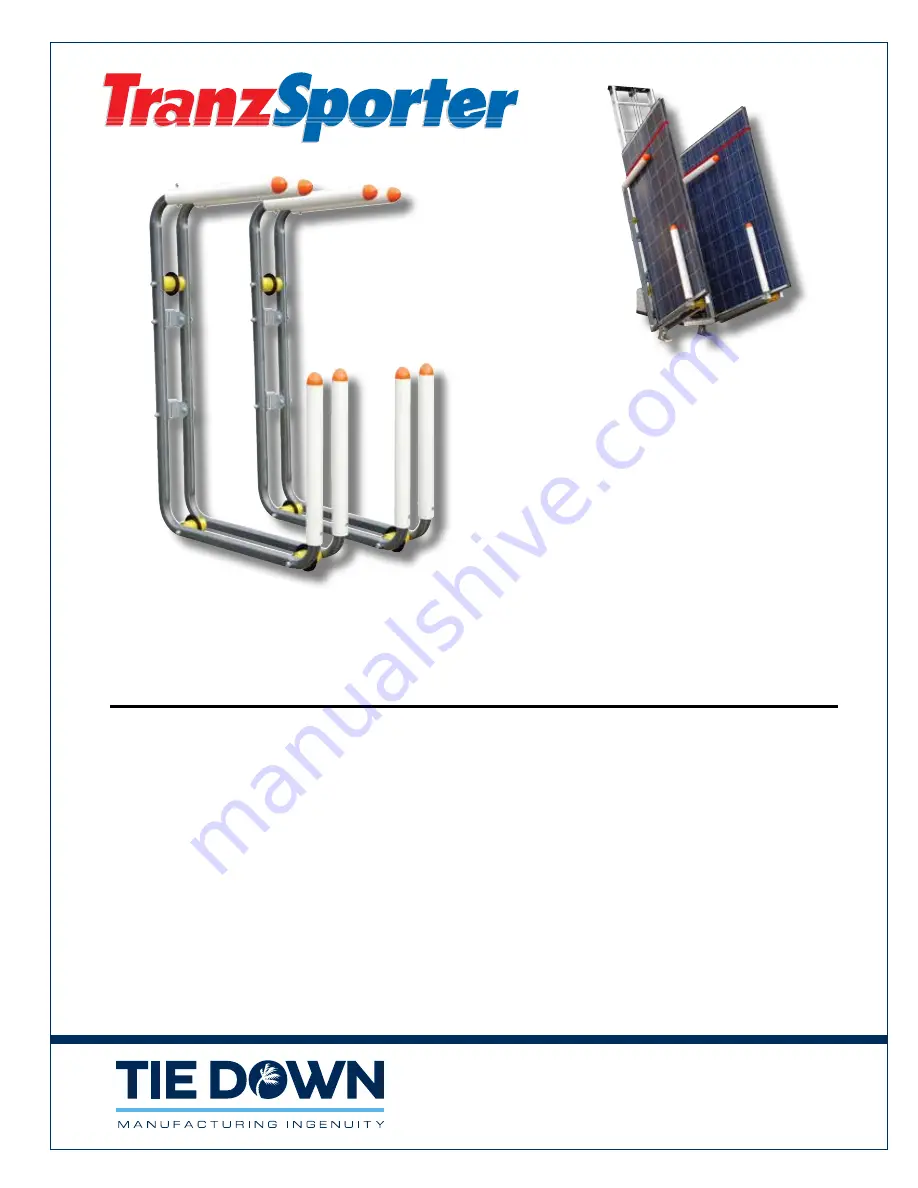
Solar/Plywood Panel Accessory for TP250 Platform Hoist

Part #48469

Kit Includes: solar brackets left and right, roof top anchor kit, cable drum assembly with extended cable,

solar/plywood carriage weldment.

Solar/Plywood Panel Accessory for TP400 Platform Hoist

Part #48467

Kit includes: solar brackets left and right, roof top anchor kit.

Both TP250/400 Models

Requires Secondary Handle Kit #48468

Содержание TranzSporter 48469

Страница 1: ...ion and Instructions Visit the TranzSporter Web Site at www tranzsporter com Solar Plywood Panel Accessory Owners Manual Solar Plywood Panel Accessory for TP250 Platform Hoist Part 48469 Kit Includes...

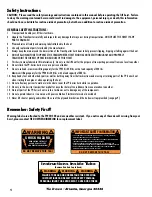
Страница 2: ...not to damage any of the components 14 Do not operate indoors or in an area with poor ventilation Electric motor model is excluded 15 Never lift sheet or panel goods without the use of the plywood bra...

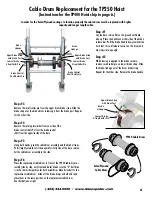
Страница 3: ...e the handle on either side of the brake release bar Pull the brake handle down towards the hoist feet this will release tension on the drum and may require two people Step 2 While tension is applied...

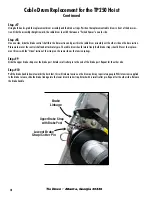
Страница 4: ...r drum brake strap Attach with a small cotter pin Repeat for the other side Release the brake handle Step 7 Using both hands grab the replacement drum assembly and the brake straps Position the replac...

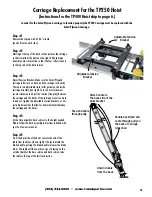
Страница 5: ...et Make sure the Solar Plywood carriage rollers are on track and the carriage rolls easily There are two adjustable track roller guides on the inside carriage assembly see right Turn the nut clockwise...

Страница 6: ...Nut Cable is looped around carriage pully Lock Washer Washer Top Cap Step 6 Feed the cable end through the pulley at the top and back down the front side of the track section to the back of the carri...

Страница 7: ...ase follow the installation instructions included in the hoist owners manual Solar Panel Mounting Locations Secondary Handle Kit Brackets Carriage Tabs Solar Panel Tabs Shown from the back Step 1 Care...

Страница 8: ...and must attach at tie down locations NOTE ALWAYS CENTER FLAT PANEL LOADS Platform Back Flap Tie Down Secure straps through flap slots provided on back WARNING WARNING WARNING FAILURE TO READ AND UND...

Отзывы: