Thunderobot ST PLUS Скачать руководство пользователя страница 18

18 

ST PLUS 

ENGLISH

ENGLISH  

ST PLUS 

18

Display Devices

Note that you can use external displays 
connected to the HDMI-Out port and/or Mini 
DisplayPort. See your display device manual to 
see which formats are supported.
In Windows it is possible to quickly configure 
external displays from the Project menu (press 
the 

Windows Logo Key

            and the 

P

 key or 

press the 

Fn + F7

 key combination).

To configure the displays using the Project 
menu:

1

. Attach your external 

display device to the 
appropriate port, 
and then turn it on.

2

. Press the         + 

P


Or 

Fn + F7

)  key

combination.

3

. Click on any one of  the options from the  

menu to select 

PC screen  only, Duplicate, 

Extend or Second screen only.
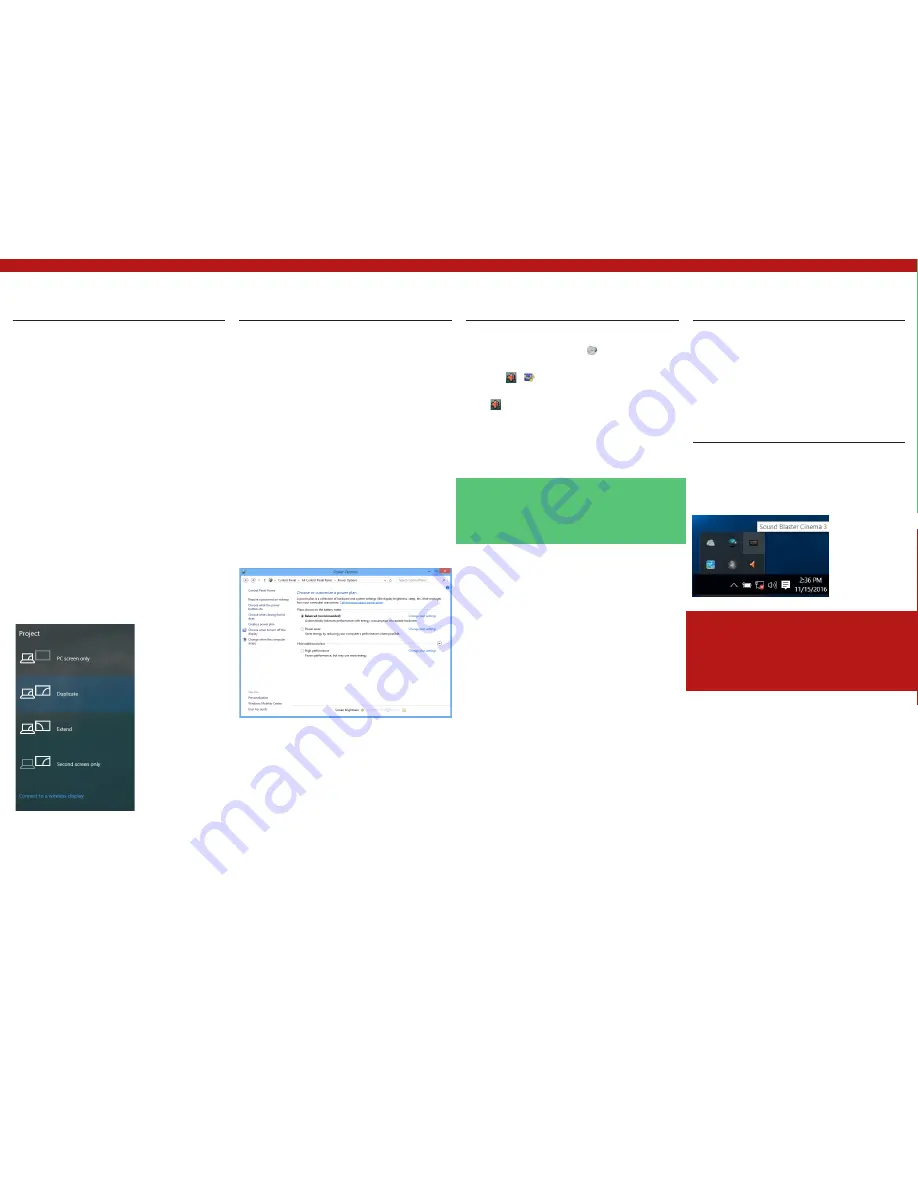
Power Options

The 

Power Options 

(

Hardware and Sound

 menu) 

con- trol panel icon in 

Windows

 allows you to 

configure power management features for your 
computer. You can conserve power by means 
of 

power plans

 and configure the options for 

the 

power button, sleep button (Fn + F12

), 

computer lid (when closed), display and sleep 

mode (the default power saving state) from the 
left menu. Note that the 

Power saver 

plan may 

have an affect on computer performance.

Click to select one of the existing plans, or click 

Create a power plan

 in the left menu and select 

the options to cre- ate a new plan. Click

 Change 

Plan Settings

 and click 

Change advanced 

power settings

 to access further con- figuration 

options.

Audio Features

You can configure the audio options on your 
computer from the 

Sound

           control panel 

in 

Windows

, or from the 

Realtek HD Audio 

Manager      

/       icon in the notifica- tion area/

control panel (right-click the notification area 
icon           to bring up an audio menu).

The volume may be adjusted by means of the 

Fn 

+ F5/F6

 key combination.

Sound Blaster Cinema 3

Install the 

Sound Blaster Cinema 3

 application 

to allow you to configure the audio settings to 
your requirements for the best performance in 
games, music and movies.

Sound Blaster Cinema 3 

Application

Run the 

Sound Blaster Cinema

 control panel 

from the notification area of the taskbar. Click 
on the tabs to access any of the control panel 
menus.

Figure 25

 - 

Sound Blaster Cinema 3 (Taskbar 

Notification Area Icon)

Figure 23


- Project

Figure 24


- Power Options

Volume Adjustment

The sound volume level can also be set using the
 volume control within 

Windows

. Click the 

Speaker


icon in the taskbar to check the setting.

Sound Blaster Cinema 3 & HDMI/Mini 

DisplayPort

Note that the Sound Blaster Cinema 3 audio effects 

do not apply to audio generated through an HDMI/ 

Mini DisplayPort connection.

Содержание ST PLUS

Страница 1: ...1 ST PLUS ENGLISH ENGLISH ST PLUS 1 Concise User s Guide Ausf hrliches Benutzerhandbuch Guide Utilisateur Concis Gu a del Usuario Concisa Guida Rapida per l Utente ST PLUS...

Страница 2: ...2 ST PLUS ENGLISH ENGLISH ST PLUS 2...

Страница 3: ...31 Troubleshooting 32 Specifications 33 ber das Ausf hrliche Benutzerhandbuch 35 Schnellstart 38 System bersicht Ansicht von vorne mit ge ffnetem LCD Bildschirm Modell A 40 System bersicht Ansicht vo...

Страница 4: ...s digitales Option 97 TPM Option 98 Module 3G 4G Option 99 D pannage 100 Sp cifications 101 Acerca de esta Gu a del Usuario Concisa 103 Gu a r pida para empezar 106 Diferencias de modelos 107 Mapa del...

Страница 5: ...ick guide is a brief introduction to getting your system started This is a supplement and not a substitute for the expanded English language User s Manual in Adobe Acrobat format on the Device Drivers...

Страница 6: ...y uninterrupted power supply If you are unsure of your local power specifications consult your service representative or local power company The AC DC adapter may have either a 2 prong or a 3 prong gr...

Страница 7: ...Servicing Attempting to service the computer yourself may violate your warranty and expose you and the computer to electric shock Refer all servicing to qualified service personnel particularly under...

Страница 8: ...Array Microphone 4 LCD 5 Power Button 6 Keyboard 7 Touchpad Buttons 8 Fingerprint Reader Optional Wireless Device Operation Aboard Aircraft The use of any portable electronic transmission devi ces ab...

Страница 9: ...ss Device Operation Aboard Aircraft The use of any portable electronic transmission devi ces aboard aircraft is usually prohibited Make sure the WLAN Bluetooth 3G 4G module s are OFF if you are using...

Страница 10: ...the numeric keypad It also features function keys to allow you to change operational features instantly Function Keys Visual Indicators The function keys F1 F12 etc will act as hot keys when pressed w...

Страница 11: ...ness bar to set the brightness level of the keyboard backlight Color Swatch The color swatch in the top right of the screen allows you to select a range of colors for your keyboard backlight by clicki...

Страница 12: ...Port 13 USB 3 0 USB 3 1 Gen 1 Type A Port 14 Vent 15 Security Lock Slot Figure 10 Front Left Right Rear Views Model A System Map Front Left Right Rear Views Model B 1 LED Indicators 2 DC In Jack 3 RJ...

Страница 13: ...two devices are plugged in 8 USB 3 0 USB 3 1 Gen 1 Type C Port Or Factory Option USB 3 1 Gen 2 Type C Port 9 USB 3 0 USB 3 1 Gen 1 Type A Port Or Factory Option USB 3 1 Gen 2 Type A Port 10 Multi in 1...

Страница 14: ...supports Energy Star power management features that place computers CPU hard drive etc into a low power sleep mode after a desig nated period of inactivity Click either the Performance Balanced or Ene...

Страница 15: ...o files You can Add or Delete profiles you can maintain 12 active Profiles Export and Import profiles from the menus If you double click on a profile you can change the Profile Name and change an V fi...

Страница 16: ...the executable file of the application and click Open 4 The key will now be configured to open the selected application under your chosen Profile and the key will appear in green 5 If you want to rem...

Страница 17: ...ttings for System Devices Network Internet Personalization Accounts Time lan guage Ease of Access Privacy and Update security Figure 22 Start Menu Context Menu Taskbar Control Panel and Settings Video...

Страница 18: ...ing plans or click Create a power plan in the left menu and select the options to cre ate a new plan Click Change Plan Settings and click Change advanced power settings to access further con figuratio...

Страница 19: ...power during the installation procedure and if the remaining ba ttery capacity is not ade quate this may cau se the system to shut down and cause system prob lems note that there is no safety is sue i...

Страница 20: ...e the TPM this will probably require a restart of the computer and confirmation of the setting changes after restart by pressing the appropriate F key 2 After the restart the TPM will be prepared and...

Страница 21: ...Specifications Core Logic Intel HM175 Express Chipset BIOS 64Mb SPI Flash ROM AMI BIOS Memory Two 260 Pin SO DIMM Sockets Supporting DDR4 2400MHz Memory Memory Expandable up to 32GB Compatible with 4...

Страница 22: ...dule Or Factory Option 2 0M FHD PC Camera Module Factory Option Models A B Only 3G or 4G M 2 Module WLAN Bluetooth M 2 Modules Factory Option Intel Wireless AC 8265 Wireless LAN 802 11ac Bluetooth 4 1...

Отзывы: