


12
Advanced Functions
EN
Picture settings
You can use the picture setting menus to achieve the best picture settings, according to
your taste and the ambient lighting.
Picture menu functions
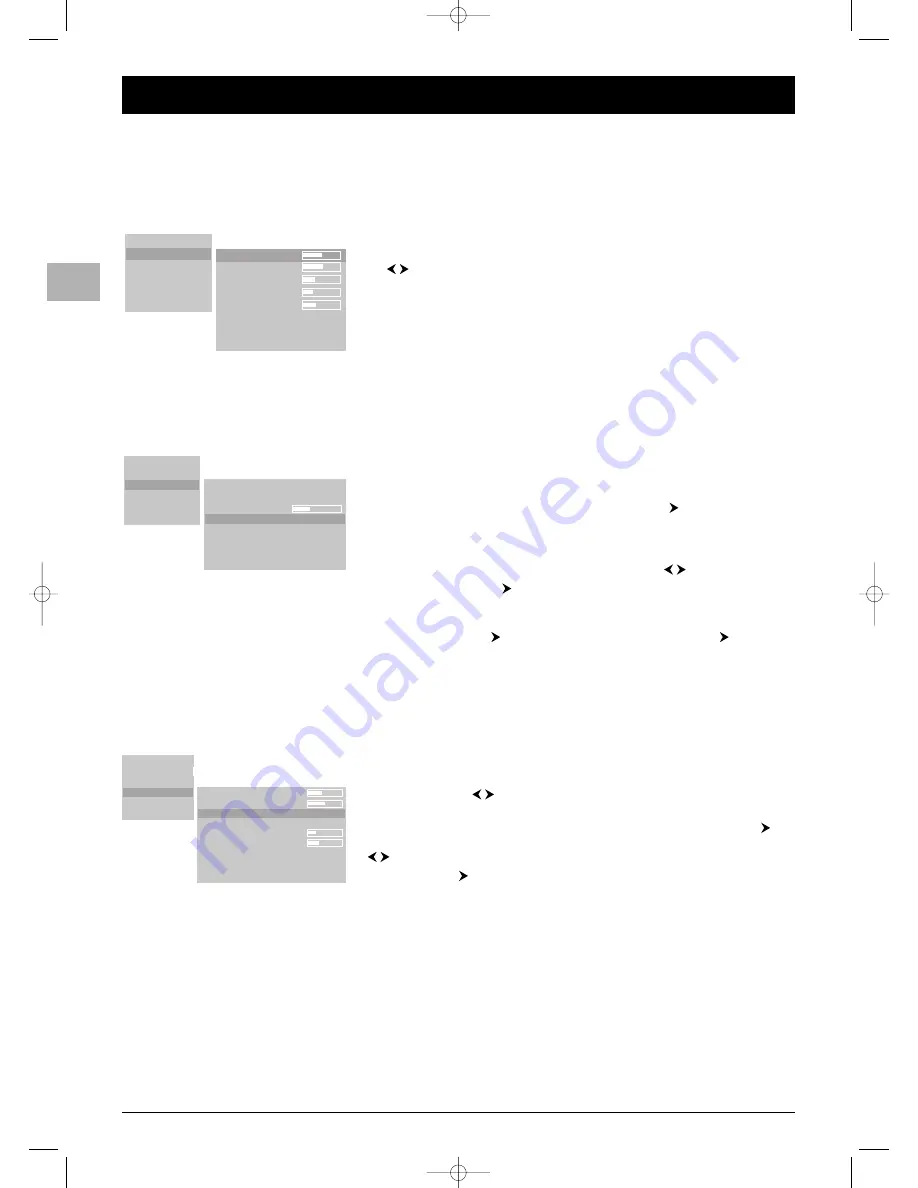
Display the main menu by pressing the
MENU
button, then select the
Picture
option.
Contrast
,
Brightness
,
Sharpness
,
Color
: adjust these according as required using
the buttons.
DNC
(Dynamic Noise Control): this improves picture quality when reception is
difficult.
Photo CD
: this can be used to automatically provide the optimum quality for still
pictures (photographs on a photo CD, for instance). It is disabled by default. Select the
option
On
to enable it.
Film Mode
(AV sources only): this function detects that the programme being
broadcast is a film and enhances picture quality. It is disabled by default. Select the
option
Auto
to enable it.
Display menu functions
Display the main menu by pressing the
MENU
button, then select the
Display
option.
Color temperature
: you can select one of the three default settings (
Warm
,
Ideal
,
Cold
) or create a customised setting.You do this by selecting
USER
under
Color
temperature
, then select
User Color Temp
. and press the
button to apply the
setting.
Note: When you increase the proportion of red the picture seems “warmer”. When you
increase the proportion of blue the picture seems “colder”.
Picture Contrast
: you can adjust this as required using the
buttons.
Freeze Picture
: press the
button to freeze the screen. If the PIP option is enabled
BOTH the main picture and PIP are frozen.
Note:You can also use the
FREEZE
button.
Screen saver
: press the
button, then select an option and press the
button to
enable it:
-
White
: this can be used to eliminate any recent, slight occurrences of screen burnout.
-
Inverted
: this can be used to restore the screen in the event of major burnout.
Press the
MENU
button to cancel this.
Sound settings
Display the main menu by pressing the
MENU
button, then select the
Sound
option.
Volume
,
Balance
,
Volume Line Out
,
Max. Startup Volume
: adjust these according
as required using the
buttons.
Equalizer
: select one of the preset options or the
User
option to define your own
settings. In this case, the
User Equalizer
option appears. Select it and press the
button to display the five frequency bands. Adjust these according as required using the
buttons.
Option
: using the
button, select a sound type.
Note:You can also use the red (
M/S
) button.
AVC
: select
On
if you want to keep the same sound level for all channels.
Inputs / PIP
Picture
Display
Sound
Set Up
Info
Contrast:
Brightness:
Sharpness:
Color:
DNC:
Photo CD:
Film Mode:
¥
Off
Auto
64
64
10
8
15
Inputs / PIP
Picture
Display
Sound
Set Up
Info
Auto Zoom:
Zoom:
User Zoom:
Color temperature:
Picture Contrast:
Freeze Picture:
Screen saver
¥
Off
Userzoom
Ideal
Ideal
Inputs / PIP
Picture
Display
Sound
Set Up
Info
Volume:
Balance:
Equalizer:
Option:
Volume Line Out:
Max Startup Volume:
AVC:
User Equalizer:
¥
User
Stereo
On
42PB120S5-EN2 22/03/05 15:37 Page 12


