8
TLX48 Matrix Switch Product Manual
thinklogical
Rev. B, April, 2016
The stand-alone touchscreen is connected via the
RS232 serial port
on the back of the Switch. The
serial port on the Switch can be configured to work with the touch screen or our ASCII interface. The
Switch ships with the ASCII interface enabled.
ENABLING THE TOUCHSCREEN
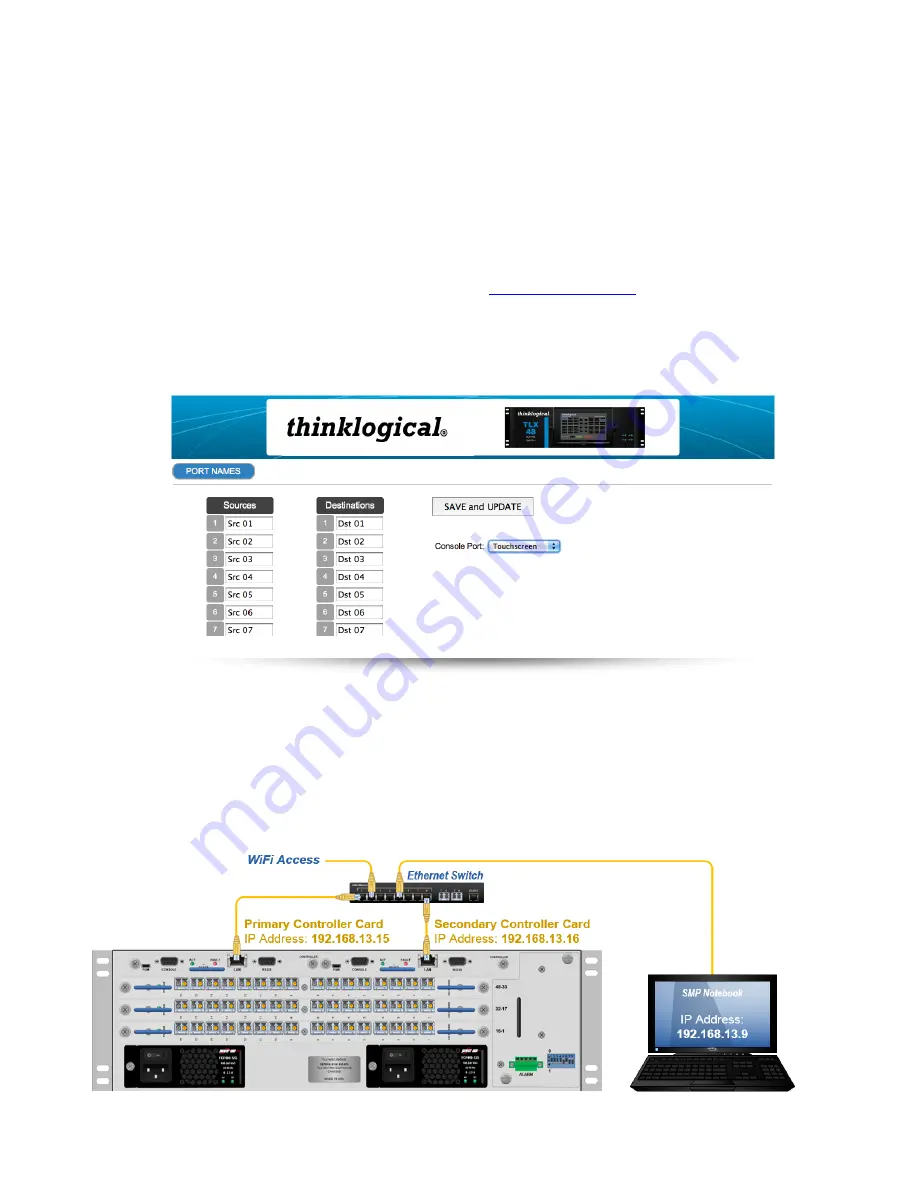
To enable the touchscreen, connect the computer's network port to the RJ45 LAN port on the TLX48
using a crossover cable or through a network hub.
The TLX48 is shipped with a default IP Address of
192.168.13.15
(which can be changed using the dip switch on the Fan Tray).
Set your computer to use the static address 192.168.13.9 and netmask 255.255.255.0
. From here,
open a browser and type in the address of the TLX48 (
). Check the
Touchscreen
Enable
box to allow control of the touchscreen via the serial port.
The names of Sources and Destinations can also be changed easily from this page using the browser.
Set a web browser to the IP address of the TLX48. Make any desired changes to the names and be sure
to press the “SAVE and UPDATE” buttons before disconnecting.
Naming Sources and Destinations
To make a connection, select both a destination and a source (they turn blue when selected) and press
“CONNECT”. To break a connection, select a destination (it turns blue when selected) and press
“DISCONNECT”.
THE CONTROL CARDS
The hot-swappable Control Card connects the TLX48 to an External CPU.
The RS-232 serial port
may be used for third party controller integration (such as Crestron, AMX or home-spun interfaces). Also,
the Configurator Software may be used to control the Switch via the LAN port.
Содержание TLX48
Страница 1: ......
Страница 10: ...4 TLX48 Matrix Switch Product Manual thinklogical Rev B April 2016...
Страница 38: ...32 TLX48 Matrix Switch Product Manual thinklogical Rev B April 2016 APPENDIX A TLX48 Quick Start Guide...
Страница 47: ...41 TLX48 Matrix Switch Product Manual thinklogical Rev B April 2016 TLX48 10G Matrix Switch Secure Application...


