8
Installing Optional Kits
Installing the NoVent Microfluidics
386
TRACE 1300 and TRACE 1310 Hardware Manual
Thermo Scientific
2. Confirm that the MS is vented and remove the current transfer line nut and ferrule.
3. Unwind about one turn of the column from the column outlet end.
4. Wipe approximately 300 mm (12 in.) of the column with a tissue soaked in methanol.
5. Choose an appropriate ferrule for the outer diameter of your column.
6. Insert the column through the transfer line nut and ferrule, entering through the tapered
end of the ferrule. Wipe the column again with a tissue soaked in methanol.
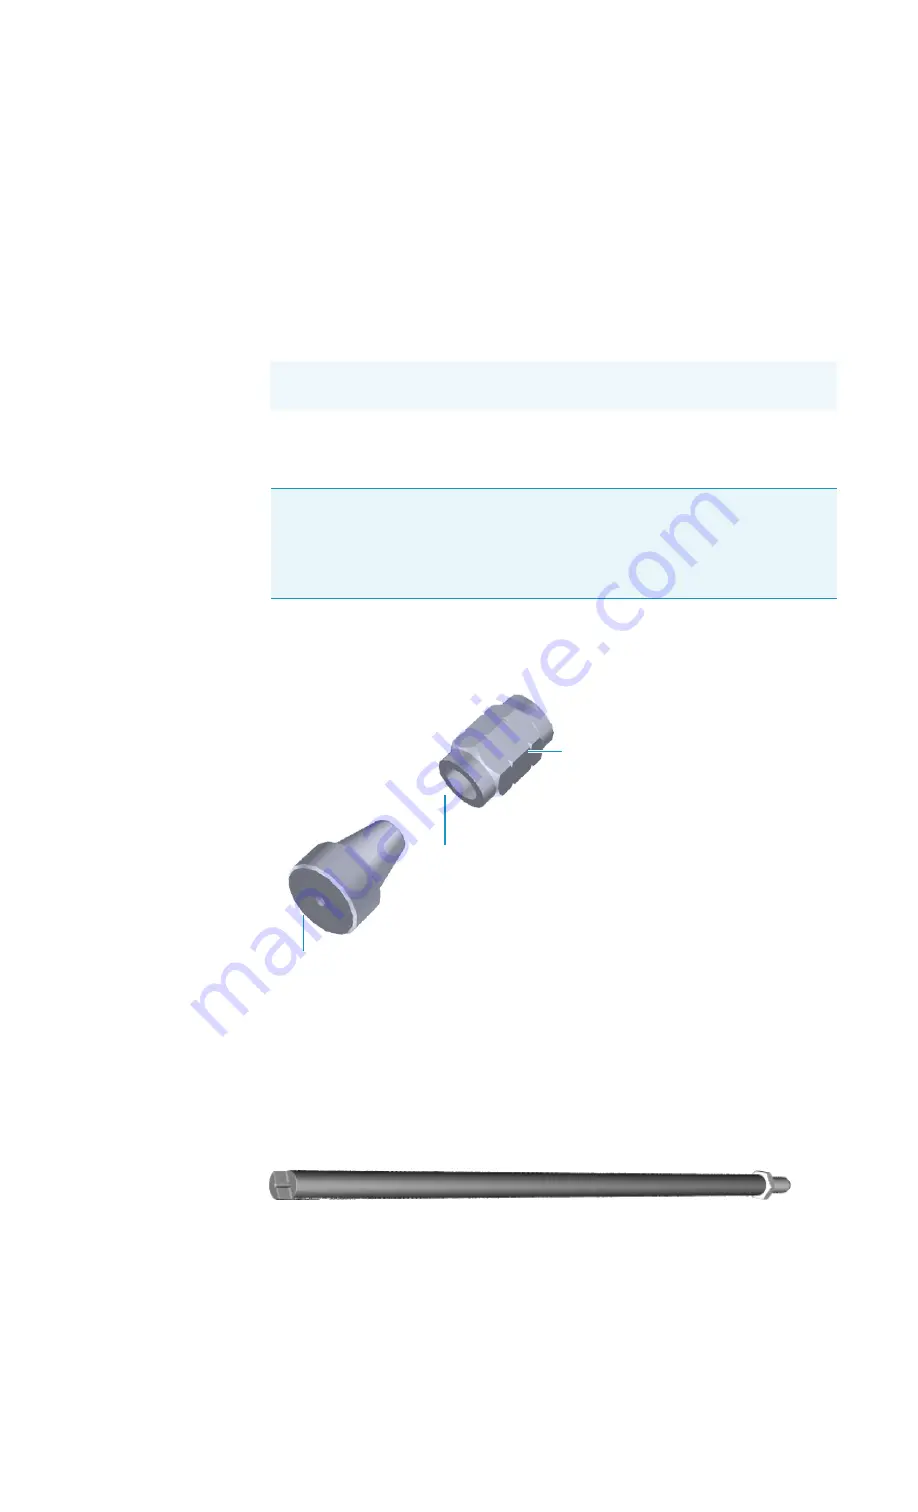
Figure 389.
Transfer Line Nut and SilTite Ferrule Orientation
7. Insert the column into the column measuring tool (see
), which is in the ISQ
Toolkit, so that it is even with the lines at the end of the column.
indicates
proper positioning of the column in the tool for accurate measuring.
8. Use a scoring wafer to score and break the column. Use a magnifying glass to check for an
even, flat cut. Repeat if necessary.
9. Use a 5/16 in. wrench to hold the column measuring tool steady.
Figure 390.
Column Measuring Tool
Note
Wear clean, lint- and powder-free gloves when you handle the column and
transfer line ferrule.
Note
If the maximum oven temperature in your method is
≥
290 °C (554 °F),
Thermo Fisher Scientific recommends using a spring loaded transfer line nut with a
graphite Vespel® ferrule or a SilTite™ nut and ferrule. By cycling the oven at and above
this temperature, expansion and contraction of the graphite Vespel® material can
cause leaks in the transfer line.
Transfer Line Nut
SilTite Ferrule
Flat on the Transfer Line Nut
Содержание TRACE 1300
Страница 1: ...TRACE 1300 and TRACE 1310 Gas Chromatographs Hardware Manual PN 31715002 Revision F January 2016 ...
Страница 4: ......
Страница 16: ......
Страница 94: ......
Страница 224: ......
Страница 450: ......
Страница 578: ......
Страница 610: ......
Страница 620: ......
Страница 624: ......


