Creating Albums
To create a photo album, follow the steps below:
1.
Click the Add button to create a new album.
2.
Enter a name for the album, and enter a description if you wish. Then, click
on the Create Album button.
Password Protecting Albums
If you would like to put a password on a particular album, follow these steps:
1.
Select the album to be protected, click on the Edit button, and the Album
Edit screen will appear.
2.
The owner of the album can enter an album password to protect the album,
so that only people with the correct password can view the album.
Uploading Pictures to Albums
Uploading pictures to albums using the Web User Interface is easy:
1.
When the album is created, click the album icon to enter the album. Initially
the album is empty.
2.
Click the Add button to upload pictures into the album. The Upload Photos
screen will appear. Users can select and upload up to 8 pictures at a time.
3.
Once the picture is uploaded, you can view it in the album. The owner of the
album can delete or modify the pictures with the Delete or Modify buttons
on the top right hand corner
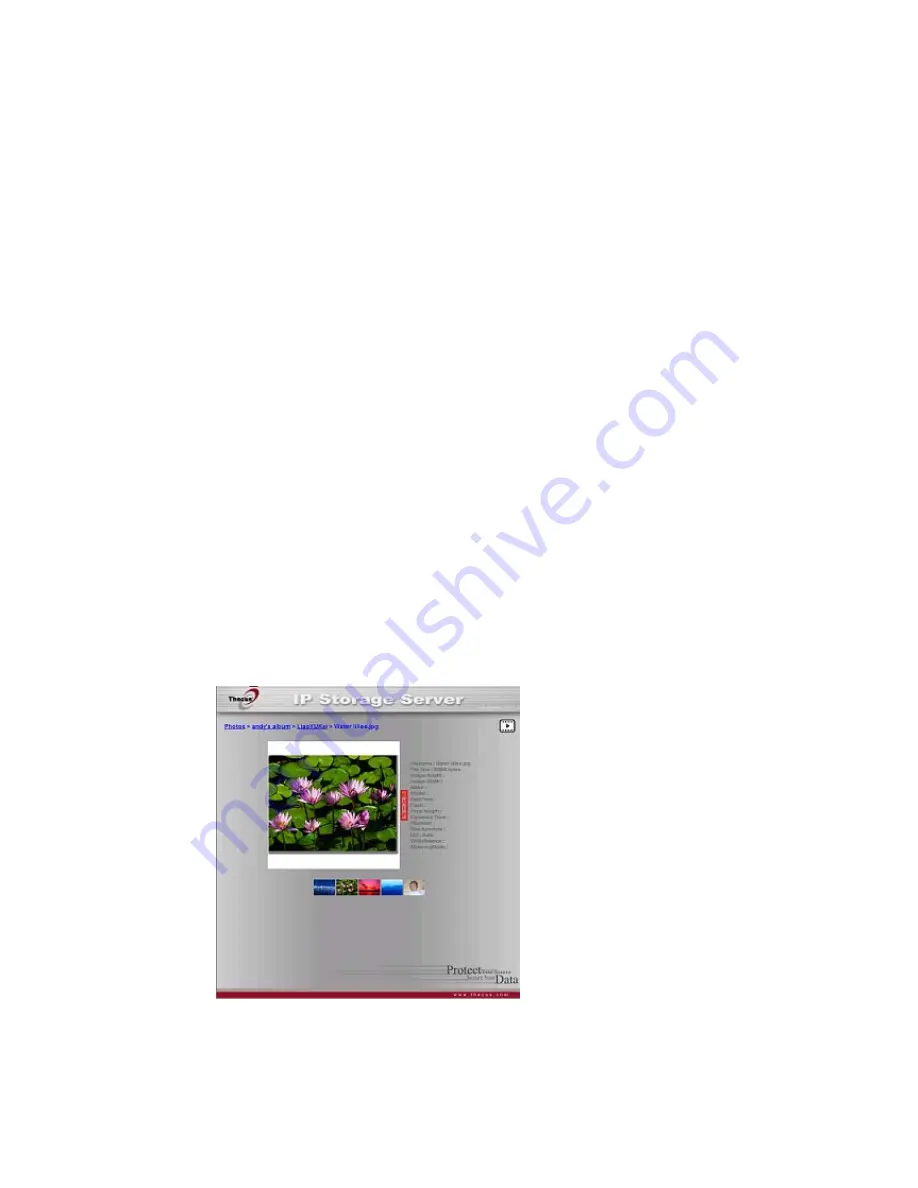
EXIF Information
While viewing pictures, you can also have the N7700SAS display the EXIF
information for each photo.
Simply click the EXIF button to display EXIF information. To hide this information,
click the EXIF button again.
107


