background image

— 10 —

Operation

Playing a CD (Continued)

14


PROGRAM: 

You can program up to 

20 tracks for playback in any desired 
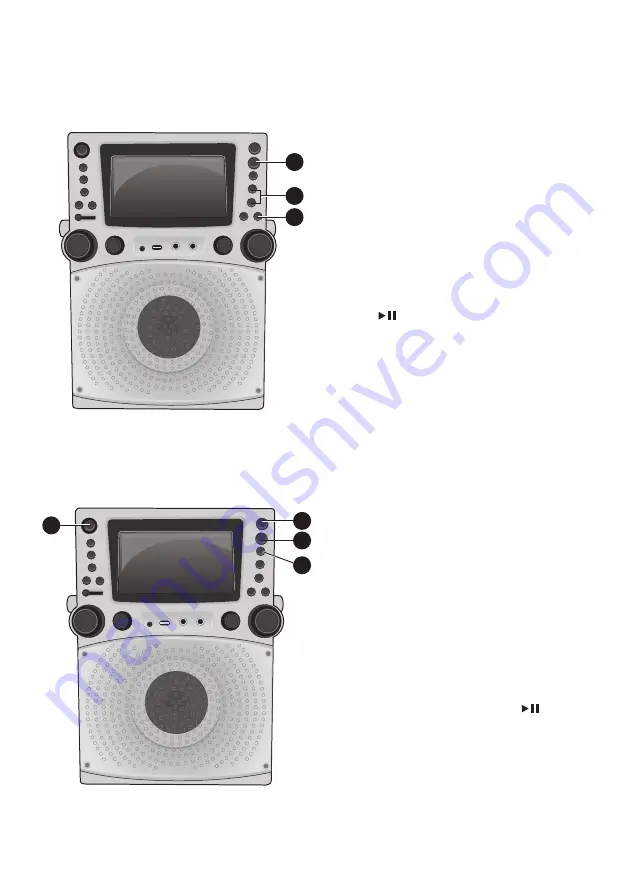
order. While in Stop mode, press the 

PROGRAM/REPEAT

 button; PROG 

SET 00:XX (xx is the total tracks) 
will appear in the display. Select the 
first track using the  

Skip 

9

/

5


or


Skip 

:

/

6

buttons, then press the 

PROGRAM/REPEAT

 button. Repeat 

to set up to 20 tracks into memory. 
When done, press the 

Play/Pause  

/ENTER 

button to start playback.

Note:

   Press the 

Stop 

<

/

PAIR 

button 

TWICE to stop and clear the program.

15


RECORDING YOUR SINGING

  Insert a USB drive first, then press 

the 

RECORD

 button; the song 

will start over and recording will 
begin. REC with track progress in 
percentage will appear at the top 
left of the screen. When done 
recording, press the 

RECORD 

button again to stop recording. 
See page 11 to play back your 
recorded files saved in the USB 
flash drive.

16

  PAUSE

: During playback, if you 

wish to pause the disc momentarily, 
press the 

Play/Pause  

/ENTER 

button. Press again to resume 
normal playback.

17

  Press the 

Stop 

<

/

PAIR

 button to 

stop playback.

18

  Press the 

ON/STANDBY

 button to 

turn the unit off.

14

14

14

18

15
16
17

Содержание STVG785BT

Страница 1: ...TM STVG785BT STVG785BTW INSTRUCTION MANUAL www singingmachine com The Singing Machine is a registered trademark of The Singing Machine Co Inc...

Страница 2: ...quilateral triangle is intended to alert the user to the presence of important operating and maintenance servicing instructions in the literature accompanying this product 1 This device may not cause...

Страница 3: ...2 Included Please make sure that the following items are included Wired Microphone Main Unit Audio Video Cables AC Adapter Manual...

Страница 4: ...ON OFF Button 6 KEY Buttons 7 Disco Light DIMMER Slide Switch 8 Mic Holders 9 MIC VOLUME Control 10 ECHO Control 11 LINE IN Jack 12 USB Port 13 Disco Lights 14 Speaker 15 CD Compartment 16 RECORD But...

Страница 5: ...4 Location of Controls Rear 4 3 2 1 1 AUDIO OUT Left Jack 2 VIDEO OUT Jack 3 AUDIO OUT Right Jack 4 DC IN Jack...

Страница 6: ...te L red R REAR VIEW OF TV To output the video lyrics and audio to your TV perform the following steps Connect the RCA video cable Yellow to the VIDEO OUT jack and the audio cables White and Red to th...

Страница 7: ...V AC 60Hz Note Make all connections before connecting to AC power Connect an external device by using an appropriate cable 3 5mm audio cable not included as shown Note See page 17 to select and use th...

Страница 8: ...small file size It will display the words on the screen See page 19 to order and download MP3 G files Never place anything other than a CD in the compartment as foreign objects can damage the unit If...

Страница 9: ...slide the ON OFF switch on the microphone to the ON position 7Adjust the MIC VOLUME control as desired Increasing this control will increase the volume of both microphones 8Rotate the ECHO control to...

Страница 10: ...rom a multiplex recording Note To use the BALANCE control a CD G disc must be used otherwise it will operate as a standard Balance control 12SKIP Advance or go back one track by pressing the Skip 9 5...

Страница 11: ...R button TWICE to stop and clear the program 15 RECORDING YOUR SINGING Insert a USB drive first then press the RECORD button the song will start over and recording will begin REC with track progress i...

Страница 12: ...e and then the total number of files will appear 4Press the Play Pause ENTER button to start playback if listening to an MP3 G file press the MONITOR ON OFF button to view the image and lyrics on the...

Страница 13: ...crease the echo effect 9Adjust the Key for the song using the KEY and KEY buttons to obtain the best key for the singer 10 AUTO VOICE CONTROL can be activated by pressing the AUTO VOICE CONTROL ON OFF...

Страница 14: ...Stop mode you can also select a file using the Skip 9 5 or Skip 6buttons to scroll up down and or the KEY and KEY buttons to scroll right left Recorded music will be in the folder labeled REC 13REPEA...

Страница 15: ...ress the PROGRAM REPEAT button Repeat to set up to 20 tracks into memory When done press the Play Pause ENTER button to start playback Note Press the Stop PAIR button TWICE to stop and clear the progr...

Страница 16: ...luetooth option in settings to search for a discoverable device with a Bluetooth signal Select Singing Machine from the device results on the Bluetooth menu Note Also refer to the user manual of your...

Страница 17: ...own on page 5 and slide the ON OFF switch on the microphone to the ON position 8Adjust the MIC VOLUME control as desired Increasing this control will increase the volume of both microphones 9Rotate th...

Страница 18: ...ne Notes It is highly recommended to set the volume on the auxiliary unit to 1 3 or lower to avoid distortion Skipping files tracks is not possible on this unit when using an external device 3Repeated...

Страница 19: ...me of both microphones 7Rotate the ECHO control to add an echo effect to your voice Rotate towards MAX to increase the echo effect 8Adjust the BALANCE control to move the audio from the left to right...

Страница 20: ...Files FAQ WherecanIgetadditionalhelpwiththefile formats While on the Singing Machine Store s web page simply click FILE FORMATS at the lower left Helpful Hints The mp3 and cdg files are delivered for...

Страница 21: ...set to the ON position Make sure the MIC VOLUME control is not set too low MASTER VOLUME control is set to minimum raise volume File s on USB Jack not playing The file is corrupted replace the file T...

Страница 22: ...ampling BLUETOOTH Bluetooth Version V2 1 RDA Working Distance Up to 30 feet 10 meters measured in open space USB Format FAT32 Maximum Compatibility 32GB GENERAL Power DC12V 2A Positive Center Dimensio...

Страница 23: ...for Accessories on our Website www singingmachine com The Singing Machine Company Inc 4060 E Jurupa Street Unit B Ontario CA 91761 1413 USA Copyright 2016 All Rights Reserved PRINTED IN CHINA xxxxxxx...

Отзывы: