


— 22 —
Operation
Playing Songs from the USB (Continued)
17
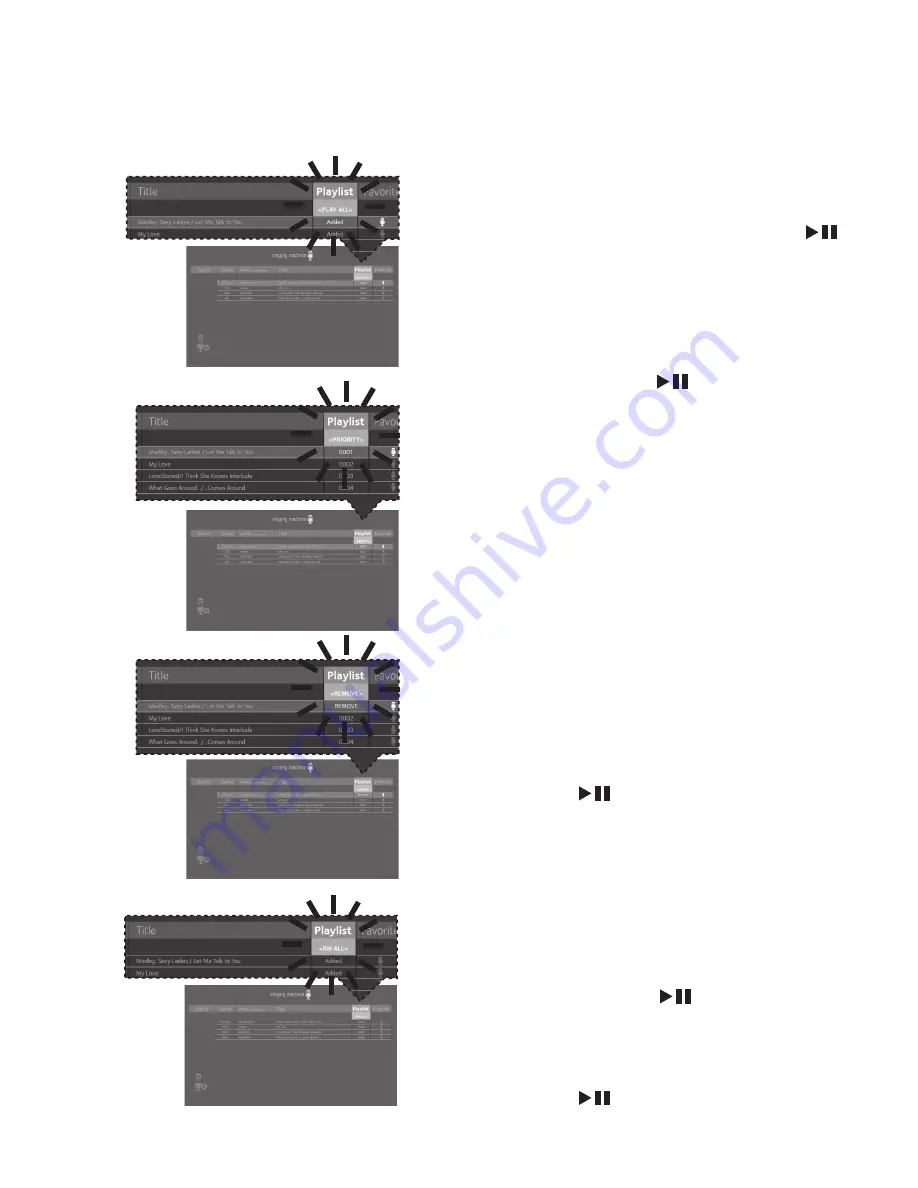
USING THE PLAYLIST:
To play your
previously created playlist, select
Playlist
using the
Navigation
Right and
Left buttons, then press the
ENTER
button; the row under Playlist will be
highlighted. Select the desired selection
using the
Navigation
Right and
Left buttons as follows:
TO PLAY ALL:
Select
Play All
and then
press the
ENTER
button to play
back all of the Playlist songs. (See next
page to add favorites.)
PRIORITY:
a. Select priority and then navigate down
to the song you want to prioritize.
b. Press the
Navigation
Right button
and the numbers will change to 0001,
0002 etc. According to the numbers
displayed the songs will be listed in that
order from top to bottom.
c. After setting all songs on your priority
list press the
MENU
button then the play
list will be highlighted.
d. Use the
Navigation
Down button
to select the first song and press the
ENTER
button to start the playback
of all songs on the play list
e. To change the Priority list, navigate up
and down to select the songs you want
to play in the order you desire.
REMOVE:
Select
Remove
and then
select a song to remove using the
Navigation
5
Up and
Down buttons.
Press the
ENTER
button; the song
will be deleted from the playlist.
RM ALL:
To remove the whole Playlist,
select
RM ALL
and then press the
ENTER
button; the whole Playlist
will be deleted.


