One of the most important tasks in any scientific endeavor
is keeping detailed, accurate, and complete records of all
the findings. What good is an experiment if you cannot re-
member the results well enough to apply the information?
Today’s scientists have elaborate technology to help
them record their data: computer-controlled sensor sys-
tems, video and audio recording devices, and huge data-
bases in which to store information.
One of the most basic and important recording devices
is the logbook. This is a special notebook that scientists
and lab technicians use to record their data in the form of
drawings and notes. Here’s how to make your own.
Materials
• sturdy notebook: depending on your preference, it can be
spiral bound or flat bound, lined or unlined, or with a grid.
It should have a thick, hard cover to protect it during all of
your experiments. You can also choose to use a three-ring
binder and loose paper.
• pens: you should always keep your permanent data in
pen, rather than pencil, as pencil will fade over time.
• ruler
• markers, tape, glue, labels and other art supplies, as
needed
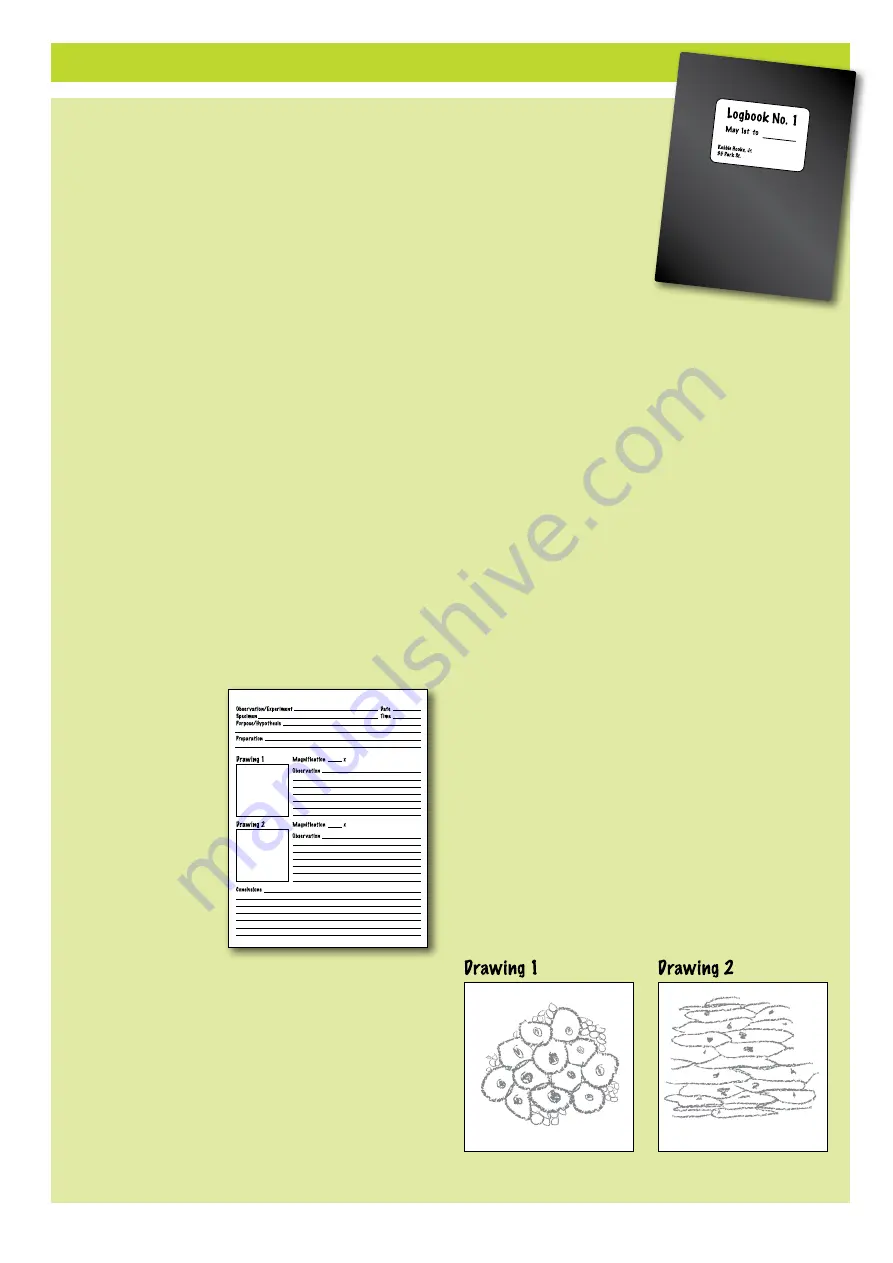
1. Design an observation template page
A template is a kind of outline or guide, that helps you
know what information you need to remember to record
and where to put it on a page. This is the page on which
you will record your findings for a single observation or
experiment. It is a special form for you to fill out every time
you perform an observation with your microscope. This
page needs to have spaces for the following information:
• experiment/observation title
• name of the specimen that you are viewing
• date and time
• purpose or hypoth-
esis: what you hope to
learn by viewing this
specimen
• preparation proce-
dures: what you did to
prepare the specimen
and the slide
• drawings of the speci-
men, and the magnifi-
cation level
• written descriptions
of the observation
• any conclusions you
can make about the
specimen
2. Duplicate the template page
You should make a number of copies of the template page
so that you always have a new and clean one available
when you want to begin a new observation. There are
three ways to do this:
Option 1: You can simply reproduce the page by hand. It is
okay if the templates do not all look exactly the same, but
they should all have the same fields for information.
Option 2: If you have access to a photocopier, you can
make copies of this one template page and glue it into
your logbook. Or, if you prefer this photocopier method,
you can simply use a three-ring binder as your logbook and
store your observation template pages in that.
Option 3: If you feel comfort-
able with word processing
or layout programs on the
computer, you can create
your template pages on the
computer and then print
them out.
3. Make a cover
On the cover of your log-
book, you should put the
following information:
• your name and contact
information (should the book be lost)
• the date the book was started (and the date it is finished,
when you get to that point)
• a title, such as “My TK
2
Scope Logbook No. 1”
4. Create a table of contents page
On this page, you will list the experiments and observations
you have performed. It will help you find them when you
are looking for them later, and it serves as a good chrono-
logical record of your microscope work. Put it at the front
of your book.
This page should be set up as a list with the following
columns:
• experiment/observation: title and brief description, in-
cluding the specimen that was viewed
• date and time
• page number
Drawing From Microscopic Observation
Drawing diagrams and pictures of the specimens that you
are viewing through your microscope will help you to
analyze them, to communicate information about them to
others, and to remember what you saw.
You do not have to be an exceptionally talented artist
to draw good pictures from your slides. Take a careful look
at what you are seeing when you look through the micro-
scope, noticing all the details. Then, try to draw what you
see a little bit at a time, making sure the different parts
match up in relation to one another.
It is not necessary to create a perfectly replicated image
of the specimen. Rather, you want to capture the impor-
tant aspects of the image: whether it is the shape of the
cell walls in a plant or the orientation of spikes on a pollen
ball or the number of hairs on the leg of a bee.
And remember, the more you practice drawing these
microscopic images, the better you will be at it.
Make Your Own Microscope Logbook
Содержание TK2 Scope
Страница 1: ...Experiment Manual ...
Страница 52: ......


