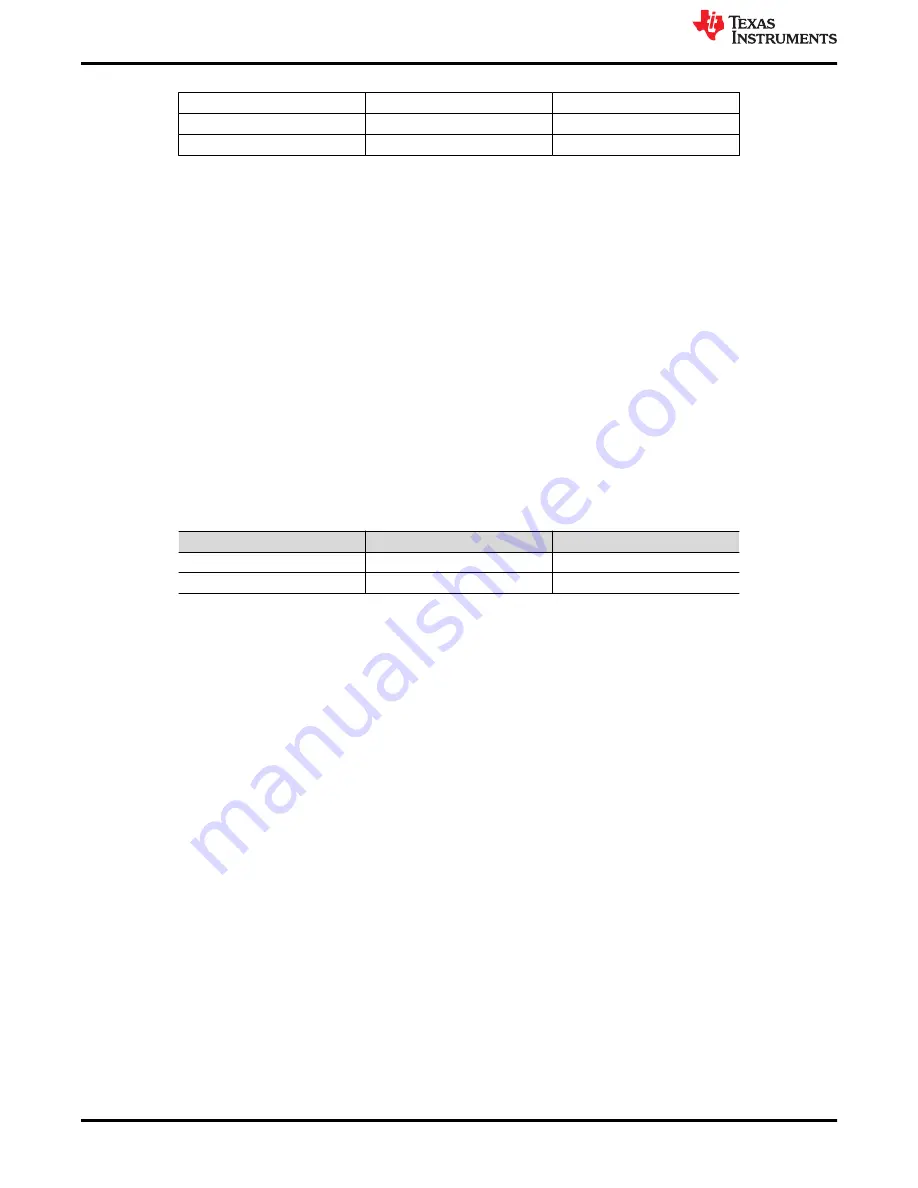
Table 4-3. 3 × 3 RX_SEN Header
No Connect
27 kΩ to GND
No Connect
13 kΩ, 39-kΩ divider
RX_SEN to TUSB217A
GND
No Connect
ENA_HS LED
No Connect
RX_SEN jumper settings as defined in
.
1. The top position sets low RX sensitivity.
2. No connect of the center pin sets mid RX sensitivity.
3. The center pin to the left position sets high RX sensitivity.
4. The center pin to the bottom position enables the ENA_HS status LED.
Right Position of RX_SEN jumper is short to GND.
4.2 Selecting Configuration Levels
The primary purpose of the USB 2.0 signal conditioner is to restore the signal integrity of a USB High-Speed
channel to USB 2.0 compliant levels. The platform goal is to pass the USB Near-End or Far-End Eye Mask with
the device in the best location.
A typical use case is to place the USB 2.0 signal conditioner close to the USB connector on a host platform to
pass Near-End Eye Mask testing. This includes systems where the USB connector may be placed at the far-end
of a cable.
Typical RX sensitivity and boost recommendations based on cable length (28 AWG USB cable) are shown in
. TI recommends starting with the lower settings first
Table 4-4. RX_SEN, BOOST Setting Based on Cable Length
Cable Length
BOOST
RX_SEN
0 m - 2 m
Level 0
MID
3 m - 5 m
Level 1
MID, HIGH
4.3 Battery Charging Functions of TUSB217A
The DCP/CDP pin of the TUSB217A is a battery charging 1.2 Dedicated Charging Port (DCP) and Charging
Downstream Port (CDP) function enable. In the shared TUSB216IEVM and TUSB217AEVM-BC schematic, this
pin is listed as CDP_ENZ. By default, the TUSB217A has the battery charging 1.2 CDP function enabled with a
500-kΩ internal pullup.
When TUSB217A is disconnected from the USB 2.0 data stream, the DCP mode of the TUSB217A can then be
enabled to allow the DCP handshake to be performed. It is recommended that when the TUSB217A switches
from CDP to DCP mode or back, that downstream VBUS is toggled so any downstream devices reconnect.
4.3.1 Automatic DCP/CDP Test Setup
To test these features on the TUSB217AEVM-BC:
1. Remove the 0-Ω resistor connecting the upstream VBUS and the EVM power (R1, R16, R31).
2. Externally power the EVM, by providing power to pin 1 of the 6 × 2 header (VCC_EXT_Px). This power
source should be able to provide up to 1.5 A at 5 V DC. TI recommends setting the voltage slightly above 5
V to prevent droop issues.
3. There is an VBUS toggle circuit on the EVM that should provide an adequate VBUS toggle to force
connected downstream devices to disconnect and reconnect when transitioning between CDP and DCP
mode in most cases. This toggle length will vary depending on the voltage and bulk capacitance of the
system, and may not work for all applications. If it does not, see
4. Verify that the charging device power consumption is as expected.
EVM Configuration
4
TUSB217AEVM-BC Evaluation Module
SLLU327 – MAY 2020
Copyright © 2021 Texas Instruments Incorporated


