


7.
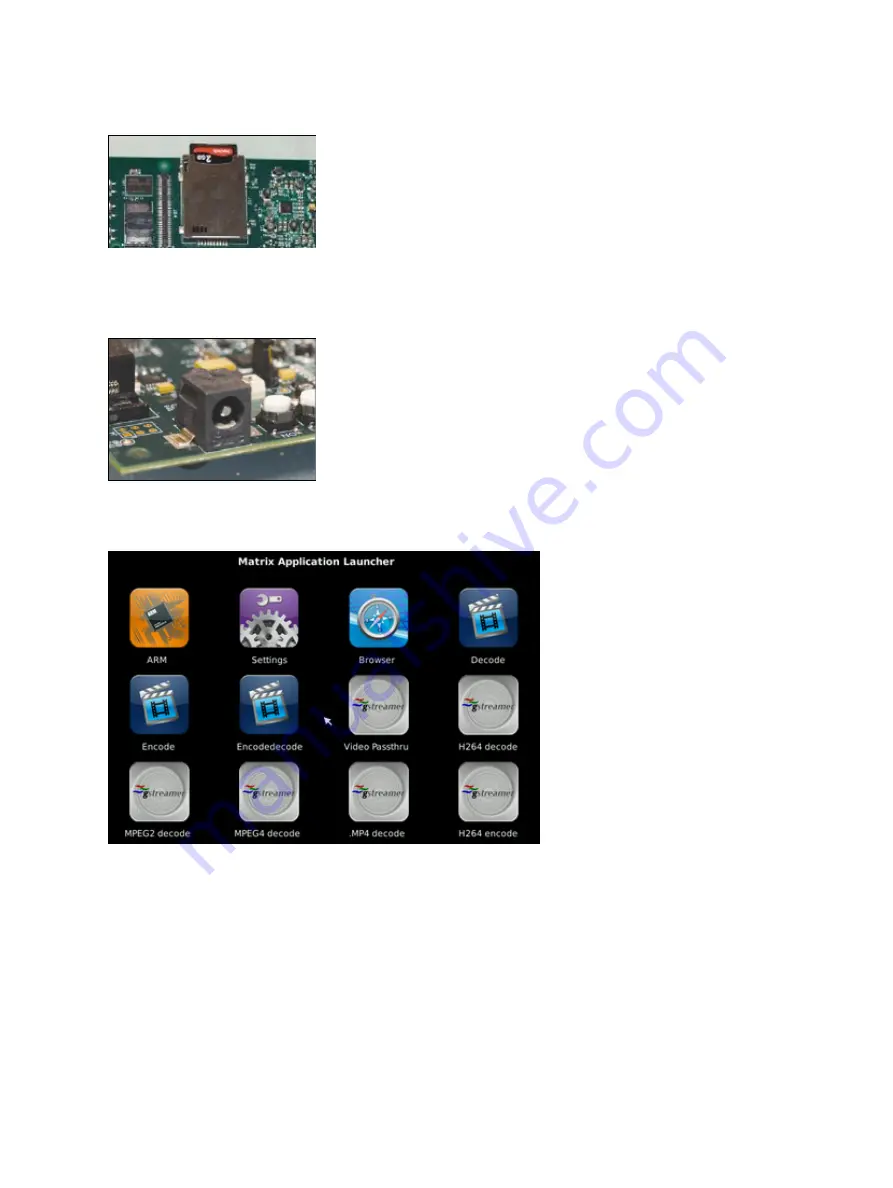
Insert the SD card containing the Linux demo image into the SD/MMC slot
8.
Connect the power cable to the EVM power jack on the EVM. To be ESD safe, plug in the other end of
the cable only after you have connected the power cord to the board.
9.
Once the EVM board has booted, your video display should show the Matrix application launcher.
From the Matrix application launcher, you can launch a variety of ARM utilities, multimedia demos and QT
browser. Feel free to explore.
Note: If the mouse does not respond, make sure you remember to connect it *prior* to powering up the board.
Also, it is possible that the adapter between your mouse and the board is incompatible. One trick is to make
sure you use an optical mouse. It would light up if it is powered. If it does not light up, try changing the
adapter.
TMS320DM365 EVM Quick Start Guide
Setting up the EVM for the Out Of Box demo
6


