PSIEVM Operation
7
SBAU289 – October 2017
Copyright © 2017, Texas Instruments Incorporated
Precision Signal Injector EVM (PSIEVM)
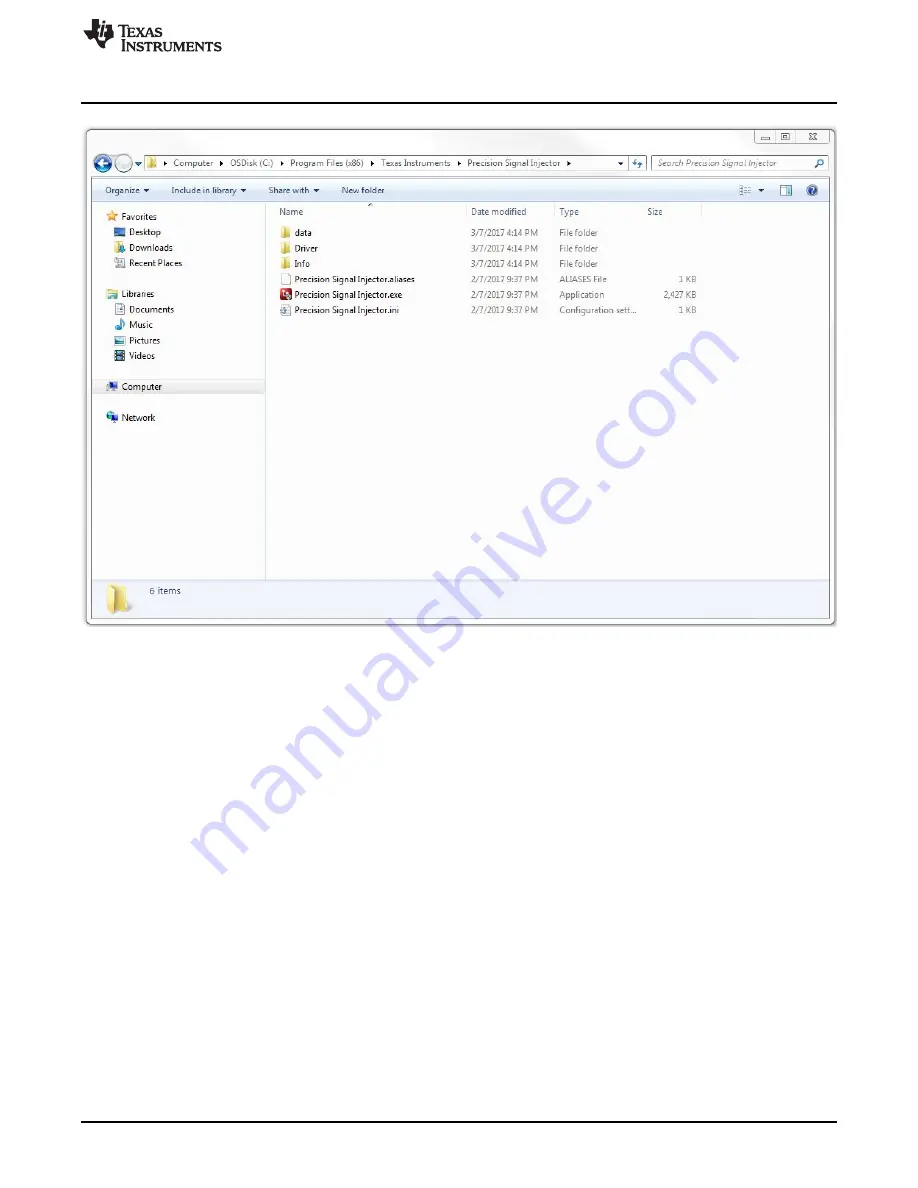
Figure 5. PSIEVM Folder Post-Installation
3
PSIEVM Operation
The following instructions are a step-by-step guide to connecting the PSIEVM to the computer and
operating it to apply precision signals to a TI SAR ADC EVM (referred to as device under test (DUT)):
1. Use the provided USB cable to connect the PSIEVM to the computer.
•
LED D3 lights up indicating that the PSIEVM is powered up.
2. Launch the
Precision Signal Injector GUI
(PSI GUI) software.
3. Connect the PSIEVM to the desired DUT to connector P2 for single ended, or P4 and P5 for
differential signal (see
). Ensure a firm contact on these connectors for effective signal
transmission.
4. Connect the DUT EVM to the computer. Launch the GUI for the DUT EVM.
5. Set the PSI GUI to have the desired output type (single ended or differential), peak-to-peak voltage,
offset voltage or common-mode voltage, and frequency.
6. Enable to output for the PSIEVM.


