


16
2.3 On-Screen Display
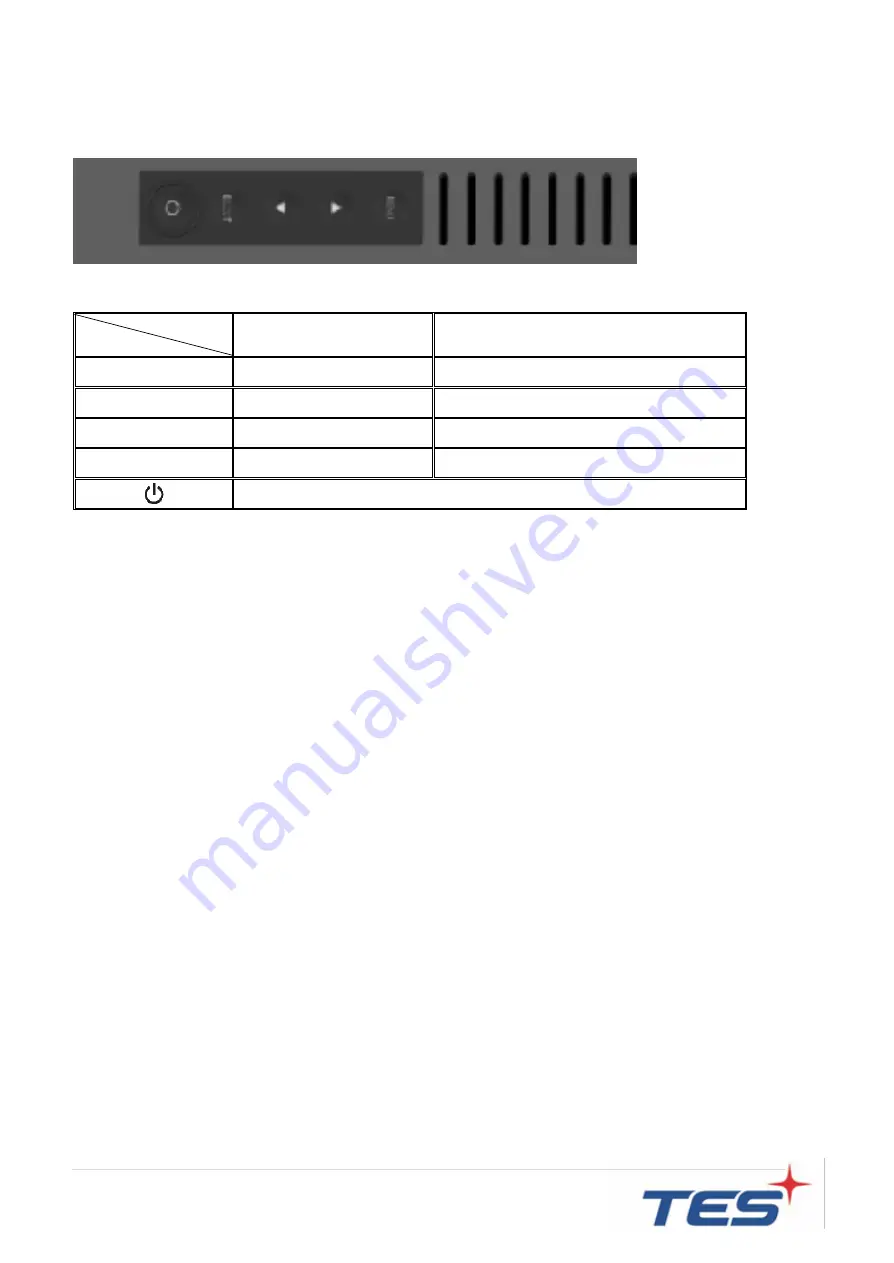
The TDS-55 Lite series provide side panel controls. And the following is OSD function table:
OSD
Key
Menu off status
Menu on status
MENU
Menu appear
Menu disappear/ return to main item
▲
Brightness
Main item select up/ Adjust up
▼
Contrast
Main item select down/ Adjust down
SELECT
Auto Adjusting
Enter/Select sub-item function
Power On/Off
1.
Press the “MENU”
button to pop up the “on-screen menu” and press “Up” or “Down”
button to select among the five functions in the main menu.
2.
Press “SELECT” to enter the sub menu, and then use “Up” or “Down” button to select
the adjustable functions.
3.
Choose the adjustment items in the sub menu by pressing the “SELECT” button.
4. Adjust the value of the
adjustment items by pressing the “Up” or “Down” button.
5. With the
OSD menu on screen, press “Menu” button to return main menu or exit OSD.
6. The OSD menu will automatically close, if you have left it idle for a pre-set time.
7. To Lock the OSD / Power menu buttons, please follow the instructions below.
(Please note: the monitor has to be turned ON with a valid signal pre-set)
a. Without the OSD menu on screen, press and hold
“Menu” key, and press “POWER”
once
then release “MENU” key. The “Lock/Unlock” menu will appear for 5 seconds.
b.
Use the "UP” and “DOWN key to select OSD or Power setting then set at “Lock” (or
“Unlock” ) by pushing the "ENTER" button.
c.
When pressing “MENU” button, the previous setting will be saved and exit the
“Lock/Unlock” menu automatically.
Please note:
1.
When the OSD Lock function is selected, this indicates that all the buttons except “power”
button are now disabled.
2. When the Power Lock function is selected, this indicates that the power key is disabled;
user can not to turn off the monitor by "Power" key.
3. How to enter factory OSD menu, please follow the instructions below.
Содержание TDS-55-P
Страница 1: ...TDS 55 P standard version TDS 55 P Touch Monitor User Manual Version 2 0 2018 07 ...
Страница 6: ...5 Chapter 1 Product Introduction ...
Страница 11: ...10 Audio Line in Line out connector ...
Страница 13: ...12 Chapter 2 Product Installation ...
Страница 20: ...19 2 4 Dimension 2 4 1 Front View 2 4 2 Side View ...
Страница 21: ...20 2 4 3 Rear View 2 4 4 Back View ...
Страница 22: ...21 Appendix ...


