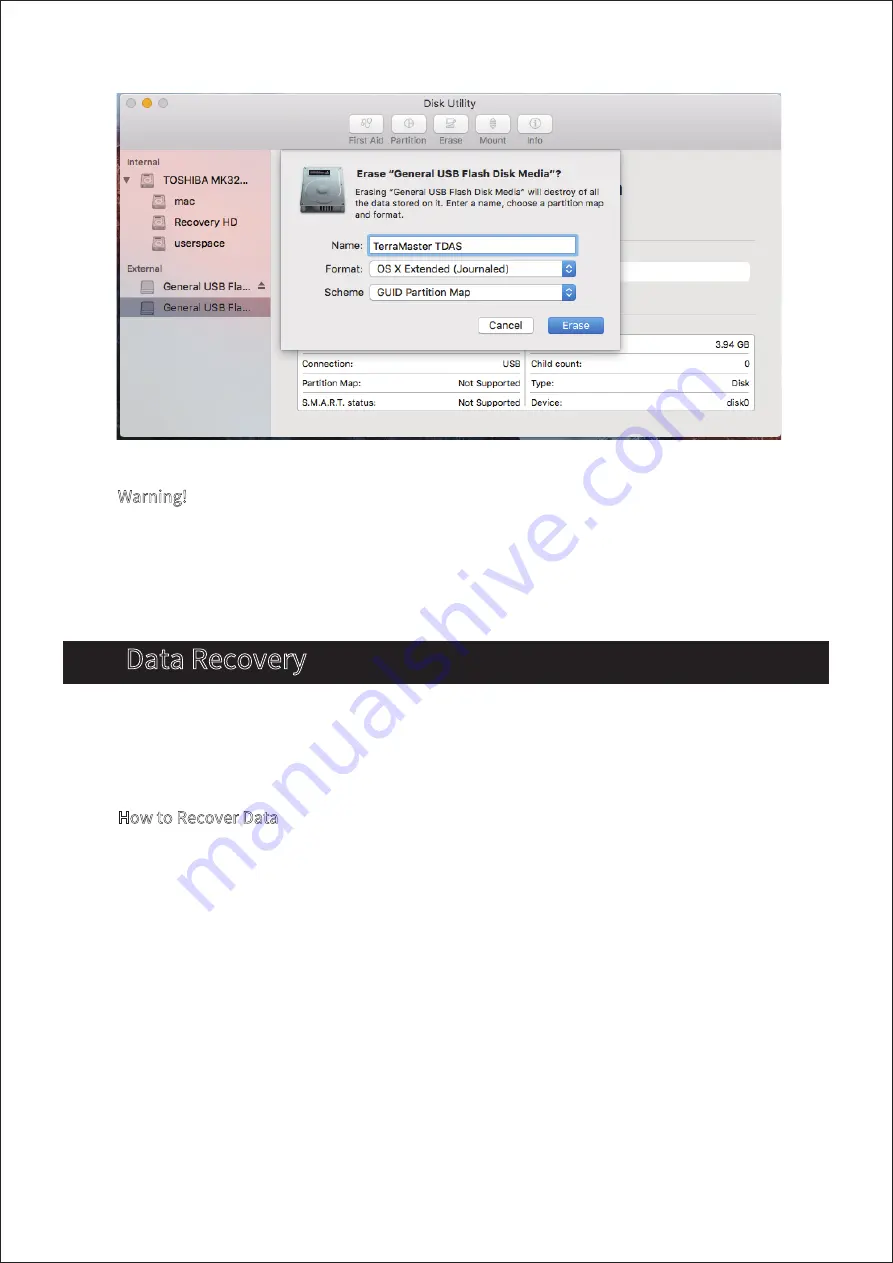
TerraMaster D5-300C Скачать руководство пользователя страница 8

7

5.   Data Recovery

Warning!

Changing your device’s RAID mode could lead to hard drive formatting, which would delete all 
data from the hard drives. Therefore, please back up your hard drive data before switching RAID 
mode.

How to Recover Data

1. Connect the device to your computer and ensure that both are powered on;
2. Remove the failed hard drive (please refer to Section 2 of the user manual);
3. Insert a new hard drive (please refer to Section 2 of the user manual);
4. Wait for approximately 1 minute until (a) the indicator of the newly-inserted hard disk flashes 
orange, and (b) the indicator of the original hard disk flashes green. This combination of signals 
shows that the data recovery process is underway;
5. Once both hard drive indicators have stopped flashing, the data recovery process is complete.

RAID  1  comprises  a  mirror  of  the  data  contents  held  on  two  or  more  disks.  If  a  hard  drive 
becomes faulty, you can just replace the defective hard drive. The data will be recovered to the 
newly replaced hard drive automatically.

Содержание D5-300C

Страница 1: ...User Manual Copyright 2017 TerraMaster All Rights Reserved Model D5 300C TerraMaster RAID Storage Data Storage Master...

Страница 2: ...drive in sleep mode Green Hard drive is ready Flashing Green Reading writing Flashing Red Hard drive fault or array damage Note During the process of data recovery on RAID 1 mode one hard drive indica...

Страница 3: ...erted into the device correctly 2 Once the tray is fully inserted close the handle Hard drive installation is now complete To install additional hard drives repeat steps 1 and 2 Push the lower part of...

Страница 4: ...ault setting for HDD1 and HDD2 is single disk mode Using single disk mode each drive displays and operates independently HDD3 4 and 5 can only operate in single disk mode They work as independent driv...

Страница 5: ...t apply to you 1 Open Computer Management and navigate to Storage Disk Management 2 Find an unallocated disk in the menu right click the disk and select Initialise Disk from the drop down menu 3 Compl...

Страница 6: ...5...

Страница 7: ...rnal 2 Use the menu to nd an unallocated disk 3 Select the unallocated disk and click Erase 4 Select the relevant Name Format and Scheme from the menu and click Erase 5 Once the Erase process is nishe...

Страница 8: ...d drive please refer to Section 2 of the user manual 4 Wait for approximately 1 minute until a the indicator of the newly inserted hard disk ashes orange and b the indicator of the original hard disk...

Страница 9: ...hard drive is greater than or equal to the capacity of the faulty hard drive 3 The data recovery process can last anywhere from several hours to tens of hours The length of time taken depends on the...

Отзывы: